
TL;DR

Get audio and creator gear delivered free with Prime
- Fast, free delivery on millions of items
- Prime Video, Amazon Music and more included
- Member-only deals all year
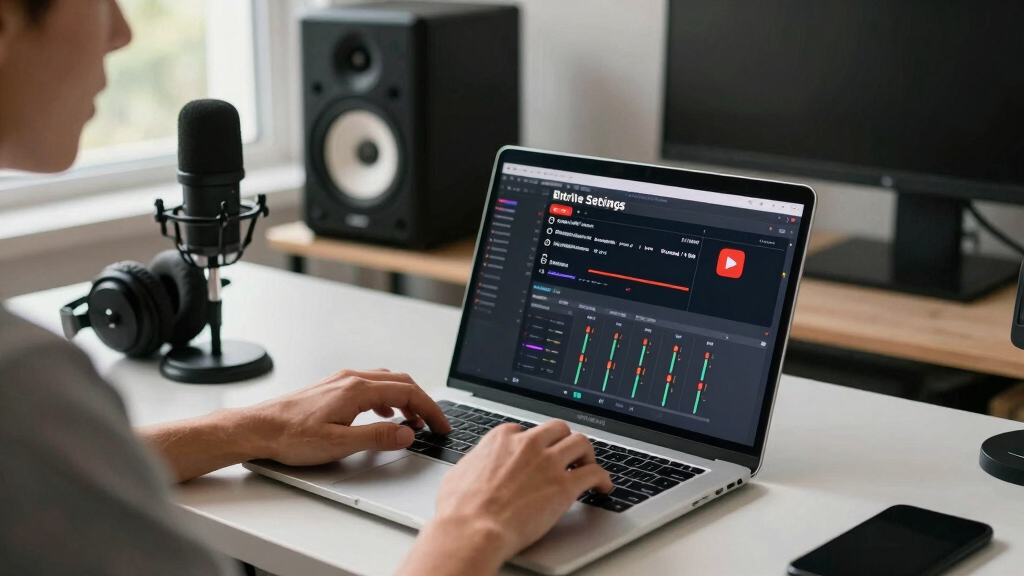
Your bitrate controls how clear your stream looks. Too high, and your viewers buffer; too low, and it looks pixelated. Find the sweet spot based on your upload speed and platform recommendations.
Bitrate is what makes or breaks your streaming experience. It’s the invisible force behind crisp images or pixelated chaos. If you’ve ever gone live and wondered why your stream stutters or looks fuzzy, it’s likely because your bitrate isn’t set right.
Getting it right isn’t magic. It’s about understanding platform guidelines, your internet speed, and how to tweak your settings for the best results. Let’s cut through the jargon and get real about what bitrate settings truly mean for your streams on Twitch and YouTube.
Match your bitrate to your upload speed, aiming for 75–80% to keep your stream stable.
Follow platform-specific guidelines—Twitch favors lower bitrates, YouTube supports higher quality streams.
Use CBR for live streaming to ensure consistent quality and avoid fluctuations.
Test and tweak your settings before going live—monitor stream health and viewer feedback.
Invest in a good encoder preset and keep an eye on recent tech trends like H.265 for future-proofing.
What is bitrate and why does it matter for streaming?
Bitrate is the amount of data you send per second—measured in kbps or Mbps. Think of it as the thickness of the paintbrush stroke; the higher it is, the more detail you can cram into each frame. But if your upload speed can’t keep up, your stream will stutter or buffer.
Choosing the right bitrate is crucial because it directly impacts your stream’s clarity and stability. A bitrate that’s too low results in a blurry or pixelated image, diminishing viewer experience. Conversely, a bitrate that’s too high can overwhelm your internet connection, causing lag and buffering, which frustrates viewers. The goal is to find a sweet spot where your stream looks sharp without causing interruptions. This balance depends on your upload speed, the complexity of your content, and the platform’s recommended settings. Understanding these tradeoffs helps you deliver a consistent, high-quality stream that keeps viewers engaged without technical hiccups.
As an affiliate, we earn on qualifying purchases.
Platform-specific bitrate sweet spots you need to know
Different platforms have their own preferred ranges that optimize viewer experience and technical performance. Twitch, for instance, prioritizes lower bitrates to minimize latency and make chats more responsive, but this can limit visual detail. YouTube can handle higher bitrates, supporting richer visuals but also demanding more from your internet connection.
For example, streaming at 1080p at 60 fps on Twitch with a bitrate of 6000–9000 kbps offers a good balance, ensuring smooth gameplay and minimal lag. On YouTube, the same resolution and frame rate can be streamed at 12,000–15,000 kbps to maximize clarity, especially for viewers watching on larger screens or with faster connections. Choosing the right platform-specific settings involves understanding these differences, so you can tailor your stream’s quality to your audience’s expectations and your technical capacity. This ensures your content looks professional without sacrificing stability, which is critical for viewer retention and engagement.
As an affiliate, we earn on qualifying purchases.
How to find the perfect balance between quality and bandwidth
Your upload speed caps the maximum quality you can achieve without risking interruptions. Streaming at a bitrate close to your maximum upload capacity leaves no headroom for fluctuations, which can cause buffering or dropped frames. Therefore, it’s essential to leave some buffer—about 75–80% of your available upload bandwidth—to accommodate network variability and ensure a stable stream.
For instance, if your internet provides a 20 Mbps upload speed, aiming for a bitrate around 15–16 Mbps allows your stream to run smoothly even if your connection experiences minor dips. Using speed tests helps you accurately gauge your upload capacity. This approach prevents overestimating your internet’s ability, which can lead to instability. The tradeoff here is between maximum quality and reliability; pushing your bitrate too high might give you a slightly sharper image but at the risk of frequent buffering. Conversely, setting it too low guarantees stability but can make your stream look dull or pixelated. The key is to find a compromise that maintains visual fidelity while ensuring consistent playback, especially during network fluctuations.
As an affiliate, we earn on qualifying purchases.
Encoding choices: H.264, H.265, and what they mean for your stream
H.264 is the most widely supported codec for streaming because it offers a good balance between compression efficiency and compatibility. It’s like the reliable workhorse that nearly every device and platform supports, making it ideal for most streamers. H.265 (HEVC), on the other hand, provides better compression, meaning you can achieve higher quality at lower bitrates. This can be a game-changer for high-resolution streams like 4K, as it reduces the load on your bandwidth and storage. However, H.265 requires more processing power to encode and decode, which can strain your CPU or GPU and may not be supported by all streaming platforms or viewers’ devices yet.
Choosing between them involves considering your hardware capabilities and target audience. For example, if you have a powerful GPU and want to push higher resolutions or lower bitrates, H.265 is worth exploring. But for most users, sticking with H.264 ensures broad compatibility and straightforward setup. Your encoder’s efficiency directly impacts your bitrate requirements—more efficient encoders mean you can deliver high-quality streams without needing excessively high bitrates, thus reducing potential buffering and improving viewer experience.
streaming monitor with low latency
As an affiliate, we earn on qualifying purchases.
As an affiliate, we earn on qualifying purchases.
Frequently Asked Questions
How do I know what bitrate my internet can handle?
Run an upload speed test using tools like Speedtest.net. Aim for a bitrate that’s about 75–80% of your upload speed to keep your stream stable without overloading your connection.Can I change my bitrate during a stream?
Yes, but it can cause brief disruptions. It’s best to test different settings beforehand and make adjustments during a break or before going live again.What happens if I set my bitrate too high?
Your viewers might experience buffering, lag, or dropped frames, especially if their internet can’t support it. Stick close to platform recommendations to avoid this.Should I use constant or variable bitrate?
For live streaming, CBR is the safer bet because it maintains steady data flow. VBR can be better for pre-recorded videos where quality is more important than stability.How does resolution affect my bitrate needs?
Higher resolutions like 4K need significantly higher bitrates—over 35,000 kbps—compared to 1080p or 720p. Match your bitrate to your resolution for the best results.Conclusion
Your bitrate sets the stage for a smooth, sharp stream—or a pixelated disaster. Find the right balance based on your internet, platform guidelines, and hardware. A little testing and fine-tuning go a long way toward making your streams look professional and keep viewers engaged.
Remember, streaming is about quality, stability, and consistency. Keep your settings in check, stay flexible, and your audience will thank you for it.
Fall Picks
fall essentials
As an affiliate, we earn on qualifying purchases.