
TL;DR

Get audio and creator gear delivered free with Prime
- Fast, free delivery on millions of items
- Prime Video, Amazon Music and more included
- Member-only deals all year
Gain staging a podcast mixer from mic to stream involves setting correct input levels at each stage to avoid distortion and noise. Start with low gain, monitor levels continuously, and adjust as needed for the best sound quality. Regular checks ensure consistent, professional audio every time you hit record or stream.
Start with your microphone’s gain low and gradually increase until your peaks reach around -6 dB.
Always monitor your levels visually via meters and listen through headphones for real-time feedback.
Adjust gain before going live; avoid making big changes mid-recording unless necessary.
Match gain settings to your microphone type: dynamic mics need less gain than condensers.
Use modern tools like high-res meters and built-in digital controls to simplify gain staging.
Gain Staging a Podcast Mixer From Mic to Stream
Build a clean signal at every handoff. Start low, raise the preamp deliberately, monitor with both meters and headphones, and preserve enough headroom for the loudest word you have not spoken yet.
Four moves from silence to a stream-ready signal
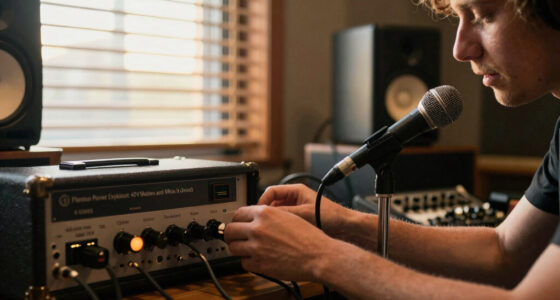
Set levels before recording. Speak at the volume and distance you will actually use, including a few deliberately loud phrases.
Turn gain down
Begin with the microphone input gain at minimum to prevent accidental overload.
Speak naturally
Use normal delivery, real mic distance and your expected loudest emphasis.
Raise gradually
Increase preamp gain until vocal peaks approach −6 dB without entering red.
Verify output
Check headphones, mixer output and streaming software before going live.
One clean stage cannot rescue a broken one
Gain builds the signal; faders balance the mix. Avoid using a downstream fader to compensate for a noisy or clipped preamp.
Placement first
Keep distance and angle consistent. If the voice is too quiet, move closer before adding large amounts of gain.
Build a clean signal
Boost the low mic-level signal without raising the noise floor or flattening vocal peaks against the ceiling.
Balance sources
Match hosts, guests and media playback so no source overpowers another or overloads the main bus.
Preserve headroom
Confirm the main output remains healthy. A clean channel can still clip at the master or interface output.
Meter the destination
Check OBS, Streamlabs or your recording app. The receiving input must not be too hot or too weak.
Trust ears and meters
Meters expose level problems; headphones reveal hiss, room noise, plosives and unnatural processing.
Different transducers, different gain decisions
Exact requirements vary by microphone sensitivity, preamp quality, speaking distance and room acoustics. Treat ranges as starting points.
| Microphone type | Typical preamp gain | Room sensitivity | Best practice | Primary risk |
|---|---|---|---|---|
| Dynamic | ✓Often around 40–50 dB | ✓Usually more forgiving | Start low, increase gradually and keep the speaker close to the mic. | ~Hiss from excessive preamp gain |
| Condenser | ~Often around 50–60 dB in this guide | ~Captures more room detail | Use a clean preamp, engage required phantom power and watch peaks carefully. | ✗Room noise or sudden clipping |
Your meters are the early-warning system
Continuous monitoring catches the clipped laugh, the drifting guest and the muted software channel before they ruin the program.
The preflight checklist
Run this sequence after changing a mic, speaker, room, cable or software input.
Tools that reduce guesswork
Newer mixers combine clearer feedback with direct digital routing.
Follow the voice from source to listener
If audio sounds wrong, walk backward through the chain. Find the first stage where the meter or monitoring signal becomes noisy, weak or clipped.
What is gain staging and why does it matter for your podcast?
Gain staging is the process of setting the right input levels at each point of your audio chain, starting from your microphone, through your mixer, and into your streaming platform. Think of it like adjusting the volume knobs on a vintage stereo, ensuring each part feels balanced and clear. Proper gain staging prevents distortion, keeps background noise low, and ensures your voice stays rich and natural. Without it, even the best microphone can sound muddy or harsh, ruining the listener’s experience.
Imagine speaking into a mic in a quiet room, but your gain is set too high. The sound distorts, like a guitar amp pushed to max. Lower it, and your voice becomes weak and noisy. Gain staging is about finding that sweet spot—loud enough to hear every word, but not so loud that it clips. This balance is crucial because excessive gain can cause distortion, which not only sounds unpleasant but can also damage your equipment over time. Conversely, too low gain results in a weak signal that’s susceptible to background noise, making your audio less clear and professional. Striking the right balance ensures your voice is captured accurately, with minimal noise and distortion, leading to a cleaner, more polished podcast.
As an affiliate, we earn on qualifying purchases.
How to set your gain stage from mic to stream in 4 simple steps
- Start with your microphone’s gain control turned all the way down. This prevents accidental overloads that could cause distortion.
- Speak at your normal volume into the mic. Slowly turn up the gain until your levels approach -6 dB on your mixer’s meter, but don’t clip into the red. This careful adjustment ensures you have enough headroom for peaks without risking distortion.
- Monitor your audio with headphones. Adjust the gain so your voice peaks around -6 dB, giving headroom for sudden loud sounds or sibilance. Listening in real-time helps you catch issues early and ensures your levels are consistent.
- Check your final output level on your streaming software before going live, ensuring the signal isn’t too hot (clipping) or too weak. This final step confirms your gain settings translate well into your streaming setup, avoiding surprises during your broadcast.
As an affiliate, we earn on qualifying purchases.
Microphone types and how gain staging differs for each
| Microphone Type | Typical Gain Needed | Best Practice |
|---|---|---|
| Dynamic Microphone | Low to moderate gain (around 40-50 dB) | Start with gain low, increase gradually, monitor levels closely. Dynamic mics are less sensitive, so they require less gain, but over-gaining can introduce noise. Properly setting gain ensures clear capture without amplifying background noise or hiss. |
| Condenser Microphone | Higher gain (around 50-60 dB) | Use a high-quality preamp, set gain carefully, and watch for clipping. Condenser mics are more sensitive and can pick up more background noise if gain is set too high. Balancing gain is essential to preserve audio clarity while avoiding unwanted noise or distortion, especially in untreated rooms. |
studio headphones for audio monitoring
As an affiliate, we earn on qualifying purchases.
As an affiliate, we earn on qualifying purchases.
Monitoring and metering: your secret weapon for perfect levels
Monitoring your levels is like watching your speed while driving. Your mixer’s meters show you exactly when your signal is too weak or clipping. Aim to keep your peaks around -6 dB, never hitting 0 or the red zone. Use headphones to catch any background noise or sudden distortions instantaneously. This constant vigilance ensures your audio remains clean and professional.
For example, during a live recording, you notice one host’s voice jumping into the red. Lowering the gain instantly keeps the sound smooth, preventing an ugly clipping that can’t be fixed later. Consistent monitoring allows you to catch and correct issues in real time, saving you from post-production headaches and ensuring your audience experiences high-quality sound throughout the broadcast.
digital audio interface for streaming
As an affiliate, we earn on qualifying purchases.
As an affiliate, we earn on qualifying purchases.
Common pitfalls: what to avoid when gain staging your podcast
- Turning the gain too high, causing clipping and distortion. Over-gaining can sound harsh and can also damage your equipment if sustained over time.
- Ignoring meters—trust your ears and visual cues. Relying solely on one without the other may lead to audio that sounds fine but actually distorts or is too quiet.
- Adjusting gain during a recording without monitoring levels. Sudden changes can introduce inconsistency and unexpected distortion, so make all adjustments beforehand.
- Using poor-quality mics or equipment that adds noise, making gain staging less effective. Investing in good gear minimizes noise floor issues and makes level setting more straightforward.
For instance, a beginner might boost gain because their voice sounds quiet, but this also boosts background noise. Instead, improve your mic placement or environment first, then fine-tune the gain. Understanding these tradeoffs helps you maintain a clean, professional sound, avoiding the pitfalls that compromise audio quality.
Latest tools and tech that make gain staging easier
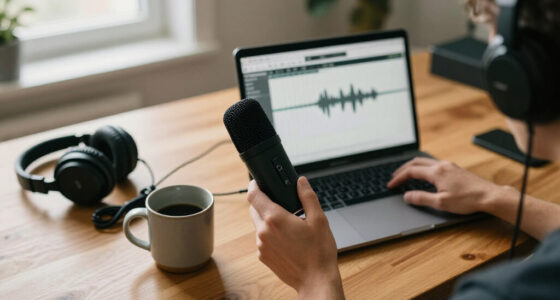
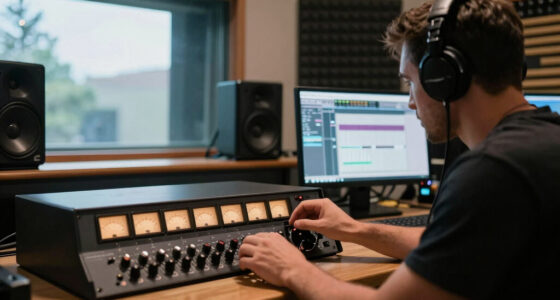
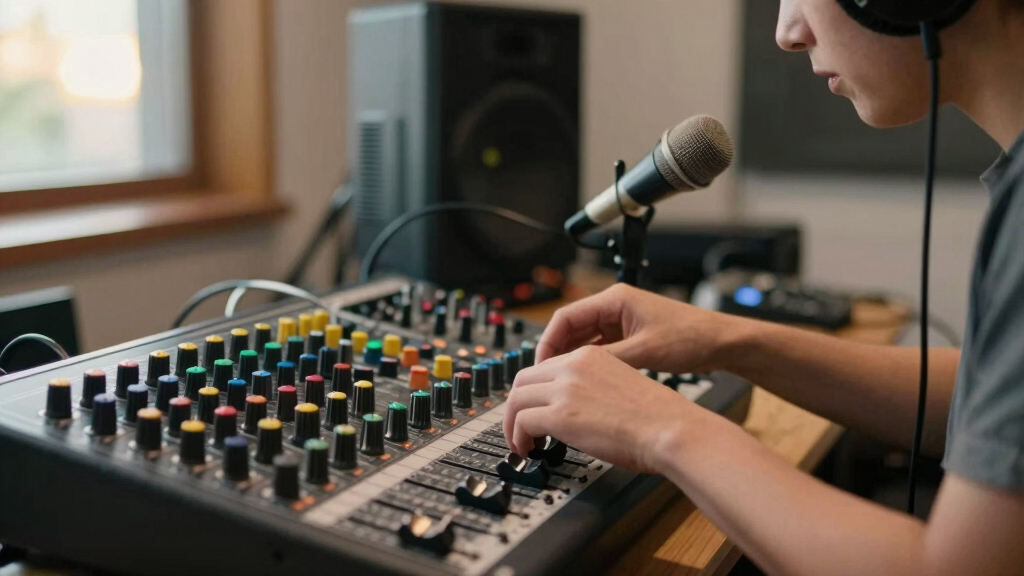
Modern mixers and interfaces now feature automatic gain control (AGC) and high-resolution meters. Some USB mixers show real-time waveforms and peak indicators, making it easier to find that perfect level. Others integrate directly with streaming platforms, so you can set and monitor levels without extra fuss. Recent advances mean you spend less time fiddling and more time creating.
For example, a streamer I know uses a mixer with built-in digital level meters that light up green around -6 dB, giving instant visual feedback during live sessions. These tools reduce guesswork, help maintain consistent audio levels, and streamline your workflow, especially important when managing multiple inputs or live feedback.
Frequently Asked Questions
What’s the best way to test my gain settings before going live?
Speak into your mic at your normal volume and watch your mixer’s meters. Aim for peaks around -6 dB, then listen with headphones to ensure clarity without distortion. Do a quick test recording to double-check sound quality.How often should I check or readjust gain during a recording?
Ideally, once you set your gain at the start, leave it unless your environment or mic placement changes. If you notice sudden distortions or volume inconsistencies, pause and recheck levels quickly.Can I rely on automatic gain control for my podcast?
Automatic gain can be handy for quick adjustments, but it often produces unnatural sounding levels. Manual gain staging gives you more control and consistency, especially for professional-sounding podcasts.What equipment do I need for effective gain staging?
A quality microphone, a mixer or audio interface with gain controls and meters, headphones for real-time monitoring, and some basic understanding of your gear’s meters and settings.How does gain staging differ if I use a condenser versus a dynamic microphone?
Condenser mics usually need more gain because they’re more sensitive. You’ll set higher gain levels, but be careful to avoid clipping. Dynamic mics require less gain, making them more forgiving but still needing proper level checks.Conclusion
Getting your gain right from mic to stream isn’t just technical mumbo jumbo—it’s the foundation of clear, engaging audio. Spend a few minutes dialing in your levels, and your listeners will thank you with every word they hear. Remember, consistent, well-managed gain makes your voice stand out—no distortion, no noise, just pure clarity.Halloween Picks
halloween
As an affiliate, we earn on qualifying purchases.