TL;DR
The mirror trick is a simple visual method to locate the first reflection point on a window. It helps optimize daylighting, reduce glare, and improve energy efficiency. Combining this with modern tools enhances accuracy and results.
Ever stared at a window and wondered where the sun’s first bounce lands? That tiny spot on the glass that sends light deeper into your studio or space. Knowing this point isn’t just academic; it’s a game-changer for controlling glare, heat, and daylight.
In this guide, you’ll learn how the simple mirror trick can help you find that elusive reflection point. No fancy tools needed — just a mirror, a bit of patience, and some eye for light. Whether you’re tweaking a home studio or designing a commercial space, mastering this technique unlocks smarter, more efficient window management.
The first reflection point is where sunlight first bounces off a window, influencing glare and heat gain.
The mirror trick is a simple, cost-effective way to find this spot without high-tech tools.
Locating the reflection point helps you install shading or films more effectively, saving energy.
Perform the trick at different times to understand how the reflection moves with the sun’s angle.
Combine the mirror trick with modern software for precise daylight and glare management.
First Reflection Points: Finding Them With the Mirror Trick
A small mirror can reveal where a direct light path first meets a window before reaching a chosen position inside. Map that moving point to place shading, film, or glare control where it will do the most useful work.
Begin near the middle, then follow the actual reflected path.
Clear, directional light makes alignment easier to see.
Check morning, midday, and afternoon conditions.
Less glare, better daylight, smarter solar control.
One bright spot, three consequences
A first reflection point is meaningful only for a defined source-to-target path. Change the sun position or the observer’s location and the useful point may move.
Glare control
Locate the strongest reflected path before positioning blinds, baffles, or targeted film.
Solar gain
Map exposed zones that may contribute to unwanted heat and higher cooling demand.
Useful bounce
Redirect light deeper into a room while preserving softer, more even illumination.
Find the path by alignment
Move slowly. The point where the mirror reveals the source from your chosen target position identifies the relevant first-bounce location.
Fix the target
Choose the desk, seat, screen, or room position affected by the reflection.
Place the mirror
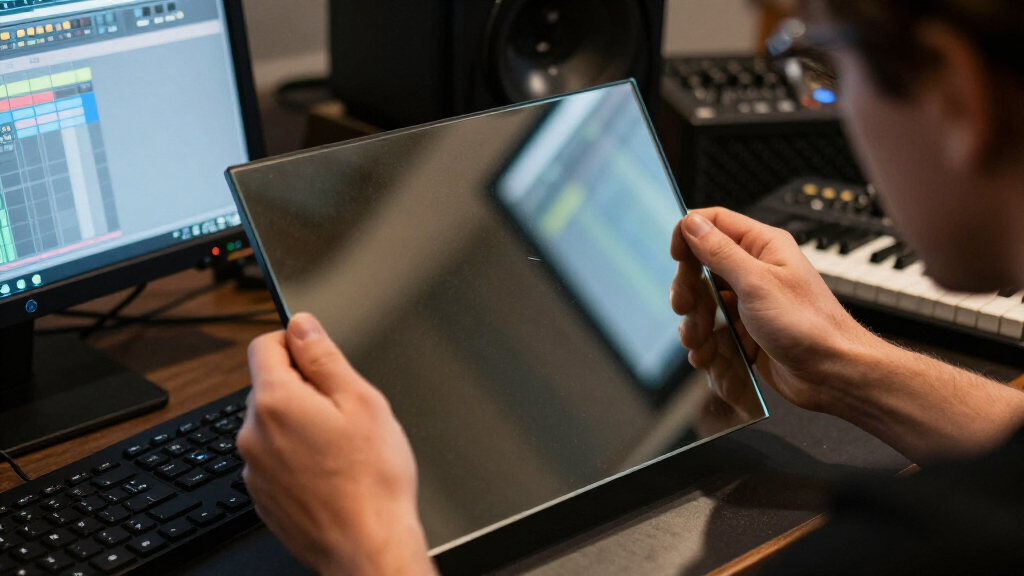
Hold a small, flat, clean mirror close to the window surface.
Slide slowly
Move across the glass while maintaining the target viewing position.
Find alignment
Stop when the light source appears in the mirror from the target.
Mark and repeat
Use removable tape, record the time, then test another sun angle.
A repeatable five-minute survey
Good observations are tied to time, location, and conditions. A single mark is a snapshot; several marks reveal the path you actually need to manage.
Choose directional light
Use a clear sunny period, ideally mid-morning or late afternoon when the reflection has strong contrast.
Clean the surfaces
Smudges and warped mirrors create ambiguous highlights. A small, flat mirror gives the clearest cue.
Hold the viewpoint
Keep the target position fixed. Moving your head changes the geometry and therefore the identified point.
Mark without damage
Use painter’s tape or a washable marker. Note the time, weather, window face, and target location.
Build a movement map
Repeat at several times. Connect the marks to visualize the zone where shading or film may matter.
Verify before installing
Test a temporary shade first. Complex glazing may need simulation or a professional daylight assessment.
Match the tool to the decision
The mirror method excels at fast diagnosis. As geometry and financial stakes increase, layer in digital imaging, laser measurement, or simulation.
Simple test or full model?
Use the least complex method that can support the decision. Permanent façade changes deserve stronger verification than a temporary desk shade.
| Criterion | Mirror trick | Digital imaging | Daylight simulation |
|---|---|---|---|
| Fast on-site diagnosis | ✓ | ✓ | ~ |
| Low-cost access | ✓ | ~ | ✗ |
| Seasonal prediction | ✗ | ~ | ✓ |
| Curved or multi-pane glass | ~ | ~ | ✓ |
| Professional design evidence | ~ | ~ | ✓ |
✓ strong fit ~ conditional fit ✗ limited fit
From bright spot to better room
Turn observation into a controlled intervention, then verify the result under the same conditions.
Observe
Fix the target and locate the reflected source.
Map
Record time-stamped points across the glass.
Control
Test shading, film, fins, or light redirection.
Verify
Recheck glare, daylight, and thermal comfort.
What changes the result?
Reflection geometry is predictable, but real windows add curvature, coatings, multiple panes, interior reflections, and changing weather.
Can the trick still work?
Yes, as a rough map. Curvature spreads or redirects the reflection, so test several positions and use modeling for precise interventions.
Which reflection counts?
Several faint images may appear. Focus on the path that reaches the target, record the overall pattern, and verify before applying film.
Why is alignment difficult?
Diffuse light lacks a strong directional source. Wait for direct sun or use a safe, controlled artificial test light.
Is one survey enough?
No. Use it for rapid assessment, then add seasonal simulations or photometric measurements when performance and cost are material.
The mirror trick turns invisible geometry into a visible mark—then repeated observations turn that mark into a practical daylight strategy.
What Is the First Reflection Point and Why Should You Care?
The first reflection point is where sunlight or artificial light first bounces off the window’s surface before entering the room. It’s a critical spot because it influences how much light, glare, and heat gain your space receives.
Understanding this point matters because it directly impacts energy efficiency and occupant comfort. When you know where the initial bounce occurs, you can strategically position shading devices, films, or reflectors to block or redirect light effectively. This minimizes unwanted glare and heat while maximizing natural daylight. The tradeoff is that misjudging this point can lead to ineffective shading or increased energy costs due to over- or under-shading. Knowing the exact location allows for more precise interventions, reducing waste and enhancing comfort.
Imagine standing outside on a sunny day and seeing the bright spot on your window. That’s your first reflection point, and it’s where energy and light are first directed inward. Knowing this helps you position shading devices or films effectively, saving energy and increasing comfort.
For example, if you’re installing a solar film, aligning it with this point maximizes its efficiency. Or, if you want to reduce glare during afternoon hours, understanding where that initial bounce occurs guides your shading placement.

SICWEDIM Fabric Density Mirror, Digital Analysis Tool with 4 LED Lights, 50-200X Magnification & Manual Rotation for Textile Density Detection
- Digital Fabric Density Meter: Measures linear density and thickness accurately
- High-Quality Imaging: 2MP CMOS lens with 4 LED lights
- Magnification Technology: Digital zoom with 50-200X magnification
As an affiliate, we earn on qualifying purchases.
As an affiliate, we earn on qualifying purchases.
How the Mirror Trick Lets You Pinpoint the First Reflection Spot
The mirror trick is a straightforward method to visually track light’s first bounce. But why does this work so well? Because light follows a predictable path, and by physically aligning a mirror with the incoming light, you can observe where that light first interacts with the glass surface. This gives you a tangible, visual cue that’s more intuitive than calculations or software models.
Here’s how it works: placing a mirror outside the window at eye level allows you to reflect the sunlight or light source directly back toward you. When you tilt or adjust the mirror until the reflected light aligns with the source, the point of contact on the glass is where the first bounce occurs. This method leverages your natural perception and simple observation, making it accessible even without technical expertise.
For example, on a bright summer afternoon, hold the mirror outside, tilt until you see the sun’s reflection, then mark that position. That’s your first reflection point — simple as that.
This method works best with flat, single-pane windows but can be adapted for multi-pane or curved glass with some tweaks. The core idea is that your visual alignment provides a reliable indicator of where the initial light interaction takes place, which is crucial for effective shading or film placement.
As an affiliate, we earn on qualifying purchases.
Step-by-Step: Finding the First Reflection Point Using the Mirror Trick
Here’s a quick, practical guide to mastering the mirror trick in your own space:
- Choose a sunny day with clear light, ideally mid-morning or late afternoon for best contrast. This helps ensure the light is strong enough to clearly see reflections and reduces the ambiguity caused by diffuse or low-angle sunlight.
- Get a small, clean mirror — something easy to hold and adjust. A clear, flat mirror minimizes distortions and provides a true reflection.
- Stand outside the window, holding the mirror at eye level near the glass. Positioning at eye level ensures your perspective aligns with the incoming light path, making the reflection easier to interpret.
- Adjust the mirror’s angle until you see the sun’s reflection in the mirror. Move slowly and observe how the reflection moves; small adjustments can make a big difference in pinpointing the exact spot.
- Note where the mirror touches the glass — that’s your first reflection point. Mark it with tape or a washable marker for future reference.
- Repeat at different times or angles to confirm the spot’s stability. Consistency across different conditions indicates a reliable reflection point, while significant shifts suggest sun movement or window surface irregularities that need accounting for.
This process takes less than five minutes and can be adapted for cloudy days with artificial light sources. The key is to understand that repeated observations help verify the stability of your identified reflection point, which is critical for effective shading or film placement and long-term energy savings.

One Way Mirror Privacy Film with Night-Time Vision 5% (24" Wide), Privacy, Solar Heat Rejecting, UV Protection, Glare Reduction Window Film (24" x 9ft)
- One Way Mirror Effect: See out, others can't see in
- Night-Time Privacy: Provides basic privacy at night
- Daylight Mirrored Privacy: Mirrored effect during the day
As an affiliate, we earn on qualifying purchases.
As an affiliate, we earn on qualifying purchases.
Frequently Asked Questions
Can I use the mirror trick on curved or multi-pane windows?
Yes, but it requires more adjustments. For curved glass, angle the mirror to match the curvature. Multi-pane windows can be tricky; focus on the outer surface or use multiple assessments for accuracy. The challenge lies in the complex reflections: curved surfaces can redirect light unpredictably, so multiple measurements or software modeling might be necessary for precise positioning. Multi-pane windows may have internal reflections that complicate the process, but focusing on the outer surface and understanding the overall reflection pattern can still yield useful results.Is the mirror trick effective on cloudy days?
It’s less effective since sunlight is diffused. But you can try it with artificial light sources or during moments with direct sunlight filtering through clouds. The key is the presence of a strong, direct light source; diffuse light reduces the clarity of reflections, making it harder to identify the precise first bounce. In such cases, supplementing with artificial lighting or using software simulations can provide more reliable data.How precise is the mirror trick compared to professional tools?
It’s a quick, visual method — great for initial assessments. For detailed planning, combine it with software simulations or professional measurements. The mirror trick offers a practical, immediate estimate but lacks the pinpoint accuracy of laser or photometric tools. Its main benefit is accessibility and speed, which can inform whether further detailed analysis is necessary.What kind of mirror should I use?
A small, flat, and clean mirror works best. A mirror with a reflective surface free of smudges provides the clearest reflection, making adjustments easier. The flat surface ensures true reflections without distortion, which is essential for accurately locating the reflection point.How often should I check the reflection point?
Check it seasonally or when significant sun angle changes occur. This helps keep shading and films aligned with the sun’s movement for maximum efficiency. Regular checks account for seasonal variations and ensure your shading strategies remain effective over time, reducing the risk of energy waste or glare issues.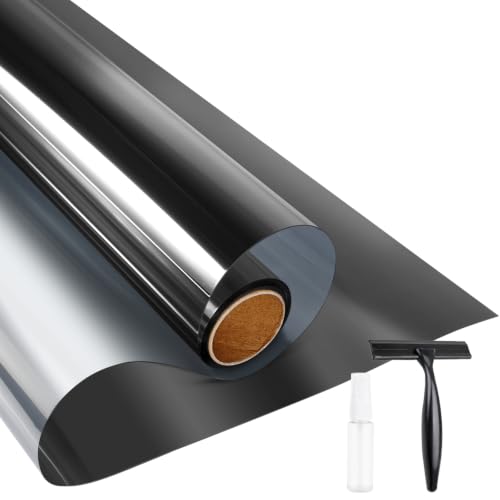
KESPEN Window Privacy Film One Way Static Cling Tint, Black, 17.5InX6.5Ft
- UV and Glare Protection: Blocks 82% infrared and 90% UV rays
- Visible Light Transmission: Allows 12% visible light entry
- Heat and Energy Efficiency: Reflects heat to reduce energy costs
As an affiliate, we earn on qualifying purchases.
As an affiliate, we earn on qualifying purchases.
Conclusion
Mastering the mirror trick turns a complex light puzzle into a straightforward visual game. It’s a powerful step toward smarter window management, saving energy and boosting comfort.
Next time the sun hits just right, think of that tiny bounce — and use it to your advantage. Your space, your light, your comfort — all within reach with a simple mirror.