TL;DR
Open a free Amazon Business account
Business pricing, bulk buying and tax-exempt orders.
Create a free accountAs an affiliate, we earn on qualifying purchases.
Always set your camera’s exposure first before tweaking your lighting. Proper exposure ensures details are preserved, making lighting adjustments more effective. Use tools like histograms and manual controls for best results.
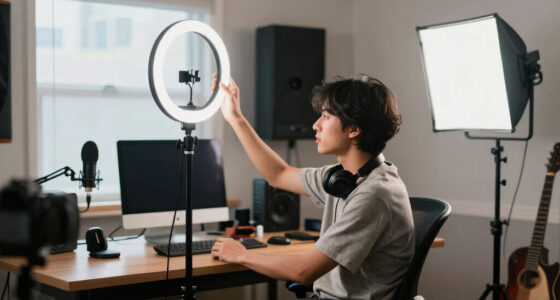
Imagine stepping into your studio with a new set of lights, eager to create a stunning shot. You turn everything on and start adjusting, only to find your image is too dark or blown out. Frustrating, right? Here’s the truth: your camera’s exposure settings are the foundation. Get them right first, and everything else falls into place. This isn’t about fancy gear — it’s about understanding the simple act of balancing brightness before you add new lights. When you start by nailing exposure, lighting becomes a tool to enhance, not fix, your shot.
In this article, you’ll learn why exposure always comes first, how to set it confidently, and how recent tech makes this easier than ever. If you want predictable results and images that pop, mastering exposure is your first step. Let’s dive in.
Always set your exposure in manual mode before adjusting lighting; it provides a stable baseline.
Use the histogram and highlight warnings to evaluate and refine exposure quickly and accurately.
Adjust aperture, shutter speed, and ISO in harmony to achieve the right exposure—think of it as balancing a triangle.
Modern cameras with real-time feedback tools make setting exposure faster and more precise, especially in complex lighting situations.
Getting exposure right first prevents overexposed or underexposed images, saving time and frustration in post-production.
Why Exposure Is the Foundation of Every Good Shot
Exposure is the amount of light that hits your camera’s sensor, shaping how bright or dark your image appears. Think of it as the canvas’s brightness in painting — get it right, and everything else falls into place. When you introduce new lights, your camera’s existing exposure settings determine how those lights will interact with your scene. If your exposure is off, no amount of lighting adjustment can fix it later.
For example, if you start with a shot that’s too dark, adding more lights won’t fix lost details in shadows. Conversely, if your shot is overexposed, highlights will blow out, and fine textures vanish. Setting exposure first means you’re working with a clean slate, making lighting adjustments more predictable and effective. It’s the difference between trying to paint on a wet canvas versus a dry one.
Deeply understanding exposure’s role reveals its importance: it’s not just about brightness, but about controlling how your image communicates mood, detail, and clarity. Underexposure can hide textures and create a moody atmosphere, but too much can flatten your image or cause noise. Overexposure sacrifices highlight detail, losing subtlety and texture. The tradeoff is precision—getting exposure right allows you to harness lighting creatively while maintaining control over image quality. Modern sensors and real-time histograms help you see these nuances instantly, enabling smarter decisions during your shoot.
As an affiliate, we earn on qualifying purchases.
How to Set Exposure Correctly Before Turning on New Lights
- Switch to manual mode. This step is critical because auto modes adjust settings dynamically, which can lead to unpredictable results when you’re trying to establish a baseline. Manual mode gives you consistent control, ensuring your initial exposure is accurate and repeatable, forming a reliable foundation for lighting adjustments.
- Use a reference shot. Framing your scene as you envision it, take a quick test shot. This isn’t just about capturing an image; it’s about creating a benchmark. Analyzing this shot reveals whether your exposure is balanced—if it’s too dark, you know you need more light or a wider aperture; if it’s blown out, you need to reduce exposure. This step anchors your lighting setup in a measurable reality, reducing guesswork.
- Check your histogram. The histogram displays the tonal distribution across your image, showing whether your shadows and highlights are well-balanced. Aim for a histogram that is spread across the range without bunching at either end, indicating proper exposure. This visual feedback helps you see beyond what your LCD screen shows, which can be misleading in bright conditions. Proper histogram analysis allows you to make precise adjustments, avoiding the common pitfalls of under- or overexposure.
- Adjust aperture, shutter speed, and ISO. Tweak these controls in tandem, understanding their tradeoffs. For example, opening the aperture lets in more light but reduces depth of field. Slowing shutter speed increases exposure time but risks motion blur. Raising ISO brightens the image but introduces noise. Strive to keep ISO as low as possible to preserve image quality while balancing aperture and shutter speed for correct exposure. This careful calibration ensures your scene is well-exposed from the start, giving you a stable base for lighting decisions.
- Review and refine. Take additional test shots, scrutinize highlight warnings, and compare with your histogram. Adjust your settings iteratively until you achieve a balanced exposure. Lock these settings once satisfied. This process minimizes surprises when you turn on your lights, ensuring your scene’s brightness and contrast are under control before adding lighting effects.
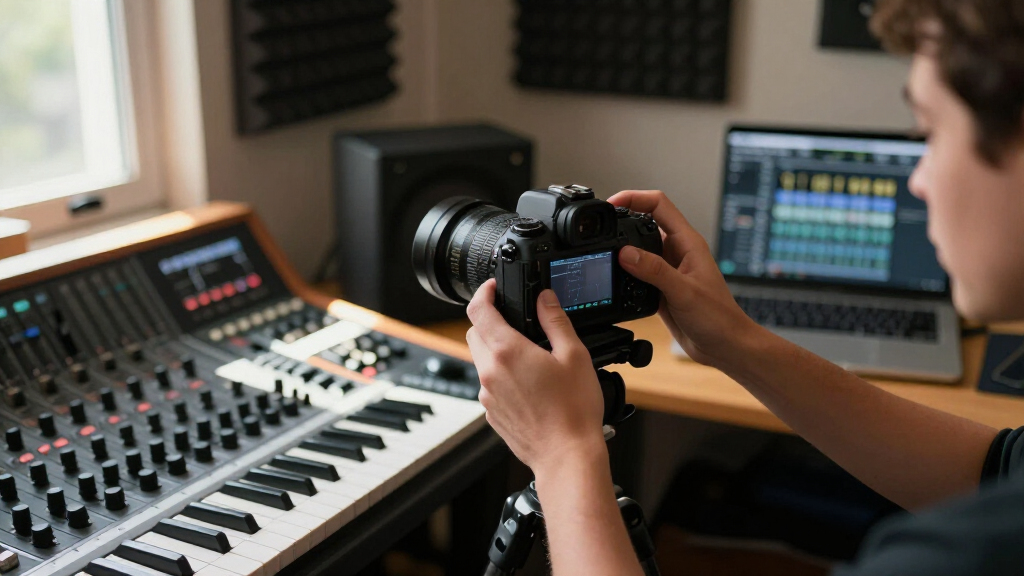
Imagine shooting a portrait with window light. You set your camera to manual, then gradually open the aperture and lower ISO until the histogram shows a balanced curve, indicating good exposure. Only then do you introduce your lights to enhance the scene. This disciplined approach prevents overexposure and underexposure, allowing your lighting to serve your creative intent without technical distractions.
Modern cameras with real-time histograms, highlight warnings, and exposure simulation tools streamline this process. They provide instant feedback, helping you make confident adjustments quickly—even in complex or changing lighting conditions.
As an affiliate, we earn on qualifying purchases.
The Triangle of Exposure: Aperture, Shutter Speed, and ISO
| Parameter | What It Controls | Impact on Image |
|---|---|---|
| Aperture | Depth of field and light entry | Wider aperture (f/1.8) brightens image, shallow focus; narrower (f/16) darkens, deep focus |
| Shutter Speed | Motion blur and exposure time | Faster speeds (1/1000s) freeze motion; slower (1/30s) blurs movement |
| ISO | Sensor sensitivity | Lower ISO (100) yields cleaner image; higher ISO (3200) increases noise but brightens |
Understanding how these three parameters interact is crucial when working with new lighting, as each influences the others. For example, increasing your light intensity makes your image brighter, but if your aperture is already wide open or shutter speed is slow, you risk overexposure. Conversely, narrowing the aperture or increasing shutter speed can compensate for brighter lights, but each adjustment affects depth of field and motion clarity. Recognizing these tradeoffs allows you to make informed decisions quickly, maintaining a balanced exposure that aligns with your creative intent. This understanding also helps you anticipate the consequences of changing one parameter, so you can adjust the others accordingly, avoiding the common pitfalls of trial-and-error and saving valuable shooting time.
As an affiliate, we earn on qualifying purchases.
Why Modern Tech Makes Setting Exposure Easier Than Ever
Today’s cameras come packed with tools that make setting exposure almost foolproof. Real-time histograms show you the distribution of brightness across your image, helping you spot underexposure or overexposure instantly. Highlight warnings blink at you if your brightest areas are blown out, guiding your adjustments.
AI-driven features, like automatic exposure correction, analyze your scene and suggest tweaks, saving time and guesswork. Some cameras even simulate how your image will look with different exposure settings, so you can experiment without taking multiple shots.
For example, during a shoot with changing natural light, a camera’s real-time histogram and highlight alerts let you make quick adjustments. The result? Consistent images, even as the environment shifts.
In short, technology now helps you focus on your creativity, not just technical settings. But remember: understanding manual exposure still offers the best control when things get tricky or when you want specific effects.
As an affiliate, we earn on qualifying purchases.
Practical Tips for Perfect Exposure Before Lighting Your Scene
- Always shoot in manual mode to keep control over your exposure.
- Use your camera’s histogram as a guide—aim for a balanced spread, not too skewed to dark or light.
- Start with a reference shot, then adjust aperture, shutter speed, and ISO until the histogram looks right.
- Keep ISO low to minimize noise; bump it up only if lighting conditions demand it.
- When working outdoors or with changing light, take advantage of live exposure previews and highlight warnings.
For instance, if you’re shooting a product in your studio, take a quick shot, check your histogram, then tweak your settings. Once the exposure is perfect, turn on your lights and make minor lighting adjustments to perfect the scene.
Remember, the goal is to set a solid exposure baseline. That way, your lighting becomes a creative tool rather than a fix for exposure mistakes.
Frequently Asked Questions
Why is setting exposure first so important when working with new lighting?
Because proper exposure ensures your image has the right brightness and detail from the start. It makes lighting adjustments more predictable, avoiding surprises like blown highlights or lost shadows.How can I quickly evaluate if my exposure is correct?
Use your camera’s histogram and highlight warnings. Aim for a balanced histogram with minimal blinking highlights. Review test shots on your screen to ensure shadows and highlights retain details.What should I do if lighting conditions change during a shoot?
Switch to manual mode, take a reference shot, and check your histogram. Adjust your camera settings accordingly before tweaking your lights to match the new setup.Can I rely on auto exposure modes?
Auto modes can help in a pinch, but for consistent results, especially with complex lighting, manual control provides the best precision. Use auto as a starting point, then fine-tune manually.What recent tech features help with exposure setting?
Features like real-time histograms, highlight warnings, and AI-based exposure correction help you quickly evaluate and refine exposure, making the process faster and more accurate.Conclusion
Mastering your camera’s exposure before tweaking lights turns a confusing shoot into a smooth operation. It’s about laying a solid foundation—then letting your lighting enhance your vision. Remember, when exposure is right, everything else becomes simpler and more predictable.
So next time you set up a scene, start by locking in your exposure. Your images will thank you — brighter, clearer, and more professional-looking. When your exposure is solid, your lights are just the finishing touch, not a fix.
Flea & tick season Picks
flea and tick prevention
As an affiliate, we earn on qualifying purchases.