
TL;DR

Get audio and creator gear delivered free — and shop member deals
- Fast, free delivery on millions of items
- Access to Prime Big Deal Days deals on October 6–7
- Prime Video, Amazon Music and more included
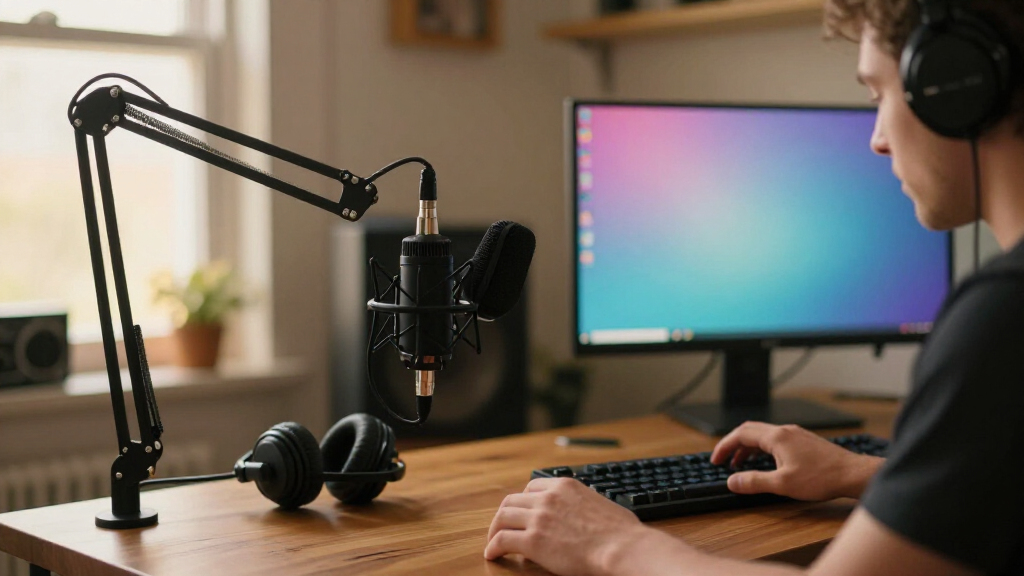
A studio-quality microphone for streaming captures clear, intelligible voice with low noise, but the label alone does not guarantee polished audio. Match USB or XLR, dynamic or condenser, and pickup pattern to your room and workflow; then prioritize close placement, sensible gain, and headphone monitoring before buying extra gear.
A new microphone can make your voice sound worse if you place it across the desk, turn the gain up to catch every word, and let your keyboard clatter straight into it. Clear streaming audio starts with the whole setup, not the price tag on the mic.
This guide helps you choose a studio-quality microphone for streaming based on your room, connection, and budget. You’ll learn what USB and XLR actually change, when dynamic or condenser designs make sense, and how a few practical setup choices can give you intelligible voice with low noise—even if your studio is a bedroom with a noisy PC fan.
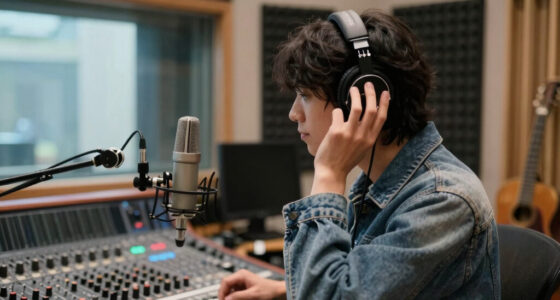
“Studio-quality” is a broad marketing phrase, not a technical guarantee. Think of your audio chain as a small stage: the microphone is the lead performer, but the room, placement, gain, and monitoring all shape what your audience hears.
Treat “studio-quality” as a broad label; room, placement, gain, and speaking technique shape the final sound.
Choose USB for a simple computer connection; choose XLR when you can use an interface or want room to expand.
Consider a close-positioned dynamic mic for a noisy room and a condenser for a quieter space, while checking the sound of the actual setup.
For solo streaming, start with cardioid, position the mic close and slightly off-axis, and monitor the result through headphones.
Fix obvious room noise and placement issues before adding heavy software suppression or buying extra accessories.
What makes a streaming microphone sound studio-quality?
A studio-quality microphone for streaming captures your voice clearly, consistently, and with little unwanted noise; no single label or price guarantees that result. The sound you send to viewers also depends on the room, where you place the mic, your input level, and how you speak. A well-positioned budget mic can beat a costly one parked too far away.
Imagine recording beside a bare wall and a hard desk. Your voice bounces around the room, while keyboard taps and a computer fan fill the gaps. The recording can sound hollow even when the microphone itself is capable. Add a rug, curtains, or a bookcase, move the mic nearer to your mouth, and the voice often becomes more direct and less boxy.
The microphone is like a camera lens: a better lens helps, but it cannot change the room lighting. For useful key facts and buying priorities, separate the microphone’s capabilities from the result of your entire setup. A listing may promise crisp detail, but your audience hears the mic, your room, and any processing together.
Start by asking what you need: one clear voice on a live stream, two people at a desk, or a portable setup you can pack away. A solo streamer in a quiet room has different needs from someone gaming beside a mechanical keyboard. That distinction saves money and keeps marketing language from making the decision for you.
USB studio microphone for streaming
As an affiliate, we earn on qualifying purchases.
As an affiliate, we earn on qualifying purchases.
Choose USB or XLR without buying gear you don’t need
USB is usually the simpler starting point: you connect the microphone to your computer, and its built-in audio interface handles the conversion. XLR gives you a flexible path for interfaces, mixers, and multi-microphone setups, but adds hardware and setup steps. The right option depends on how you plan to work, not on which connector sounds more professional.
| Setup | What you get | What to watch |
|---|---|---|
| USB | Direct connection, fewer parts, often built-in headphone monitoring | Check computer and software compatibility; expansion can be limited |
| XLR | More control through an interface or mixer, easier to expand | Budget for the interface, cable, and extra setup |
| USB/XLR hybrid | USB convenience now, XLR option later on supported models | Confirm which controls and features work on each connection |
For example, if you stream alone twice a week from a laptop, USB may give you the cleanest route from box to broadcast. If you already own an interface for music recording, an XLR mic may fit your desk without adding another device. A hybrid model can make sense if you want to start with USB and might add an interface later; it does not make every sound problem disappear.
Compare the full setup cost, not just microphone prices. Include a stand or boom arm, cable, pop filter if needed, and an interface for XLR. Also check whether a mic’s mute button, gain dial, monitoring, or software effects work with your operating system and streaming app. Product prices and software support change, so verify current specifications before buying.
XLR condenser microphone for streaming
As an affiliate, we earn on qualifying purchases.
As an affiliate, we earn on qualifying purchases.
Match dynamic or condenser microphones to your room
Dynamic microphones are often practical in noisy or untreated rooms, while condensers tend to capture more detail and may suit quieter, treated spaces. These are useful tendencies, not iron laws: the model, distance, room, and processing all affect what reaches your stream. A mic type alone cannot promise that your voice will sound polished.
A dynamic mic often works well for a gamer whose PC fans and keyboard sit nearby. You typically keep it close to your mouth, which helps your voice stand out from sounds farther away. The tradeoff is that some dynamic models need more gain, so you still need to set the input carefully rather than cranking it up and inviting background noise along.
A condenser can bring out a softer, more detailed vocal sound in a quiet room. That same sensitivity may reveal the desk fan, hard-wall reflections, or your keys. If you test a condenser in a lively bedroom, record a short sample while speaking normally, then listen on headphones for room echo and noise—not just for the pleasant detail in your voice.
For a one-person stream, a cardioid pickup pattern is a common starting point because it focuses mainly on sound from the front. Omnidirectional and bidirectional patterns can suit group conversations or interviews, but may capture more of the room. Picture a solo host facing the screen: cardioid helps keep the mic’s attention on the host rather than the whole desk.
dynamic microphone for noisy rooms
As an affiliate, we earn on qualifying purchases.
As an affiliate, we earn on qualifying purchases.
Set up your microphone in five steps for clearer speech
Close placement, careful gain, and a quick headphone check usually improve streaming audio faster than buying another accessory. These five steps give you a repeatable setup: make one change at a time, record a short test, and listen for the problem you’re trying to fix. That way, you can tell whether your adjustment helped.
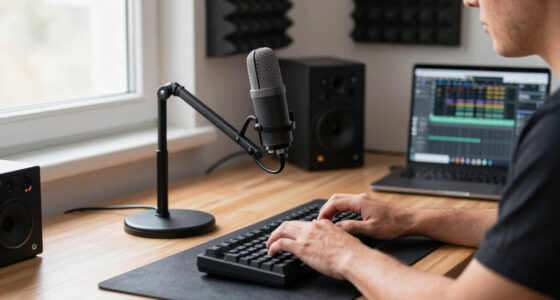
- Place the mic close enough to capture your voice clearly. Start near the manufacturer’s suggested distance, then test what sounds natural. A mic placed across the desk often forces you to raise gain and pick up more room noise.
- Angle it slightly off-axis. Speaking across the mic rather than straight into it can soften bursts of air from “p” and “b” sounds. If your voice pops on “pop,” adjust the angle or add a pop filter.
- Set gain with normal speech. Talk at your usual streaming volume and raise the input until your voice is strong without clipping. If a laugh or excited call distorts, lower the level and test again.
- Reduce desk vibration. A boom arm or careful placement can keep a mouse click or desk bump from shaking the microphone. An arm also lets you move the mic close without blocking your screen.
- Listen through headphones. Check for hum, clipping, fan noise, and changes in your position. A short test recording can catch problems before a live audience does.
A pop filter or foam windscreen can reduce plosive bursts and breath noise, but it cannot replace good technique. Similarly, a shock mount can help with vibration transmitted through the desk, but it won’t silence a loud keyboard. Buy an accessory to solve a sound you can actually hear, not because every streamer’s setup photo includes one.
As an affiliate, we earn on qualifying purchases.
Cut room echo and keyboard noise before adding heavy processing
Room reflections and excessive gain often make a stream sound rougher than the microphone itself does. Hard surfaces send your voice back into the mic, while high gain raises the level of nearby noise along with your speech. Start by improving the sound reaching the microphone; use software as a light finishing tool, not a repair crew.
Try moving your desk away from a bare wall or hanging thick curtains near the recording spot. A rug and a full bookcase can soften a lively room without turning it into a professional booth. Foam panels may reduce some reflections at the right placement, but foam does not soundproof a room or block a neighbor’s leaf blower.
If a keyboard clicks sharply in your stream, move the microphone closer to your mouth and farther from the keyboard, then lower unnecessary gain. You can also angle the mic so its front points toward you rather than the keys. These small moves often preserve a natural voice better than aggressive noise suppression, which can clip quiet syllables or make speech sound watery.
A high-pass filter can reduce low rumbles, and gentle compression can make loud and quiet phrases more even. Heavy processing, though, can flatten your voice or leave strange gaps. Make a short before-and-after recording: if the treated version sounds less like you, back off. Low noise and natural speech matter more than a perfectly silent meter.
Spend your budget on the features you’ll use every stream
The best-value microphone is the one that fits your workflow and stays easy to position, not necessarily the one with the longest feature list. For many streamers, reliable connection, headphone monitoring, a useful mute control, and a stand that brings the mic close matter more every day than a bundle of effects they never open.
Suppose you stream from a small desk and switch between gaming and voice calls. A compact USB mic with a stable stand and a headphone jack may suit you better than a larger XLR setup that crowds your screen. If you already own an interface and want to record guests later, the XLR route may justify its extra pieces. There isn’t one universal winner; the room and workflow decide.
Before you buy, check whether the boom arm can reach your speaking position without sagging, whether the mic’s controls are on the hardware or buried in an app, and whether any advertised noise features need specific software. Confirm operating-system support and the return policy too. Current model specifications and availability change, so verify them rather than relying on an old review.
One sensible upgrade order is simple: fix placement, set gain, handle room reflections, then add accessories or software to solve remaining problems. A streamer who spends a modest amount on a boom arm and uses the mic properly can get a more useful improvement than someone who buys a premium mic and leaves it a meter away. Pay for a clear benefit you can name.
Frequently Asked Questions
Is USB or XLR better for streaming?
USB is easier to set up because it connects directly to a computer and includes the audio-conversion hardware. XLR needs an interface or mixer, but gives you a flexible setup for expansion. Choose based on your existing gear and plans, not the connector’s reputation.
Do I need a dynamic or condenser microphone?
A dynamic mic is often a practical fit for a noisy or untreated room, while a condenser can capture detail in a quiet space. Room acoustics, placement, and the particular model can change the result, so record a test in your actual setup before deciding.
How close should a streaming microphone be?
Place it close enough for clear, consistent speech, following the manufacturer’s guidance as a starting point. If “p” and “b” sounds burst, turn the mic slightly off-axis or use a pop filter; listen through headphones to check that your voice stays natural.
How can I reduce keyboard and fan noise?
Move the mic closer to your mouth, lower unnecessary gain, and position it away from the keyboard or fan. Soft furnishings can reduce room reflections, while noise suppression may help with steady background sound but can create artifacts if you push it too hard.
Will a more expensive microphone make me sound professional?
It can help, but price alone does not create a polished voice. Room reflections, microphone distance, gain, and speaking technique all affect what viewers hear; a well-placed affordable mic can outperform an expensive one used poorly.
Conclusion
Choose the microphone that fits your room and setup, then put it close, set the gain with normal speech, and listen through headphones. That simple routine often does more for clear streaming audio than an expensive upgrade.
Remember: your mic is a spotlight, not a soundproof room. Aim it well, and your voice—not your keyboard, fan, or bare walls—gets the stage.
Halloween Picks
halloween
As an affiliate, we earn on qualifying purchases.