TL;DR

Get audio and creator gear delivered free with Prime
- Fast, free delivery on millions of items
- Prime Video, Amazon Music and more included
- Member-only deals all year
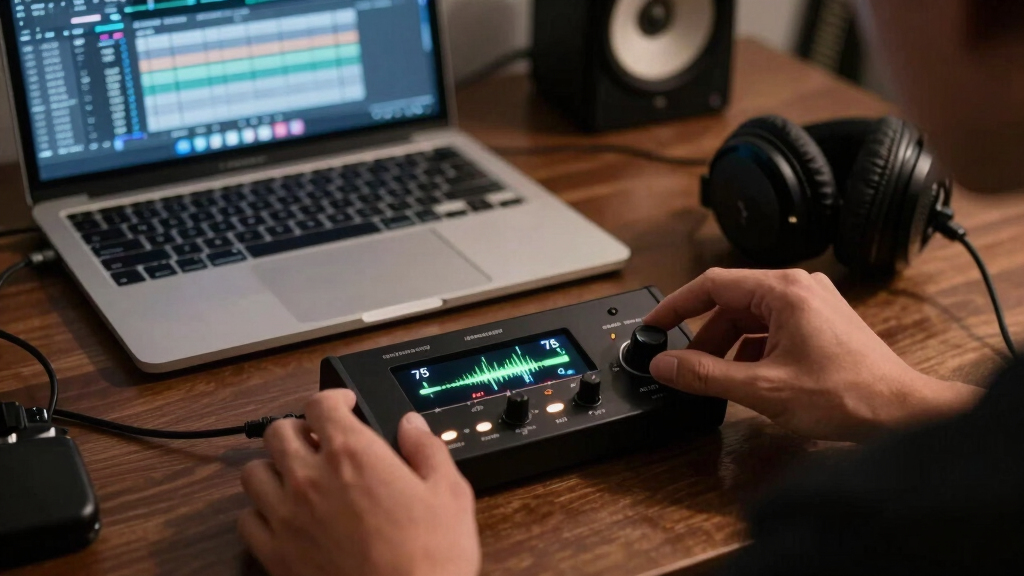
USB mics often clip at 75% gain because of internal design and digital headroom constraints. Setting gain so peaks stay below this threshold prevents distortion and improves sound quality.
Most USB mics clip at roughly 75% gain because of digital headroom limits.
Always aim to set your gain so your loudest sounds peak just below 75%.
Use headphones and visual meters to monitor levels in real-time.
Recording with some headroom makes editing cleaner and easier.
Newer tech is improving headroom, but good gain staging remains crucial.
Why Your USB Mic Clips at 75% — The Simple Truth
USB microphones are designed with a digital ‘safety zone’ in mind. When you set the gain too high, the internal analog-to-digital converter (ADC) hits its maximum level—0 dBFS—and clips. This is like trying to pour water into a glass that’s already full. Many mics are calibrated so that 75% of the gain control corresponds to the point just before clipping begins. Push beyond that, and distortion kicks in, ruining your recording.
Imagine you’re recording your voice for a podcast. You turn your mic gain up to 100%, expecting a louder sound. Instead, the audio suddenly becomes harsh and crackly. That’s digital clipping at work—your mic’s internal design is telling you to keep the gain lower.
As an affiliate, we earn on qualifying purchases.
How Digital Headroom Shapes Your Levels
Digital headroom is the buffer zone between your peak signal and the maximum limit (0 dBFS). Think of it as the safety margin that prevents clipping. Most USB mics and interfaces have limited headroom, and manufacturers often calibrate the gain control so that 75% of the slider or knob aligns with this safe zone.
Understanding why this matters is crucial: if you set your gain too high, you’re pushing the signal close to the digital ceiling where clipping occurs. Conversely, setting it too low might result in a weak signal that is susceptible to noise, requiring more amplification later. The tradeoff here is between signal clarity and noise floor—higher gain can boost quiet sounds but risks clipping, while lower gain preserves headroom but demands more post-processing. Finding the optimal balance ensures your recordings are both loud enough and free of distortion, which is essential for professional-quality sound. Misjudging this balance can lead to either harsh, clipped audio or overly noisy recordings, both of which diminish overall quality.
As an affiliate, we earn on qualifying purchases.
Compare How Different Mics Handle Gain — The Side-by-Side
| Feature | Standard USB Mic | High-Quality USB Mic |
|---|---|---|
| Maximum gain range | 100% | |
| Clipping point | 75% | |
| Built-in headroom | Limited | |
| Ideal gain setting | Around 50-75% |
digital audio interface with high headroom
As an affiliate, we earn on qualifying purchases.
As an affiliate, we earn on qualifying purchases.
Practical Tips to Avoid Clipping and Get Clear Sound
- Set your gain so that the loudest parts peak around 75%, not 100%.
- Monitor your levels with headphones in real-time.
- Use visual level meters—most recording software provides these.
- Record at lower gain and boost volume during editing if needed.
- Test your setup with a loud voice or instrument to find the sweet spot.
As an affiliate, we earn on qualifying purchases.
What Tech Is Improving Gain and Headroom?
Manufacturers now include better ADCs and smarter auto-gain features. These innovations help your mic handle louder signals without clipping, making it easier to get good sound without fussing over exact gain levels. For example, some newer models automatically adjust gain to stay below clipping thresholds, giving you more headroom and cleaner audio.
Additionally, better internal components mean some mics can handle higher levels before distortion occurs—so you don’t always need to keep it at 75%. Just remember: monitoring your levels is still key.
Key Facts You Need to Know
- Clipping at around 75% gain is common across many USB mics due to digital headroom design.
- Proper gain staging—keeping peaks around 75%—prevents distortion.
- Monitoring with headphones and visual meters helps you stay within safe levels.
- Newer microphones have more headroom, but best practice remains cautious gain setting.
Frequently Asked Questions
Why does my USB mic clip at 75% even when I turn down the volume?
Because many USB mics are calibrated so that 75% of gain corresponds to just before clipping. Turning down your system volume doesn’t change the mic’s internal gain setting, so the problem persists if gain is too high.Can I just turn down the gain and still get loud recordings?
Yes, but it’s better to record at a lower gain with enough headroom. You can always boost volume during editing, but clipping during recording is hard to fix later.Are expensive mics less likely to clip at 75%?
Often, higher-end mics have better internal components and more headroom, allowing higher gain before clipping. Still, the same principle applies—monitor your levels actively.How do I know if my levels are too high?
Use headphones and look at your recording software’s level meter. Aim for peaks around 75%, avoiding red zones or digital clipping indicators.Should I always record at 75% gain?
Not necessarily. Adjust based on your voice and environment. The goal is to keep peaks below clipping, usually around 75%, but some voices might need slightly more or less.Conclusion
Getting your gain right isn’t about hitting the maximum. It’s about understanding your mic’s limits and working within them. Think of gain staging like tuning a guitar—small adjustments make a huge difference. Keep your levels below 75%, monitor carefully, and your recordings will sound clearer, cleaner, and more professional. Don’t let digital clipping ruin your voice—set it smart, record it right.Halloween Picks
halloween
As an affiliate, we earn on qualifying purchases.