TL;DR

Get audio and creator gear delivered free — and shop member deals
- Fast, free delivery on millions of items
- Access to Prime Big Deal Days deals on October 6–7
- Prime Video, Amazon Music and more included
Customizing your pen pressure curve transforms how your stylus reacts, giving you more control and a natural feel. Small tweaks lead to big improvements in responsiveness and style matching.
Ever pick up your stylus and feel like it’s fighting you? Maybe the brush size or opacity doesn’t match your pressure as you’d like. That’s where pen pressure curves come in. They’re the secret sauce behind a responsive, natural drawing experience.
By dialing in your pressure response, you can make your digital tools feel just right—like drawing with a real pen or brush. Whether you’re sketching, coloring, or doing detailed work, understanding how to tweak these curves can elevate your craft.
Custom pressure curves can make your digital brushes respond like real media, boosting expressiveness.
Start with small tweaks—big changes can feel unnatural and disrupt your flow.
Use visual graphs and test strokes during adjustments to understand how pressure maps to output.
Different art styles benefit from different curve types—experiment to find what works best.
Keep calibration consistent across devices to maintain predictable response.
What Are Pen Pressure Curves and Why Do They Matter?
Pen pressure curves are the mappings that translate how much force you apply with your stylus into the digital response on your screen. Think of it like a volume knob—turning it changes how loud or soft your brush feels. A linear curve means pressure directly maps to size or opacity, but many artists prefer curves that emphasize certain pressure ranges.
Understanding why these curves matter is crucial because they directly influence your control and expressiveness. A poorly calibrated curve can make your strokes feel stiff or unresponsive, limiting your ability to convey nuance or emotion in your work. Conversely, a well-tuned curve allows for subtle variation, like the gentle shading of a pencil or the dynamic strokes of a brush. The tradeoff is that overly complex curves might require more fine-tuning and can sometimes introduce unintended responses, so finding a balance is key. Mastering this aspect gives you the power to replicate traditional media behaviors digitally, enhancing both realism and expressiveness.
Without customizing, the default settings often feel flat or unresponsive, especially when trying to achieve expressive strokes or delicate details. So, mastering pressure curves is about making your stylus respond like a natural extension of your hand.
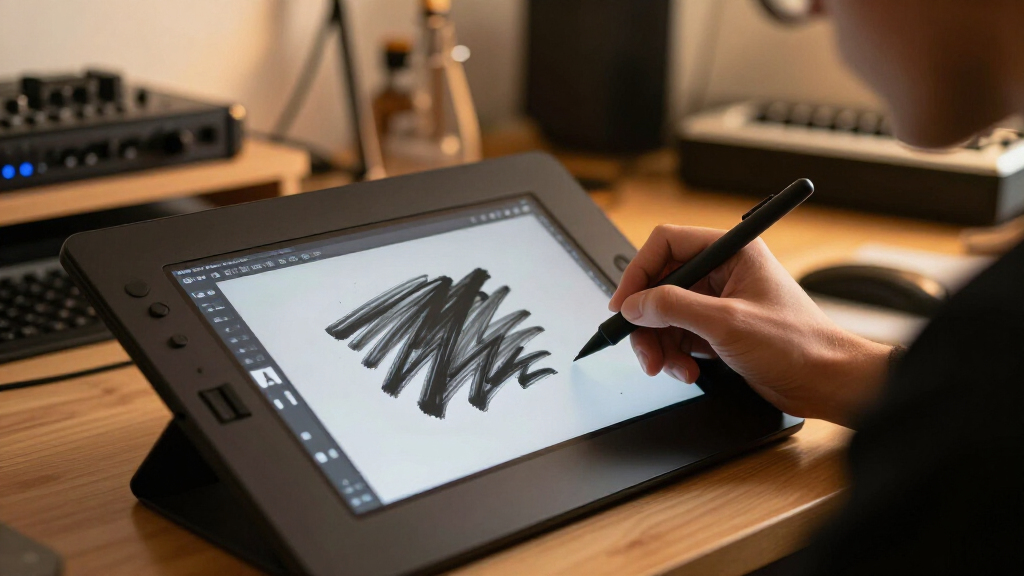
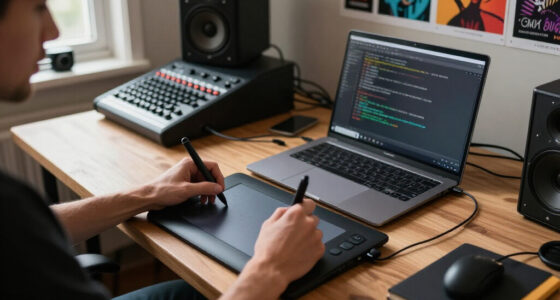
pen pressure curve adjustment for drawing tablet
As an affiliate, we earn on qualifying purchases.
As an affiliate, we earn on qualifying purchases.
How to Create Your Perfect Pressure Curve in 3 Easy Steps
- Start with the default setting in your software or driver. Test it with your favorite brush or pen tool.
- Adjust the curve gradually—small tweaks matter. Use the visual graph to see how pressure maps to output.
- Keep testing. Make adjustments based on how it feels during actual drawing. Save different profiles for various styles or tools.
For instance, if your lines feel too stiff at light pressure, slightly flatten the curve at the low end to encourage more sensitivity in that range. Want more control at high pressure? Steepen the curve at the top to amplify the effect of heavier presses. These small, iterative adjustments allow you to fine-tune the response to match your preferred drawing style. Remember, the goal is to create a response that feels natural and intuitive, mimicking traditional media behaviors as closely as possible. The tradeoff is that over-tweaking can lead to unpredictable responses, so patience and gradual adjustments are essential to avoid making your tool feel inconsistent.
Remember: patience is key. Your perfect curve might take a few rounds of tweaks, but once dialed in, your brush will respond as if you’re drawing on paper.
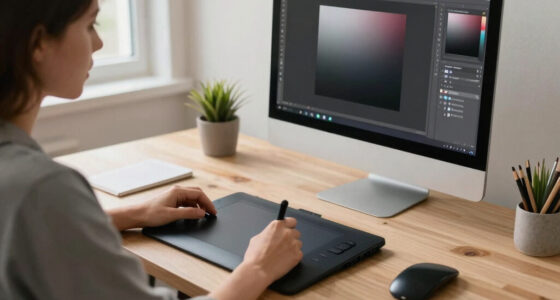
stylus pressure sensitivity calibration
As an affiliate, we earn on qualifying purchases.
As an affiliate, we earn on qualifying purchases.
Compare Different Types of Pressure Curves and When to Use Them
| Curve Type | Description | Ideal For |
|---|---|---|
| Linear | Equal response across pressure. Press a little, and the output increases proportionally. | General use, when you want predictable, straightforward control. |
| Exponential | More sensitive at the low end, less at the high. Small presses produce big changes, allowing for expressive variation. | Sketching, calligraphy, or expressive strokes where nuanced control enhances artistic intent. However, it can sometimes be less predictable for precise details, so understanding its behavior is essential. |
| Logarithmic | Less sensitive at low pressure, more at high. This curve emphasizes strong presses while keeping light touches subtle. | Refined shading or detailed work where control over bold and delicate strokes is needed. Be aware that this might require more calibration to achieve the desired balance, especially for artists used to linear responses. |
| Custom | Any user-defined curve for precise control tailored to your style. This allows for maximum flexibility but requires experimentation to perfect. | Advanced artists needing specific responses, like mimicking a particular brush or pen. The tradeoff is that custom curves can be complex to set up and may require ongoing adjustment as your style evolves. |
Choosing the right curve depends on your art style and workflow. For quick sketches, linear often works best. For detailed work, exponential or custom curves can give more expressive control. Keep in mind that each type offers different tradeoffs between responsiveness and predictability, so experimenting helps you find the optimal balance for your needs.
As an affiliate, we earn on qualifying purchases.
Frequently Asked Questions
How do I create a custom pressure curve?
Most software provides a graph or sliders to shape the curve. Start with a default, then make small adjustments while testing with your favorite brushes. Save multiple profiles for different styles or tools, and refine as you go.Why does my stylus feel different on different tablets?
Hardware differences, pressure sensitivity levels, and driver settings influence how your stylus responds. Customizing pressure curves helps normalize these differences, ensuring a consistent experience across devices.Can I reset my pressure curve if I don’t like the adjustments?
Yes, most programs allow you to revert to default settings or save multiple profiles. This makes it easy to experiment without losing your baseline settings.What’s the best way to learn how to dial in my pressure curve?
Experiment with small, incremental tweaks. Test your response during actual drawing, and adjust based on how it feels. Over time, you’ll develop an intuition for what works best for your style.Are there recommended settings for specific art styles?
Yes. For calligraphy, steep curves that emphasize pressure differences work well. For detailed shading, a more linear or subtle curve may be better. Tailor your settings to match the feel you want.drawing tablet with customizable pressure curves
As an affiliate, we earn on qualifying purchases.
As an affiliate, we earn on qualifying purchases.
Conclusion
Dialing in your pen’s pressure curve isn’t just a technical tweak—it’s the secret to making digital art feel natural and effortless. Spend a little time customizing, and your stylus will become a true extension of your hand.
Next time you sit down to draw, remember: small adjustments lead to big control. Your perfect response is just a few tweaks away—give it a shot and see how your art transforms.
Fall Picks
fall essentials
As an affiliate, we earn on qualifying purchases.

![Amazing Graze [Stan Kelly]](https://artzartz.com/wp-content/uploads/2026/10/amazing-graze-stan-kelly-featured-260x140.jpg)