TL;DR

Get audio and creator gear delivered free with Prime
- Fast, free delivery on millions of items
- Prime Video, Amazon Music and more included
- Member-only deals all year
Recording room tone is about capturing the ambient noise of a space without action. Keep it at least 30 seconds, match mic placement, and record clean, raw sound for smooth editing and natural-sounding fixes.
Ever tried to patch a jumpy cut or fill a silence in a scene and found your options limited? The secret weapon is room tone. It’s the quiet, unassuming background noise that makes edits invisible and scenes feel alive.
Most editors swear by it, but capturing good room tone isn’t just pressing record and hoping for the best. It’s a skill — one that can save hours in post and make your work sound professional, even on a tight budget.
Always record room tone at every location and setup; a minute is better than 30 seconds.
Match microphone type and placement as closely as possible to production for seamless blending.
Use metadata diligently—location, time, mic details—to make your recordings easy to use.
In a pinch, steal tone from pauses or use ambience-matching tools, but re-record whenever possible.
Keep your recordings raw, with no processing, to give editors maximum flexibility.
What Is Room Tone (And Why It’s Your Best Friend in Editing)
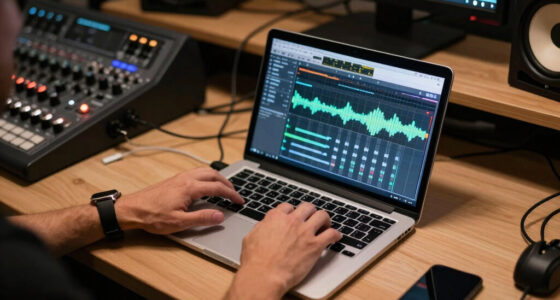
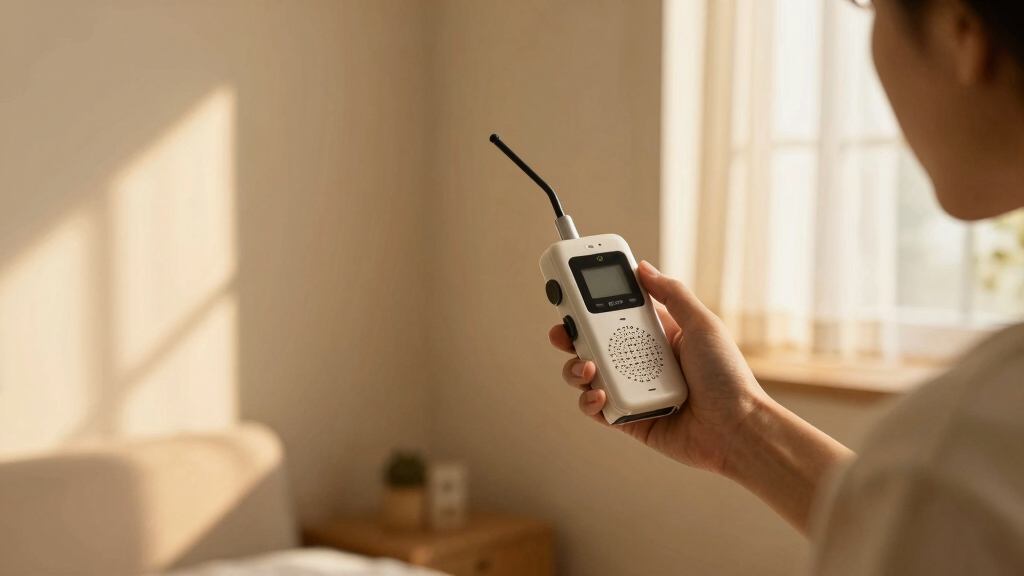
Room tone is the ambient noise floor of a space, recorded with no action happening. It’s not silence. Think of it as the voice of the room—the hum of the HVAC, the faint traffic outside, the refrigerator’s subtle cycle.
Editors use it to patch gaps in dialogue, smooth out edits, and mask unwanted sounds. Without it, your cuts might stand out like a sore thumb, breaking the illusion of reality.
For example, if a character pauses mid-sentence and the audio cuts to silence, the audience notices. Drop in room tone, and that pause feels natural, almost invisible.
As an affiliate, we earn on qualifying purchases.
How to Record Room Tone That Blends Seamlessly
- Keep everyone silent. Call out “hold for room tone” and have actors stand still while you record.
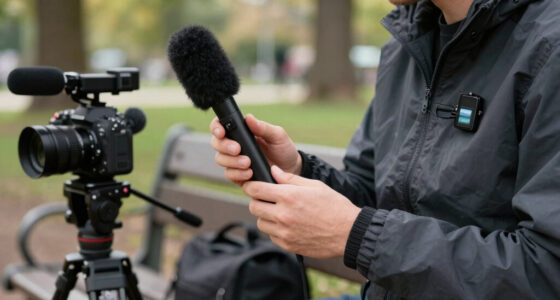
- Use the same mic and placement as during dialogue. Position it close enough to capture the same tonal qualities.
- Record for at least 30 seconds. Longer is better—aim for 1–2 minutes to give editors options.
- Turn off noisy appliances: refrigerators, fans, fluorescent lights. If you can’t, record when they’re off or during quiet times.
- Log all details: location, time, mic position. Metadata makes the difference later.
For example, on a shoot, I’ve found that recording 90 seconds of room tone in the corner of a busy café, with the same boom mic, makes editing a breeze. The sound matches perfectly, and nobody notices the patch.
As an affiliate, we earn on qualifying purchases.
Matching Microphone and Placement: How Close Is Close Enough?
| Aspect | Ideal | Practical |
|---|---|---|
| Microphone Type | Same as production (shotgun, lav, boom) | At least same pattern (shotgun or cardiod) |
| Placement | Same position relative to actors and environment | Within a foot or two for close match |
| Distance | Same as during dialogue | Close enough to match tonal qualities |
Even a small shift can change the tone. For instance, recording room tone from a corner of a room, just a few inches closer or farther, can bring noticeable differences. The closer your setup is to your production mic, the more natural the blend. Understanding these tradeoffs is key: slightly different mics or placement might save time but could introduce tonal discrepancies, so weigh convenience against consistency.
As an affiliate, we earn on qualifying purchases.
What to Do When You Forget to Record Room Tone
Missing the initial shot? Don’t panic. Here’s your rescue plan:
- Steal tone from a pause or moment of silence within your existing audio. This can work well if the scene’s background remains consistent. However, this method relies on the background noise being stable and unchanging, which isn’t always the case. Variations in movement or environmental changes can make this patch sound unnatural if not handled carefully.
- Use ambience-matching tools like iZotope RX’s Ambience Match to reconstruct a similar sound from other takes or background noise. These tools analyze the spectral qualities of existing sounds and generate a matching background, which can be surprisingly effective but may require some tweaking. While powerful, they also depend on having enough similar background data; if the original environment was highly dynamic, results might be less convincing.
- If all else fails, re-record a quick room tone in similar conditions—ideally at the same time of day and with the same mic setup. This ensures the ambient characteristics match as closely as possible, maintaining scene continuity. Although re-recording takes extra time, it’s often the most reliable way to ensure seamless audio.
For example, I once forgot to record room tone at a location, but by isolating a quiet moment in a scene and using RX’s Ambience Match, I recreated a tone that blended nearly perfectly. Still, re-record whenever possible to avoid subtle mismatches that can become noticeable after editing.
As an affiliate, we earn on qualifying purchases.
Understanding the Difference: Room Tone, Ambience, Wilds, and Atmos
These terms trip people up. Here’s the quick rundown:
- Room tone: Quiet background noise of a specific location, recorded with no action. It provides a consistent ambient layer that can be looped or patched in editing.
- Ambience/Atmos: Broader environmental sounds—like a forest’s rustling leaves or city traffic—used for sound design and creating a sense of place. Ambience often involves longer recordings that set a mood or environment.
- Wild tracks: Audio recorded without picture, often on location, including room tone or background noise. They can be used to fill gaps or add depth but may require matching and processing.
- Presence: The feeling or character of a space, often enhanced with ambience. It’s what makes a scene feel alive and believable beyond just dialogue.
Knowing what each term means helps you communicate with editors and sound designers clearly. For example, a wild track might be a 3-minute recording of a city street, while room tone is just 30 seconds of quiet in that same street. Recognizing these distinctions ensures you gather the right sound for the right purpose, and understanding their implications helps avoid mismatched layers that can detract from immersion.
Making Ambience Loops That Sound Natural and Seamless
Looping ambience is about creating a soundscape that feels continuous and natural. Record at least 20–30 seconds of ambient sound during the scene, ensuring it captures the natural variations—like passing cars, birds, or wind. When editing, crossfade the start and end points to smooth the transition. The goal is to avoid any perceptible jump or repeating pattern that breaks immersion.
Creating seamless ambience loops requires attention to detail. Variations in sound—such as distant traffic that subtly changes in volume or direction—help the loop feel less artificial. Consider recording multiple shorter segments and stitching them together, then crossfading between clips. This approach reduces the likelihood of loop points being noticeable and adds a layer of realism to your soundscape. Remember, the more natural the variations and the smoother the transition, the less likely your audience will notice the loop.
Gear and Settings for Perfect Room Tone and Ambience
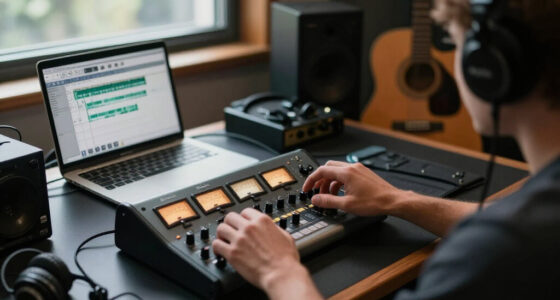
Use a solid recorder with 24-bit/48 kHz WAV output. While 32-bit float recorders are a game-changer for avoiding clipping, any good portable recorder can do the job with proper gain staging. The choice of microphone and settings influences the quality and usability of your recordings. Use a directional mic like a shotgun for focused room tone or stereo mics for capturing a broader ambience. Keep the microphone gain low enough to avoid distortion but high enough to capture quiet sounds clearly. Always record raw—no compression or noise reduction on the way in—so you retain maximum flexibility for post-processing. Proper gain staging is crucial: setting levels too high risks clipping, while too low may produce noisy recordings. Testing and adjusting your setup beforehand can save hours in editing later.
For example, I use a Sound Devices MixPre-6 with a shotgun mic and set gain to avoid clipping, capturing clean, usable room tone even in noisy environments.
Frequently Asked Questions
How long should room tone be?
Aim for at least 30 seconds, but 1–2 minutes gives editors more flexibility for looping and patching. Longer recordings provide more options without becoming cumbersome.Do I need the same microphone and position?
Ideally, yes. Matching mic type and placement ensures the tone blends naturally with production dialogue. Even a few inches difference can change the sound, so replicate the setup as closely as possible.What if I forgot to record room tone?
You can steal tone from pauses or use ambience-matching software like RX Ambience Match. If possible, re-record a quick sample at the same location and conditions—it’s usually worth the effort.Is room tone just silence?
No. Silence is rare in real spaces. Room tone is the subtle background noise that makes scenes feel natural and seamless. Without it, edits stand out and break the illusion.What sample rate and bit depth should I use?
Record at 48 kHz, 24-bit WAV for standard film and TV work. If you want extra headroom against clipping, consider 32-bit float, but 24-bit is enough for most situations.Conclusion
Capturing good room tone isn’t glamorous, but it’s a game-changer. Spend a minute on set, match your mic setup, and log every detail. Your future self in post will thank you—quiet spaces are the foundation of seamless sound.
Think of room tone as the heartbeat of your scene. When you record it well, you make editing smoother and your sound design richer. It’s a simple step that pays huge dividends—don’t skip it.
Fall Picks
fall essentials
As an affiliate, we earn on qualifying purchases.