TL;DR

Get audio and creator gear delivered free with Prime
- Fast, free delivery on millions of items
- Prime Video, Amazon Music and more included
- Member-only deals all year
The proximity effect makes your voice sound warmer and fuller when you get close to the mic. Adjusting your distance is a simple way to add character or avoid muddiness in recordings or live settings.
Ever notice how a singer’s voice suddenly feels more intimate or full when they lean into the mic? That’s the proximity effect at work. It’s a powerful tool, often overlooked, that can turn a flat recording into something warm and engaging — or muddy and boomy if misused.
Understanding how mic distance influences your sound can give you more control over your voice, whether you’re recording in a home studio or performing live. In this guide, you’ll learn how to harness this phenomenon to craft your ideal vocal tone, using simple tricks and smart techniques.
Getting close to your mic boosts bass and warmth, but too close can cause muddiness.
Experiment with mic distance during recording — 2 to 3 inches is a good starting point.
Use EQ to control excessive proximity effect and keep your sound clear.
Modern mics and software can help manage proximity effect, giving you more creative options.
Always consider your voice type and goal — proximity effect can be a powerful tool or a curse.
What is the proximity effect and why does it matter?
The proximity effect is **a boost in bass frequencies** that happens when you get very close to a directional microphone, like a cardioid. It’s caused by the mic’s directional response, which emphasizes low frequencies as you move within a certain distance. Think of it as turning up the bass knob naturally.
Why does this matter? Because it directly influences how warm, full, or intimate your voice sounds. For example, singers or podcasters can use this effect to add richness and presence, making their voice feel more engaging. However, the tradeoff is that too much proximity can cause muddiness, making the sound indistinct or boomy. It’s a balancing act—understanding the effect allows you to exploit it creatively or mitigate its downsides. This understanding helps you shape your vocal tone intentionally, rather than leaving it to chance or technical quirks.
For instance, leaning in a bit can highlight your voice’s warmth, but going too close risks losing clarity. Recognizing these tradeoffs enables you to craft a more polished and controlled sound.
As an affiliate, we earn on qualifying purchases.
How mic distance transforms your vocal tone in real life
Imagine you’re recording a vocal for your podcast. Standing 6 inches away gives a clear, natural sound with balanced bass. Moving closer—say, within 1 inch—adds warmth and intimacy, making listeners feel like you’re right there with them. But this closeness also amplifies the proximity effect, which can sometimes overemphasize bass and low-end rumble, potentially muddying your voice if not controlled.
On the flip side, stepping back to 12 inches reduces the proximity effect, resulting in a more neutral, airy tone. This can be advantageous if you want a more natural, less colored sound, or if your voice has a naturally heavy bass that you want to avoid accentuating. The key is understanding these tradeoffs: closer distances add intimacy but risk muddiness, while farther distances preserve clarity but may lack presence.
For example, a singer might start at 3 inches for a warm tone, then pull back slightly if the sound becomes too boomy. This dynamic adjustment allows you to find the “sweet spot”—where your voice feels natural yet compelling—by considering both the emotional effect and technical clarity.
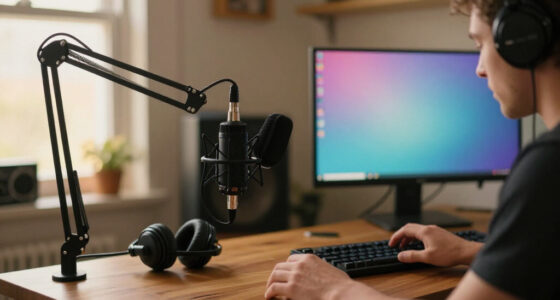
USB condenser microphone for podcasting
As an affiliate, we earn on qualifying purchases.
As an affiliate, we earn on qualifying purchases.
3 ways to control and maximize the proximity effect
- Experiment with distance: Start at 2-3 inches, then tweak until you find that perfect warmth without muddiness. Recognize that small changes can have big impacts—being aware of your distance helps you fine-tune your tone intentionally.
- Use EQ wisely: If your proximity effect causes too much bass, cut 2-4 dB below 200 Hz. Conversely, boost slightly if you want more warmth. This step is crucial because it compensates for the natural boost or cut caused by your distance, giving you more control over the tonal balance.
- Adjust your technique: Change your angle or distance during recording to add dynamic variation or focus on different vocal textures. For example, leaning in for emphasis or pulling back for a softer, more distant sound. These subtle shifts can add emotional depth and professionalism to your recordings.
For example, in a home studio, you might lean in for a dramatic story segment and pull back for a more relaxed, conversational tone. This interplay creates a more engaging listening experience, emphasizing emotional nuance and clarity.
These simple adjustments, when understood deeply, can turn a plain vocal into a rich, captivating sound with intentionality and finesse.
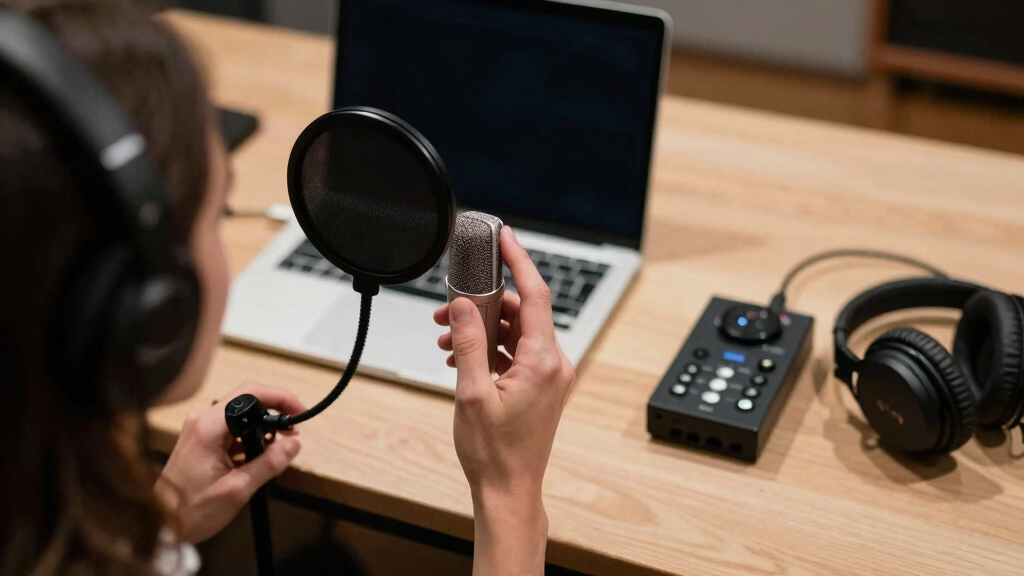
microphone pop filter and shock mount kit
As an affiliate, we earn on qualifying purchases.
As an affiliate, we earn on qualifying purchases.
Frequently Asked Questions
How close should I be to get the best proximity effect?
Start around 2-3 inches from the mic. Adjust slightly closer or farther during your session to find that perfect balance between warmth and clarity.Can I completely eliminate the proximity effect?
Yes, using omnidirectional mics or applying EQ can reduce or remove the effect. But sometimes, the warmth it adds is exactly what you want.Is proximity effect always good for vocals?
Not always. It can add richness and intimacy or cause muddiness. Consider your voice type and the sound you want before getting too close.Does mic type affect how much proximity effect I get?
Definitely. Directional mics like cardioid and hypercardioid show a stronger proximity effect, while omnidirectional mics are less affected.What’s the best way to prevent bass buildup when close to the mic?
Use a high-pass filter or EQ to cut below 200 Hz. Also, adjusting your angle or distance can help manage unwanted low-end boominess.studio microphone with adjustable proximity effect
As an affiliate, we earn on qualifying purchases.
As an affiliate, we earn on qualifying purchases.
Conclusion
Mastering the proximity effect turns a simple mic technique into a secret weapon for your voice. Play with your distance, listen carefully, and don’t be afraid to push it a little—sometimes, a tiny shift makes all the difference.
In the end, your voice is your instrument. Use proximity deliberately, and you’ll shape a sound that’s uniquely yours—warm, clear, and compelling every time.
Halloween Picks
halloween
As an affiliate, we earn on qualifying purchases.