TL;DR

Get audio and creator gear delivered free — and shop member deals
- Fast, free delivery on millions of items
- Access to Prime Big Deal Days deals on October 6–7
- Prime Video, Amazon Music and more included
Recording from the soundboard provides clear, multi-channel audio perfect for live albums or archival work. Advances in digital networking and portable gear have made this easier, but legal permissions and careful setup are essential for success.
Imagine capturing a live concert with the clarity and detail of a studio session. That’s what recording directly from the soundboard offers—rich, multi-channel audio that reflects the engineer’s mix. But it’s not as simple as plugging in; understanding feeds, splits, and legal boundaries makes all the difference.
If you’re serious about getting top-tier recordings from live events—whether for personal archives, promotion, or professional releases—this guide walks you through everything. From gear choices to setup tips and ethical considerations, you’ll learn how to turn a raw soundboard feed into a polished, multi-track masterpiece.
A soundboard feed provides the cleanest, most detailed live recording available, especially when multiple channels are captured.
Using digital audio networking simplifies multi-channel splits, making on-site setup faster and more reliable.
Legal permission is essential—never record directly from the soundboard without explicit approval.
Quality gear, proper cables, and careful level management are vital to avoid distortion or noise.
Post-production benefits immensely from clearly labeled, multi-channel recordings—making mixing and editing more efficient.
What Exactly Is a Soundboard Feed and Why Bother Recording It?
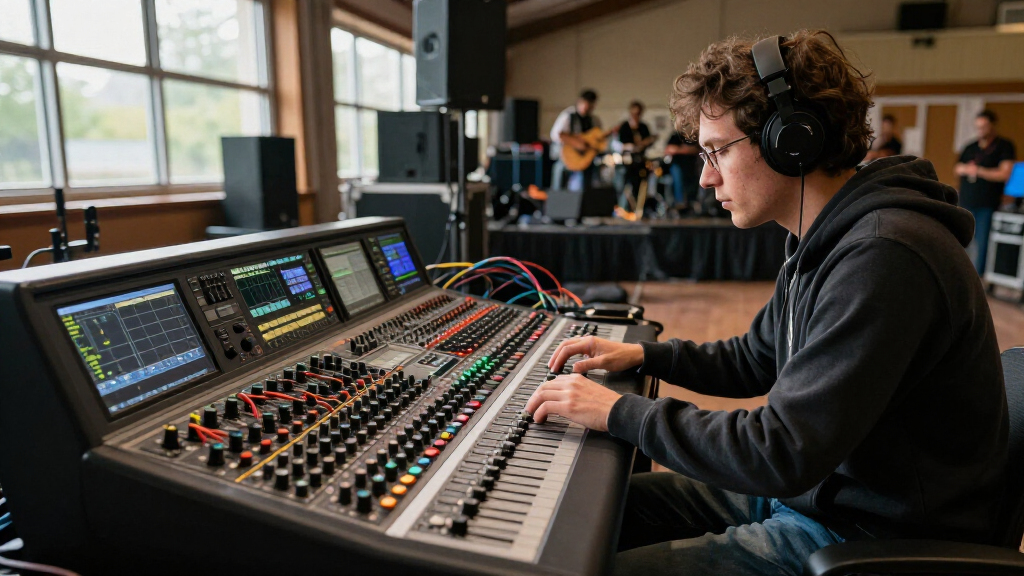
A soundboard feed is a direct output from the mixing console used during a live event. Instead of capturing ambient crowd noise or distant echoes, you tap into the mix engineers’ stereo or multi-channel outputs. This gives you access to the raw, crisp sound as the performers and sound tech intended.
Recording from the soundboard means you get a clean, detailed capture—separating vocals from instruments, capturing effects, and preserving the true essence of the performance. It’s like having the master tape in your hands, offering more control and fidelity than audience recordings or ambient mics.
For example, at a local jazz festival, a savvy sound engineer might route individual instrument channels—drums, bass, horns—so you can record each separately. That way, you can remix or clean up the sound later, creating a professional-sounding record of the event.
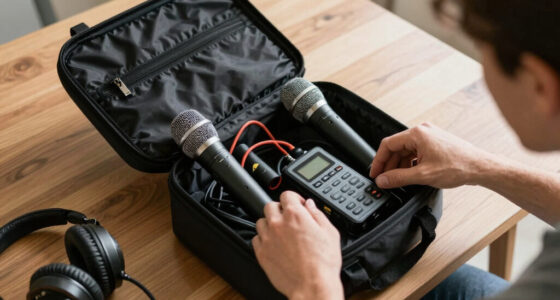
multi-channel audio interface for live recording
As an affiliate, we earn on qualifying purchases.
As an affiliate, we earn on qualifying purchases.
How to Get the Best Soundboard Feeds Without Losing Your Mind
Capturing a clean, high-quality soundboard feed involves some planning. Here are the steps to ensure you don’t end up with muddy, distorted recordings:
- Identify the outputs: Find the main stereo or multi-channel outputs on the soundboard. Sometimes, this requires talking to the sound engineer or tech crew beforehand.
- Choose the right gear: Use a multi-channel audio interface or portable recorder capable of handling multiple feeds simultaneously. Models like the Zoom F8n or Tascam Model 24 are popular for their flexibility.
- Use quality cables and splitters: Invest in good XLR or TRS cables. If you need to split signals, use professional-grade splitters to prevent signal loss or noise.
- Manage levels carefully: Set proper gain levels to avoid clipping. Check levels during soundcheck, adjusting for clarity without distortion.
- Coordinate with the sound engineer: Let them know your plan. Some venues may restrict direct feed access, or they might help you route channels more effectively.
For instance, at a recent outdoor concert, I used a portable multi-channel recorder connected via a digital AES/EBU interface, capturing the entire band’s mix with perfect clarity. The key was pre-planning and clear communication with the tech team.
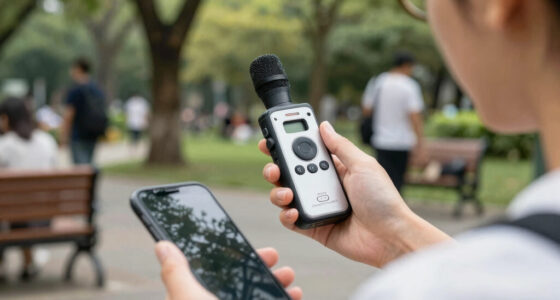
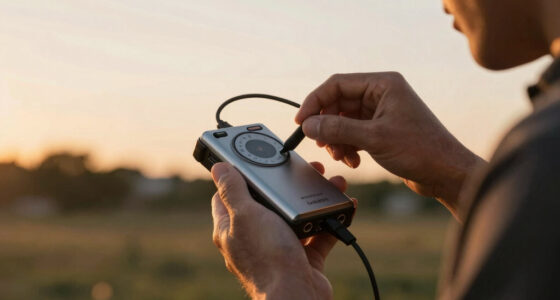
portable soundboard recording device
As an affiliate, we earn on qualifying purchases.
As an affiliate, we earn on qualifying purchases.
The Equipment That Makes Soundboard Recording Smooth & Reliable
Getting a clean recording depends heavily on your gear. Here’s what you need:
- Multi-channel recorder or audio interface: Capable of handling at least 8 channels. Examples include Zoom F8n or Sound Devices MixPre series.
- Splitters or digital network interfaces: To duplicate signals without degrading quality. Digital options like Dante or AVB are popular in modern venues.
- Cables and connectors: Use high-quality XLR, TRS, or digital cables. Keep everything shielded and well-maintained.
- Monitoring gear: Headphones or speakers to check levels during setup. Never rely on just the recorder’s meters.
For a real-world scenario, I used a portable recorder connected via a Dante network, pulling multiple channels from the soundboard at a festival. The result: a multi-track recording with crisp separation between vocals and instruments, ready for mixing later.
professional XLR cables for live sound
As an affiliate, we earn on qualifying purchases.
As an affiliate, we earn on qualifying purchases.
Legal and Ethical Pitfalls: What You Absolutely Must Know
Recording from the soundboard isn’t just about gear; it’s about respecting rights. Many venues and artists consider direct feeds proprietary. Without permission, you could face legal trouble.
Always ask for permission before recording. If you’re working with a band or venue, get written consent. Some events specify that only authorized personnel can tap into the soundboard.
Failing to do so might lead to fines, confiscation of equipment, or worse. Even if your goal is personal use, laws vary by location. In some places, even recording for personal use without permission crosses legal lines.
In practice, I’ve seen a band’s manager politely decline a recording request, citing copyright and licensing issues. Respecting these boundaries keeps your work safe and professional.
digital audio networking equipment
As an affiliate, we earn on qualifying purchases.
As an affiliate, we earn on qualifying purchases.
Digital Networking & Modern Tech Making Soundboard Recording Easier Than Ever
Thanks to advances like Dante, Ravenna, and AVB, capturing multiple soundboard feeds is more straightforward and reliable. These digital networks transmit high-quality audio over standard Ethernet cables, reducing signal degradation and clutter.
For example, a recent tour used Dante-enabled sound systems, allowing me to connect my portable recorder directly into the network. This setup provided a clean, low-latency feed with no fuss about bulky cables or signal loss.
Portable multi-channel recorders now include built-in digital network interfaces, making on-site setup faster. This means you can capture multi-track audio in real-time, even at complex, multi-instrument events.
How to Split & Manage Multiple Channels Without Breaking a Sweat
Splitting audio signals from the soundboard requires finesse. Here are practical tips to keep your recordings clean:
- Use professional-grade splitters to avoid signal degradation.
- Coordinate with the sound engineer to ensure proper routing.
- Keep cables tidy and shielded to prevent interference.
- Label each channel clearly for post-production.
- Test everything during soundcheck, adjusting gain and levels.
For instance, at a theater show, I used a multi-channel splitter with balanced XLR outputs, ensuring each instrument’s signal remained pristine. During post, I easily identified each track, speeding up editing and mixing.
Post-Production: Making the Most of Your Multi-Channel Recordings
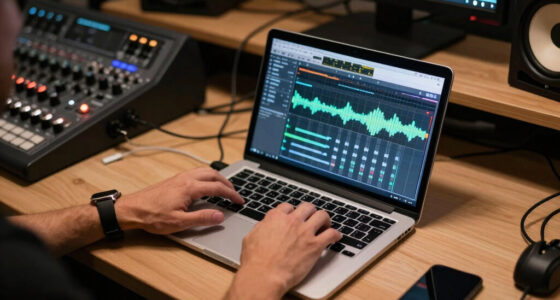
Once you’ve captured the soundboard feeds, editing and mixing are the next hurdles. Use a digital audio workstation (DAW) like Reaper, Pro Tools, or Cubase to open multi-track files.
Label each channel clearly—vocals, drums, guitar—so you can easily tweak levels or add effects. You might want to clean up noise, adjust EQ, or balance the mix to suit your needs.
Having multichannel recordings also lets you remix the performance later, giving more artistic control. For example, I isolated the vocals from a live concert and added reverb for a more immersive listening experience.
Frequently Asked Questions
Is recording from the soundboard legal?
It varies by location and event. Always seek permission from the venue or performers before recording. Unauthorized recordings can lead to legal issues, so it’s best to get written consent.
What gear do I need to record from a soundboard?
You’ll want a multi-channel recorder or audio interface capable of handling several tracks, quality cables, and possibly digital network interfaces like Dante or AVB. A good example is a portable recorder like the Zoom F8n combined with a digital network interface.
How do I avoid signal loss or noise when splitting feeds?
Use professional-grade splitters and shielded cables. Make sure to coordinate with the sound engineer to route signals properly. Always test during soundcheck to catch issues early.
Can I record multiple channels from any live event?
Not always. Access depends on the venue’s policies and technical setup. Some venues restrict direct feeds; others welcome it if you ask in advance.
What’s the best way to handle multi-channel recordings in post-production?
Use a DAW capable of multi-track editing. Label each track clearly, and take your time cleaning up noise, balancing levels, and applying effects for a professional sound.
Conclusion
Mastering soundboard recordings means understanding both gear and legality. When you get it right, you’re holding a piece of the live performance that’s as close to studio quality as possible—without the studio.
Next time you’re at a live event, ask yourself: could this be the raw material for a killer live album or a detailed archive? With the right setup and respect for permissions, you’re just a few steps away from capturing sound the way it was meant to be heard.
Fall Picks
fall essentials
As an affiliate, we earn on qualifying purchases.