TL;DR

Get audio and creator gear delivered free with Prime
- Fast, free delivery on millions of items
- Prime Video, Amazon Music and more included
- Member-only deals all year
Tablet size affects your drawing mechanics. Small tablets promote wrist drawing, ideal for detail, while medium tablets support arm drawing for larger, confident strokes. The right choice enhances comfort and control.
Ever wonder why some artists seem to effortlessly make broad, sweeping strokes while others focus on tiny, precise details? The secret often lies in the size of their tablet and how they move their hand. Choosing between a small or medium tablet isn’t just about portability or budget—it shapes your entire drawing style.
In this guide, you’ll learn how these sizes influence your movement, what kind of work each is best suited for, and how to pick the perfect fit for your art and workspace.
Choose a small tablet for quick, detailed work and portability, but beware of wrist fatigue during long sessions.
Medium tablets encourage larger, more confident strokes and reduce wrist strain, making them great for gesture and painting.
Mapping and workspace setup matter more than size—adjust your active area and zoom to match your movement style.
Mix wrist and arm drawing based on task; don’t limit yourself to one technique or size.
Prioritize ergonomic setup—support your arm, keep your posture neutral, and take breaks to avoid discomfort.
Small vs Medium Tablet Size: Wrist Drawing vs Arm Drawing
Tablet size changes the physical scale of every mark. Small active areas favor quick wrist-led precision; medium areas make room for broader elbow-and-shoulder movement. The best choice supports your art, posture, desk, and natural range of motion.
The active area shapes the gesture
A screenless tablet maps pen position directly to the display. A smaller surface compresses screen-wide travel into short motions; a medium surface lowers that movement ratio and gives longer strokes more physical space.
Wrist-led precision
Typical active area: 6 × 4 inches
Fast cursor movement and little desk space make a small tablet effective for detail, quick edits, masking, notes, and portable setups. Tiny physical movements are magnified on screen, so tremor and tension may also become more visible.
Arm-supported flow
Typical active area: 8–9 × 5–6 inches
A medium tablet provides room for elbow and shoulder movement, smoother curves, confident gestures, and broad painting strokes. It often pairs naturally with larger displays, but needs more desk space and can tire the shoulder if reaching becomes excessive.
Match the movement to the mark
Healthy drawing is not wrist versus arm. It is a coordinated range: fingers finish details, the wrist handles compact marks, the elbow guides longer lines, and the shoulder carries the widest gestures.
Wrist and fingers
Best for short, controlled actions where speed and fine motor precision matter. Keep the wrist neutral and avoid planting it rigidly for extended periods.
- Fine details
- Line endings
- Tiny corrections
- Retouching
- Masking
- UI navigation
Elbow and shoulder
Best for fluid, continuous marks. Larger muscle groups distribute effort, although the tablet should remain close enough to prevent reaching or a raised shoulder.
- Long lines
- Smooth curves
- Gesture drawing
- Large shapes
- Broad painting
- Extended sessions
A larger active area does not increase technical accuracy. It reduces movement amplification, so small tremors occupy less screen distance and smooth lines can feel easier.
Two sizes, two movement biases
Neither format locks you into one technique. Mapping, zoom, posture, monitor size, and experience can shift the balance substantially.
| Feature | Small tablet | Medium tablet |
|---|---|---|
| Movement scale | Short, finger- and wrist-driven | ✓Longer, involving elbow and shoulder |
| Ideal work | ✓Details, edits, masking, navigation | Gesture, illustration, painting, animation |
| Line behavior | ~Fast, but small motion is amplified | ✓More physical room for smooth curves |
| Fatigue pattern | Wrist fatigue if tense or overused | Shoulder fatigue if reach is excessive |
| Portability | ✓High | Moderate to low |
| Desk requirement | ✓Minimal | More room for tablet and forearm |
| Display pairing | Good for laptops and modest displays | ✓Natural with large or high-resolution displays |
| Best overall role | Portable specialist | ✓Flexible general-purpose choice |
Directional comparison based on typical drawing behavior, not laboratory performance scores. Personal mapping and technique can change the result.
From hardware to line quality
Tablet size influences a chain of decisions. The active area changes movement ratio, which encourages a motion pattern, affects the stroke, and ultimately shapes comfort.
Small compresses travel; medium provides more physical range.
Pen movement becomes screen movement through absolute mapping.
Fingers, wrist, elbow, and shoulder share the task differently.
Marks become tight and quick or broad and flowing.
Posture, repetition, support, and session length determine fatigue.
Tune the setup before changing hardware
A tablet does not need to match the monitor’s physical dimensions. What matters is whether the mapped movement feels controllable, comfortable, and appropriate for the marks you make most often.
Adjust mapping
Try full-area mapping first. Reduce a medium active area if reaching feels excessive; preserve display proportions to avoid distorted motion.
Use zoom deliberately
Zoom in for controlled wrist detail. Zoom out for gesture, proportion, and long arm-led strokes.
Center the tablet
Place it in front of the display so your torso, neck, and drawing arm remain aligned.
Support the forearm
Use a stable desk surface and avoid hard pressure at the wrist. Keep the shoulder relaxed.
Practice both scales
Build arm control with circles and sweeping lines, then use the wrist and fingers to finish edges and details.
Reset often
Release your grip, lower your shoulders, change position, and take regular breaks before discomfort builds.
Choose for your dominant workflow
The right tablet is the smallest surface that supports your preferred stroke scale without forcing tension, overreaching, or constant correction.
Choose small when…
- Portability, price, or limited desk space is decisive.
- Your work centers on detail, retouching, notes, or quick edits.
- You prefer short cursor travel and wrist-led control.
- You use a laptop or one modest-size display.
- Your sessions are shorter and your wrist remains relaxed.
Choose medium when…
- You draw gestures, comics, animation, or broad painted forms.
- You want longer physical strokes and lower movement amplification.
- You regularly work for extended sessions.
- Your setup includes a large or high-resolution display.
- You have enough room to support and move the forearm freely.
What’s the real difference between small and medium tablets?
Small tablets typically have an active drawing area of around 6 x 4 inches, making them compact and portable. Medium tablets usually offer about 8–9 x 5–6 inches, providing more room to move. But size isn’t just a number—it’s a tool that shapes your movement style.
Think of a small tablet like a sketchpad in your hand: quick, tight, and finger- or wrist-driven. A medium is more like a sheet of poster paper—roomier for sweeping arm motions. The key is how these sizes influence your drawing habits.
For example, a small tablet compresses your entire drawing surface, making even large strokes feel short and quick. Medium tablets let you stretch your arm out and make confident, sweeping lines without feeling cramped.
Why this matters: understanding these differences helps you choose a device that naturally aligns with your preferred movement style, reducing fatigue and improving control over your strokes. If you force large gestures on a small tablet, you’ll find yourself contorting your hand or sacrificing precision, which can hinder your workflow. Conversely, using a medium tablet for tiny details might make you feel overwhelmed or cause unnecessary arm fatigue. The right size complements your natural tendencies, making your process more efficient and enjoyable.
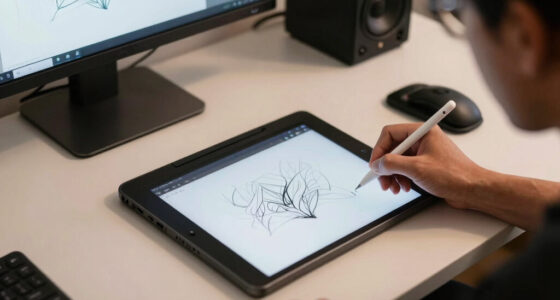
small drawing tablet for detailed art
As an affiliate, we earn on qualifying purchases.
As an affiliate, we earn on qualifying purchases.
Why does the size of your tablet change how you draw?
Size influences how much movement you need for each stroke. With a small tablet, your hand moves less, mainly using your wrist and fingers. This makes for quick, detailed work, but can tire out your wrist on long sessions.
In contrast, a medium tablet encourages broader, more confident strokes from your elbow and shoulder. It’s like drawing with your whole arm—less strain on your wrist, more fluid lines.
Why it matters: choosing the right size allows you to match your natural movement patterns to your artistic goals. For instance, if you’re aiming for tight, precise details, a small tablet minimizes unnecessary arm movement, allowing for fine control. But if you want to create expressive, sweeping gestures, a medium tablet enables you to utilize your larger muscle groups, making your strokes more dynamic and less fatiguing. The tradeoff is that larger movements require more space and control, so a medium tablet demands a different setup and practice to master effectively. Understanding these implications helps you optimize your workflow, reduce fatigue, and enhance your line quality over time.
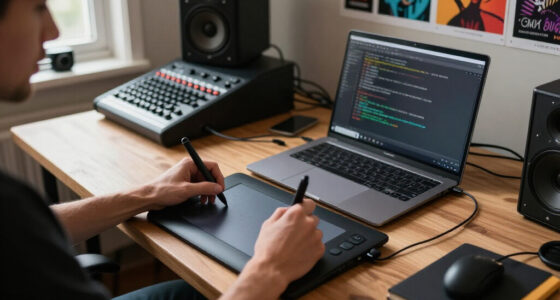
medium size drawing tablet for confident strokes
As an affiliate, we earn on qualifying purchases.
As an affiliate, we earn on qualifying purchases.
Comparison: Wrist Drawing vs Arm Drawing on Small and Medium Tablets
| Feature | Small Tablet | Medium Tablet |
|---|---|---|
| Movement scale | Short, finger/wrist-driven | Longer, involving elbow/shoulder |
| Ideal for | Fine details, quick edits | Gesture, broad strokes, painting |
| Fatigue risk | Higher if overused | Lower for large, sweeping movements |
| Portability | High | Moderate to low |
| Workspace | Small, limited | More room to maneuver |
Understanding this comparison helps you select the right tool for your style. For example, artists who prioritize detail and quick edits benefit from the precision of a small tablet, but must be mindful of wrist fatigue. Those who prefer expressive, large gestures will find a medium tablet more accommodating, enabling broader movements with less strain. Recognizing the tradeoffs—such as portability versus comfort—guides you toward a choice that aligns with your workflow and physical comfort, ultimately supporting better art and healthier habits.
As an affiliate, we earn on qualifying purchases.
When should you draw from your wrist, and when from your arm?
Drawing from your wrist is perfect for tiny, detailed work—like finishing a delicate line or retouching. It’s quick, precise, and feels natural for many artists working on a small tablet.
Switch to arm drawing when you tackle large shapes, gesture sketches, or sweeping strokes. It’s more comfortable over long sessions and reduces strain, especially on the wrist.
Why it matters: matching your movement to your task and tablet size ensures efficiency and comfort. Wrist drawing is best suited for detailed, controlled work because it allows for fine motor control within a limited space. However, relying solely on wrist movements can lead to fatigue or repetitive strain if overused, especially during extended sessions. Conversely, arm drawing covers larger areas with less fatigue, but requires more space and practice to master. Mixing both techniques based on the specific task enables you to work more ergonomically, maintain precision where needed, and execute broad gestures effortlessly. This adaptability is key to developing a sustainable, expressive workflow that leverages the strengths of each movement style.
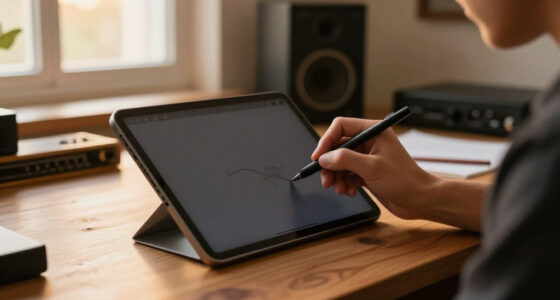
best tablet for wrist and arm drawing
As an affiliate, we earn on qualifying purchases.
As an affiliate, we earn on qualifying purchases.
How to optimize your workflow for each size and movement style
- Set your tablet mapping to match your preferred working distance. Small tablets benefit from a 1:1 mapping for precision; medium tablets often work better with a slightly reduced active area to prevent fatigue.
- Adjust zoom levels in your software. Zoom in for detail work with wrist drawing; zoom out to see broad strokes when using arm movements.
- Practice long, flowing strokes for arm drawing—start with big circles or sweeping lines. For wrist work, focus on tiny, controlled movements like finishing a delicate line.
- Maintain a neutral posture: keep your wrist relaxed, shoulders down, and support your arm on a stable surface.
- Switch between movement types based on the task—don’t stick rigidly to one or the other. Flexibility improves both your comfort and your art.
Why it matters: fine-tuning your workflow according to your tablet size and movement style allows for more consistent results and less fatigue. Proper setup minimizes strain and helps you develop muscle memory for the types of strokes you want to execute. For example, using a slight zoom-in for detailed wrist work enhances precision, while zooming out for arm gestures gives you a better sense of proportion and flow. Regularly adjusting your workflow based on the task and device size ensures you stay comfortable and productive over long periods, ultimately elevating your art quality.
Ergonomics: Making your workspace friendly for any tablet size
Your workspace should support healthy movement, regardless of tablet size. Place your tablet directly in front of your monitor, at a comfortable height. Keep your wrist neutral, not bent or twisted.
Use a supportive surface—like a soft pad or mouse mat—to reduce pressure on your wrist. Keep your shoulders relaxed and your arm supported on your desk or armrest.
Take breaks often. Stretch your fingers, wrists, and shoulders. If you notice pain or tingling, reconsider your posture or the size of your tablet.
For example, an artist working long hours at a medium tablet might switch to shorter sessions and incorporate arm stretches, avoiding fatigue and injury.
Why it matters: ergonomics is crucial for maintaining long-term comfort and preventing injury. Proper workspace setup reduces strain on your muscles and joints, which can become repetitive and cumulative over time. For instance, supporting your arm on a stable surface and maintaining a neutral wrist position helps prevent carpal tunnel syndrome and tendinitis. Regular breaks and stretches are essential, especially when working with larger, more demanding gestures on medium tablets. Prioritizing ergonomics ensures that your artistic practice remains sustainable and enjoyable, allowing you to focus on creativity without physical discomfort.
Recent trends and new options in tablet sizing
Manufacturers now offer more flexible options—like customizable active areas and lightweight, portable medium tablets. Wireless pens, textured surfaces, and better driver controls help you tailor your setup.
Many artists now tweak their tablet mapping per project, switching between full and partial active areas. This flexibility makes the size choice less fixed and more adaptable to your workflow.
For example, a designer might use a small tablet for quick retouching but switch to a medium for detailed illustrations or painting.
Why it matters: evolving technology and customizable features allow artists to optimize their tools for specific tasks, making size less of a limitation. The ability to adjust active areas and settings means you can adapt your device to different styles, workflows, and physical needs. This flexibility enhances productivity, supports ergonomic practices, and encourages experimentation, ultimately helping you find the most comfortable and effective way to create your art.
Picking the right size for your needs
If you mostly do detailed edits or work on the go, a small tablet might be your best bet. It’s lightweight and easy to carry around.
For serious illustration, painting, or long sessions, a medium tablet offers more comfort, control, and versatility—especially if you use a large monitor or want to involve your whole arm.
When in doubt, lean toward medium. It’s more adaptable, and you can always map a smaller active area if needed.
Understanding your typical workflow and physical comfort is key. A small tablet may seem convenient, but if you find yourself needing larger gestures or experiencing fatigue, a medium might serve you better in the long run. Conversely, if portability is paramount, a small device with adjustable settings can still meet your needs effectively.
Your best move: blending techniques and sizes
Don’t think of size as a strict rule. Many artists mix wrist and arm movements, switching techniques for different tasks. Your workflow should adapt to what you’re drawing, not just the tablet’s size.
Try setting up your workspace for both—use a smaller active area for detail work, and expand it for gestures. Practice moving from wrist to arm seamlessly.
Flexibility is key. The more you learn to switch between techniques, the more comfortable and expressive your art becomes.
Understanding the strengths and limitations of each size and movement style allows you to develop a versatile technique. For instance, starting with wrist work for fine details and switching to arm movements for larger compositions creates a dynamic workflow that maximizes control and expressiveness. This adaptability not only improves your technical skills but also keeps your practice engaging and less repetitive. Over time, blending techniques helps you discover your unique style and work more intuitively, no matter what device you’re using.
Frequently Asked Questions
Does a small tablet cause wrist pain?
Not automatically. It can promote shorter, wrist-led movements which, if repeated over long periods, might lead to discomfort. Proper ergonomics and breaks are key to avoiding pain regardless of size.Is a medium tablet better for beginners?
Often yes, because it provides more room to learn broad, confident strokes without feeling cramped. It’s also more forgiving if you switch between detail and gesture work.Will a medium tablet improve line quality?
It can make smooth, sweeping lines easier by reducing hand tremors’ amplification. But good technique and settings matter more than size alone.Can professional artists use small tablets?
Absolutely. Many pros choose small tablets for their portability and precision, especially for editing, comics, or detailed work.Should tablet size match monitor size?
Not necessary. The goal is a comfortable movement ratio and correct aspect mapping, not a perfect physical match.Conclusion
Size isn’t just about desk space or budget—it shapes how you move and what you can accomplish. Experiment with both small and medium tablets, and learn to switch between wrist and arm techniques. Your best art flows from a workspace that feels natural and comfortable.
Remember: the right size is the one that lets you draw confidently, without pain, and with joy. So set up your workspace, try both, and see what your hands and body prefer. Your next great piece might just be a bigger, freer stroke away.
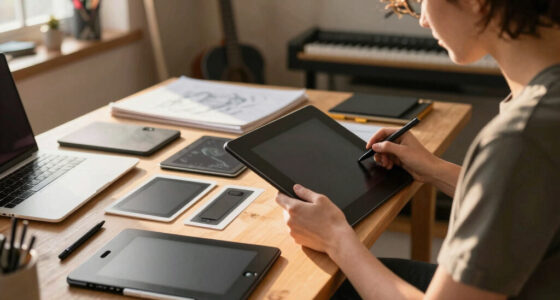
Evergreen bestsellers Picks
bestsellers
As an affiliate, we earn on qualifying purchases.