TL;DR

Get audio and creator gear delivered free with Prime
- Fast, free delivery on millions of items
- Prime Video, Amazon Music and more included
- Member-only deals all year
Setting correct recording levels with sufficient headroom is key to avoiding clipping in the field. Aim for peaks around -12 dB to -6 dB, monitor levels constantly, and use limiters when needed for best results.
Always aim for peaks around -12 dB to -6 dB to leave sufficient headroom.
Use peak meters and headphones together for reliable level monitoring.
Employ limiters or attenuators to handle sudden loud noises safely.
Monitor levels constantly; don’t rely solely on visual meters.
Set gain conservatively, especially in unpredictable outdoor environments.
Field Audio / Headroom Essentials
Setting Recording Levels in the Field: Headroom Basics
A sudden splash, shout, siren, or bird call can turn a perfect take into clipped audio. Build a deliberate safety cushion into every recording so unpredictable peaks stay clean, detailed, and usable.
01 / The safety cushion
Where your peaks should live
Headroom is the space between the loudest expected signal and the recorder’s maximum clean level. Too little risks irreversible clipping; too much pushes useful audio closer to the noise floor.
Noise gains ground
Quiet recording levels can reduce detail and reveal more background hiss when boosted later.
Clean and adaptable
Peaks at −12 to −6 dB preserve detail while leaving room for sudden, louder events.
Clipping becomes likely
Signals approaching 0 dB leave almost no margin. A brief transient can flatten the waveform.
02 / Three-step setup
Set levels before the surprise arrives
Calibrate against the loudest realistic moment, then keep watching and listening. Field conditions rarely remain static.
Start gain low
Turn the recorder’s input gain down before connecting or positioning the source. This prevents an unexpectedly hot signal from clipping immediately.
Test the loud moment
Ask the subject for their loudest delivery—or wait for the environment to swell—then raise gain until peaks reach roughly −12 to −6 dB.
Watch, listen, adjust
Use headphones and peak meters continuously. Reduce gain or engage a limiter when the soundscape becomes louder or more volatile.
03 / Metering comparison
Use the meter that catches danger
Peak and RMS meters answer different questions. For headroom, peak metering is the primary tool; RMS remains useful for understanding average perceived loudness.
| Meter type | Transient safety | Best at | Limitation | Field verdict |
|---|---|---|---|---|
| Peak meter | ✓ Strong | Showing the highest instantaneous levels and warning when signals approach clipping. | Can react strongly to brief transients and tempt unnecessary gain changes. | ✓ Primary choice |
| RMS meter | ✗ Limited | Reflecting average energy and perceived loudness across sustained audio. | May hide a sudden spike that is high enough to clip the recording. | ~ Supporting tool |
| Headphones | ~ Indirect | Revealing distortion, wind, handling noise, interference, and tonal problems. | Your ears cannot reliably quantify the remaining digital headroom. | ✓ Always combine |
Best practice / Peak meter + closed-back headphones + active attention
04 / Field safeguards
Build a layered defense
No single control can anticipate every sound. Conservative gain, protective hardware, and continuous monitoring work together.
Set conservatively
Choose the lower end of the target range when recording wildlife, crowds, traffic, weather, or other unpredictable sources.
Use a limiter
A well-configured limiter can catch abrupt spikes. Treat it as emergency protection—not permission to run levels excessively hot.
Add attenuation
Use an input pad or attenuator when a source is too strong even at low gain, preventing overload before the signal reaches recording.
Control wind
Windscreens and careful placement reduce low-frequency blasts that can consume headroom and overwhelm an otherwise balanced signal.
Trust your headphones
Meters show level, but headphones reveal crackle, handling noise, wireless interference, and audible limiter pumping.
Keep gain accessible
Position the recorder so adjustments are quick and quiet. Respond as the source, distance, weather, or surrounding activity changes.
The clean-signal chain
Leave room for the sound you cannot predict.
The best field level is not the loudest possible level. It is the level that captures quiet detail while safely absorbing the next unexpected peak.
What is headroom and why it’s your secret weapon
Headroom is the space between the loudest sound you expect and the maximum your recorder can handle without distortion. Think of it as a safety cushion—like a car’s airbag—giving you room for unexpected loud noises. For example, if you’re recording a concert outdoors, aiming for peaks around -12 dB to -6 dB on your meter creates enough buffer to handle sudden loud drums or shouting without clipping.
Skimping on headroom, like setting levels too hot at 0 dB, invites distortion if a loud sound hits unexpectedly. Conversely, setting levels too low can lead to increased background noise and less detail in quieter moments. Proper headroom balances these tradeoffs, ensuring your audio remains clear and dynamic. It’s a crucial factor because it directly affects the quality of your recording: too little headroom risks distortion, while too much can make your recordings unnecessarily quiet or noisy. Achieving the right balance means understanding the environment and the types of sounds you’re capturing, so you can set levels that protect your audio integrity without sacrificing detail.
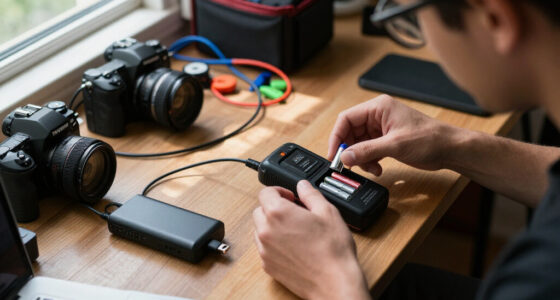
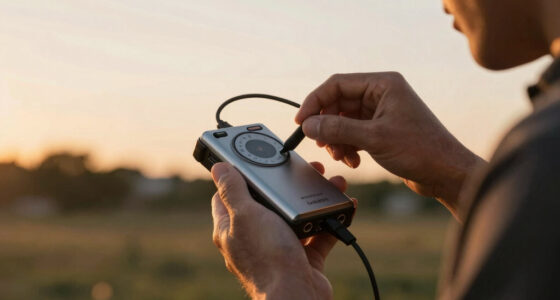
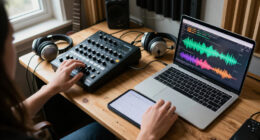
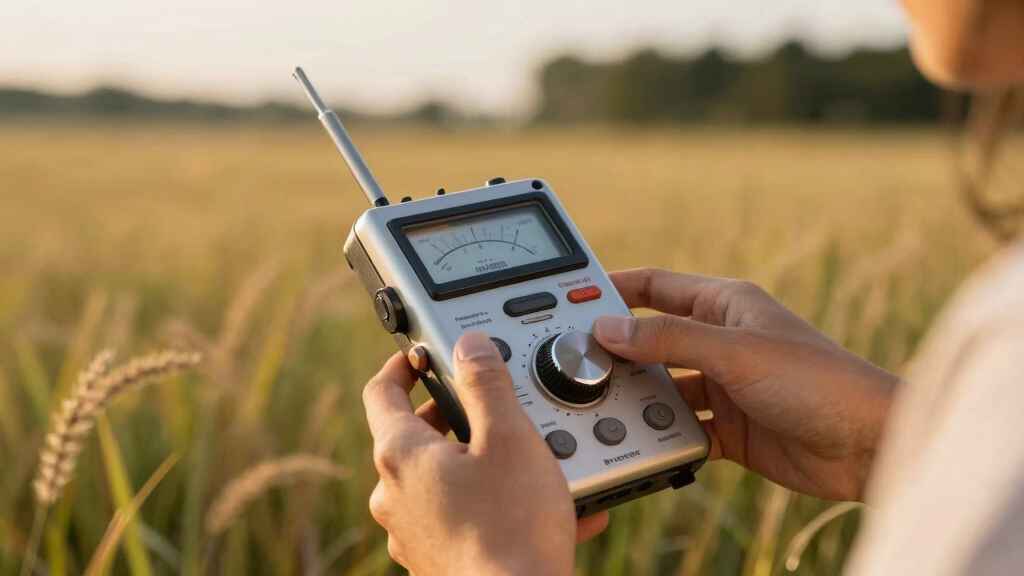
field audio recorder with peak level meters
As an affiliate, we earn on qualifying purchases.
As an affiliate, we earn on qualifying purchases.
How to set your levels in 3 simple steps
- Start with your recorder’s input gain turned all the way down.
- Ask your subject or wait for the environment to reach a loud moment, then gradually raise gain until peaks hit around -12 dB to -6 dB.
- Monitor with headphones and watch your meters constantly, adjusting as needed—especially if sounds change unexpectedly.
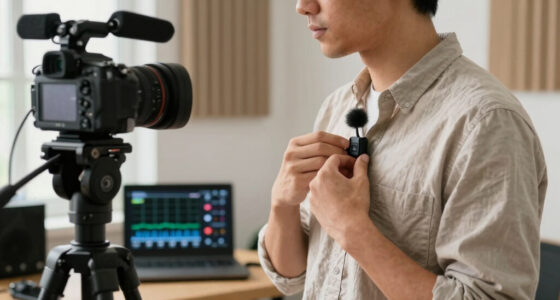
professional portable microphone limiter
As an affiliate, we earn on qualifying purchases.
As an affiliate, we earn on qualifying purchases.
Compare common metering options to choose what’s best
| Meter Type | Pros | Cons |
|---|---|---|
| Peak Meter | Shows exact peaks, essential for headroom management; helps prevent clipping by indicating the highest levels in real-time. | Can be overly sensitive, sometimes reacting to transient spikes that aren’t problematic, leading to unnecessary adjustments. |
| RMS Meter | Reflects perceived loudness, useful for overall level consistency, especially in ambient recordings where true peaks are less critical. | Less precise for setting peak headroom; it may mask sudden loud sounds that could cause clipping if not checked with peak meters. |
For setting levels, peak meters are your best friend—they tell you exactly when you’re approaching distortion. Combining peak metering with headphones allows you to catch transient spikes that might not be obvious on the meter alone, especially in complex environments where sounds vary rapidly. Understanding the strengths and limitations of each type helps you choose the right tools for different recording scenarios, ensuring your levels are both safe and optimized for the environment.
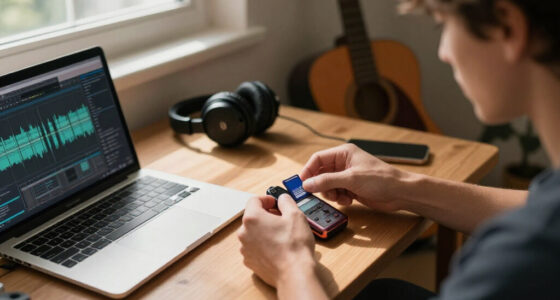
audio recording headphones for monitoring levels
As an affiliate, we earn on qualifying purchases.
As an affiliate, we earn on qualifying purchases.
Why monitoring is your best friend in the field
Constantly listening with headphones is key. You might set levels perfectly, but environmental sounds or sudden loud noises can still sneak up. For example, while recording outdoors, a passing motorcycle can spike your levels unexpectedly. Monitoring allows you to catch these moments instantly and adjust gain or activate limiters to avoid distortion.
Use real-time level displays and listen for any signs of distortion or clipping. If you hear crackling or see red lights on your meter, act immediately to reduce gain or engage your limiter. This proactive approach helps you respond swiftly to unpredictable sounds, which are common in outdoor environments. It also provides immediate feedback on your audio quality, allowing you to make critical adjustments before recording continues. The tradeoff here is that constant monitoring requires attention and can be physically demanding, but the payoff is a cleaner, more reliable recording that captures the true essence of your environment without unwanted artifacts.
external gain attenuator for field recording
As an affiliate, we earn on qualifying purchases.
As an affiliate, we earn on qualifying purchases.
Best practices for unpredictable environments
- Set levels conservatively, aiming for peaks at -12 dB to -6 dB, to ensure safety margins for unexpected loud sounds.
- Use limiters to automatically catch sudden spikes, preventing distortion and clipping.
- Keep your recorder’s gain controls readily accessible, so you can quickly make adjustments if the environment changes.
- Employ physical barriers or windscreens, which can help reduce sudden loud noises caused by wind or movement.
- Always monitor levels with headphones, not just meters, since visual indicators can lag or miss transient peaks.
What happens if you don’t leave enough headroom?
If you set levels too high, even a brief loud sound can produce clipping—distortion that ruins the recording. Clipped audio is impossible to fix in post without quality loss because the waveform has been “flattened” at the peak, removing all detail. This distortion can be especially problematic in dynamic recordings where loud sounds are unpredictable, such as outdoor events or wildlife encounters. On the other hand, recording too quietly increases background noise and reduces the clarity and fidelity of the quieter parts, making editing and mixing more difficult and less effective. Proper headroom acts as a safeguard, balancing the need to capture loud sounds without distortion while maintaining enough sensitivity for quiet sounds. Think of it as a safety margin that ensures your audio remains clean and usable, regardless of sudden environmental changes.
Failing to leave enough headroom can lead to irreversible damage to your recording’s quality, forcing you to re-record or settle for subpar audio. Therefore, understanding and implementing optimal headroom strategies is essential for professional, reliable field recordings.
Quick checklist for perfect headroom in the field
- Start with input gain low, setting a conservative baseline.
- Gradually raise gain until peaks reach -12 dB to -6 dB, watching for sudden spikes.
- Monitor constantly via headphones for immediate feedback on sound quality and level changes.
- Use limiters to automatically prevent clipping from unexpected loud sounds.
- Adjust gain and limiter settings as environment and sounds change to maintain optimal headroom.
Frequently Asked Questions
How do I know if my levels are set correctly in the field?
Check that peaks stay around -12 dB to -6 dB on your meters, and watch for any clipping indicators. Always monitor with headphones to catch issues in real-time.What should I do if a loud sound spikes my levels?
Immediately turn down your gain or engage a limiter. If possible, physically shield the microphone or use a windscreen to reduce sudden loud noises.Is it better to record at a lower or higher level?
Aim for levels where peaks reach -12 dB to -6 dB. Too high risks clipping, while too low increases background noise. Finding that balance is key.Can I rely on automatic gain control (AGC) in the field?
While AGC can help in a pinch, it often introduces artifacts and reduces control. Manual level setting combined with real-time monitoring is usually better for professional results.What tools should I carry for proper level setting?
Use a good digital peak meter, headphones for monitoring, and a limiter or attenuator if possible. These tools help you stay in control regardless of surprises.Conclusion
Getting your levels right in the field isn’t just a technical step; it’s the backbone of professional-quality recordings. By leaving enough headroom, you give yourself a buffer against surprises and a cleaner, more dynamic sound. Think of it like setting the safety net—without it, one loud slip can ruin the whole show.Halloween Picks
halloween
As an affiliate, we earn on qualifying purchases.