
TL;DR

Get audio and creator gear delivered free — and shop member deals
- Fast, free delivery on millions of items
- Access to Prime Big Deal Days deals on October 6–7
- Prime Video, Amazon Music and more included
Thicker panels with larger air gaps improve low-frequency absorption. Proper placement and design choices can make DIY panels rival commercial options. It’s all about balancing depth and space for optimal sound control.
Think your DIY acoustic panels are just about stuffing some foam into a frame? Think again. The secret to making them really work lies in two key details: **frame depth** and **air gap**. These little design choices can turn a decent panel into a serious low-frequency trap, or leave you with just some sound dampening for the mid and high ranges.
If you’ve ever built panels that seemed to do little beyond dulling the room’s liveliness, it’s probably because you missed these nuances. Today, I’ll show you how to tweak your panel design for maximum impact—without breaking the bank or turning your room into a soundproof bunker.
Thicker panels with 4-6 inches of material absorb a wider spectrum, especially bass frequencies.
An air gap of 2-4 inches significantly boosts low-frequency absorption by creating a resonant cavity.
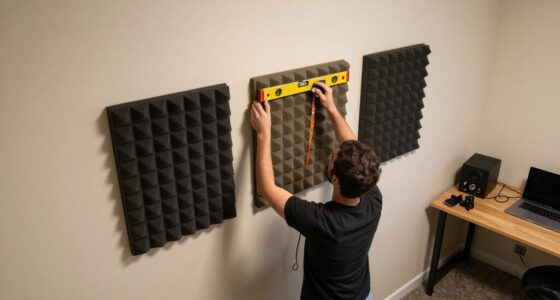
Proper placement—like corners or reflection points—maximizes your panels’ effectiveness.
Using spacers or brackets to maintain consistent gaps is key for bass trapping.
DIY panels can match commercial quality when designed with attention to frame depth and air gaps.
Why the Thickness of Your Panel Changes Everything
Panel thickness isn’t just about looks or ease of construction. It’s the core factor that determines what frequencies your panels can tame. Thicker panels have a greater mass and volume, which allows them to absorb and dissipate lower-frequency sound waves more effectively. A 2-inch panel might be sufficient for reducing echo and high frequencies, but it often falls short when it comes to bass absorption. In contrast, a 6-inch panel provides enough material to dampen low-end resonances, especially when combined with an air gap.
This difference matters because low frequencies carry more energy and tend to linger longer in small or untreated rooms, causing muddiness and boomy sound. Thicker panels act as resonant barriers, preventing these waves from bouncing freely and creating a smoother, more controlled acoustic environment. However, increasing thickness also means considering the tradeoffs: larger, heavier panels require sturdier framing and more space. It’s a balancing act—thicker is better for bass, but you need to accommodate the size and weight in your room design.
Understanding this tradeoff helps you prioritize what to build based on your room’s specific acoustic challenges. If bass is your main concern, investing in thicker panels or combining them with air gaps will give you a noticeable improvement. Conversely, if your space is limited, you might choose thinner panels but compensate with strategic placement or multiple layers. Ultimately, the goal is to match your material thickness with your acoustic goals and space constraints for optimal results.
As an affiliate, we earn on qualifying purchases.
How to Decide Your Frame Depth for Better Sound
- Assess your room’s bass issues—are there boomy corners or uneven low frequencies? If yes, thicker panels help because they provide more mass and a larger resonant cavity to trap bass waves effectively. Thicker frames also allow for greater depth, which can be tuned to target specific low-frequency resonances, reducing muddiness and improving clarity.
- Determine your space’s size—larger rooms can handle bigger, deeper panels without feeling cluttered, and they benefit from increased low-frequency absorption. Small rooms, however, require a more delicate approach; overly deep panels might dominate the space or block light and sightlines, so consider thinner options or strategic placement to avoid overwhelming the room’s proportions.
- Choose your material—fiberglass or mineral wool are common for their density and absorption qualities. These materials perform best at 4-6 inches thickness, providing substantial low-frequency control. The thicker the panel, the more low-end energy it can absorb, but also consider the weight and ease of installation—heavier panels need stronger framing and support.
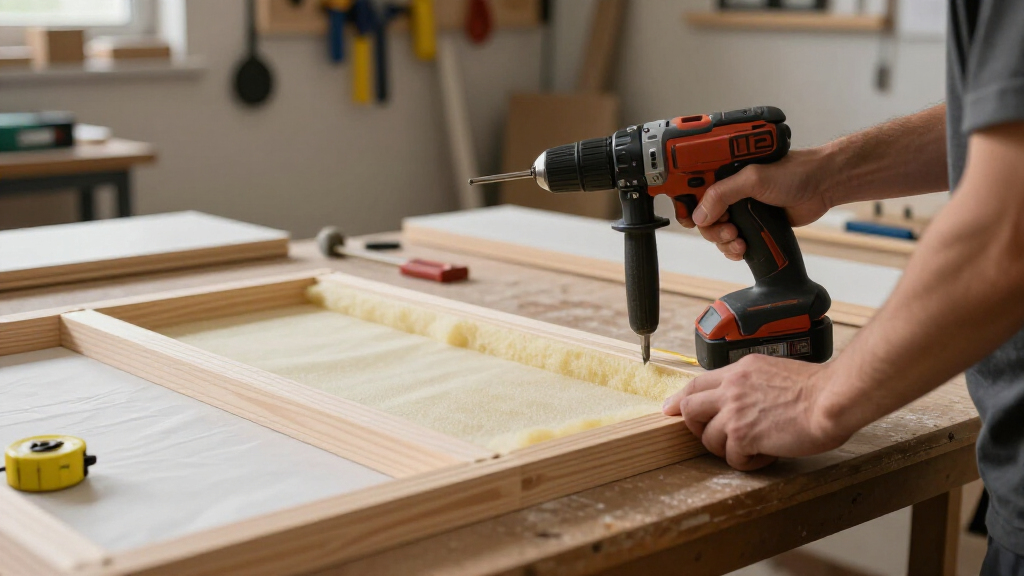
- Build or buy a frame that matches your desired depth, ensuring it’s sturdy enough to support the weight of thicker materials. Internal bracing can help prevent warping and add durability. Remember, the frame’s depth directly influences the air gap and overall effectiveness—deeper frames facilitate larger air gaps, which are critical for bass trapping.
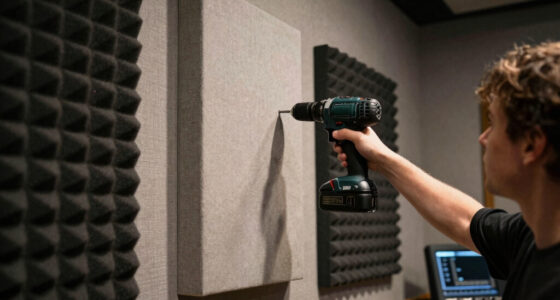
- Mount the panels with a consistent air gap (see next section) to maximize low-frequency absorption. Properly designed depth and spacing work together to create resonant chambers that trap bass more effectively, leading to a cleaner, more balanced sound in your room.
For example, if you’re battling bass buildup in a 10×12-foot room, a 6-inch mineral wool panel with a 2-inch air gap can significantly reduce low-frequency resonances. This setup helps your mixes translate better and your recordings sound tighter. The key is to match your panel depth with your room’s specific acoustic profile and your goals, balancing size, weight, and performance for the best results.
As an affiliate, we earn on qualifying purchases.
Frequently Asked Questions
How thick should my DIY absorption panels be?
Aim for 2-4 inches for mid to high frequencies; 4-6 inches or more if you want to effectively absorb bass and low mids. Thicker panels trap more of the low end, especially when combined with an air gap.What size air gap is best for bass trapping?
Typically, 2-4 inches of space works best. Larger gaps can improve bass absorption further, but space constraints and aesthetic preferences might limit you. Experimenting with different gaps helps find what works for your room.Can I just use foam for my DIY panels?
Foam is great for high frequencies but less effective at low frequencies. Mineral wool or fiberglass panels with proper framing and air gaps provide much better bass control.Where should I position my DIY panels?
Place panels at first reflection points, in corners for bass trapping, and behind or beside your speakers. Proper placement is key to maximizing sound absorption.How do I make my panels look good in my room?
Use attractive fabrics, paint or stain the frames, and choose mounting methods that blend with your decor. A well-made panel can be both functional and a design feature.As an affiliate, we earn on qualifying purchases.
Conclusion
Getting your DIY absorption panels right isn’t about fancy materials or complex designs. It’s about understanding how thickness and space work together to tame those pesky low frequencies that make your room sound boomy or muddy.
Think of your room as a musical instrument—tune it with panels that are just deep enough, with the right air gaps, and you’ll hear the difference every time you hit record or press play. Your space, and your ears, will thank you for it.
As an affiliate, we earn on qualifying purchases.
Fall Picks
fall essentials
As an affiliate, we earn on qualifying purchases.