TL;DR

Get audio and creator gear delivered free with Prime
- Fast, free delivery on millions of items
- Prime Video, Amazon Music and more included
- Member-only deals all year
Small square rooms tend to cause standing waves and flutter echoes. Proper placement of bass traps, absorption panels at reflection points, and diffusion create a balanced, clear sound. Using measurement tools helps fine-tune your setup without breaking the bank.
Ever tried recording in a small square room? Chances are, the sound is muddled, uneven, or just plain odd. That’s because the room’s shape and size create acoustic problems that are tricky to fix with just a microphone and a basic setup.
In this guide, you’ll learn real, practical steps to treat your small space. No fluff, no fancy gear—just straightforward tips that work. Whether you’re a home studio rookie or a seasoned creator, these ideas will help you tame your room’s quirks for clear, professional-sounding recordings.
Small square rooms amplify standing waves and flutter echoes, requiring focused treatment.
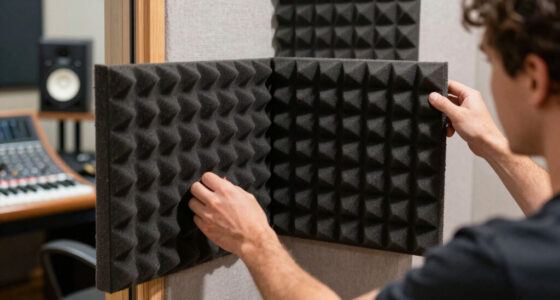
Identify and treat the first reflection points with absorptive panels for clearer sound.
Place bass traps in each corner to tame low-frequency booms common in small spaces.
Monitor and listener placement significantly impact acoustics; keep speakers away from walls.
DIY solutions and measurement tools cost less and deliver targeted improvements.
How to Treat a Small Square Room for Recording
Square rooms reinforce the same acoustic paths again and again. Control the corners, first reflections and listening geometry first—then measure, adjust and add diffusion only where the room needs it.
Equal wall dimensions align room modes, exaggerating some frequencies while canceling others.
Dense bass trapping tackles the low-frequency buildup that makes compact rooms sound boomy.
Targeted treatment usually outperforms covering every surface with thin foam.
Three problems shape the sound
A small square room commonly sounds muddy, harsh and inconsistent. These symptoms come from different acoustic behaviors, so each needs a different form of treatment.
Standing waves
Parallel boundaries reinforce repeating bass patterns. Notes become louder in some positions and nearly disappear in others.
Early reflections
Sound reaches your ears directly and again after bouncing from nearby walls, smearing detail and stereo placement.
Flutter echo
Fast repeated reflections between bare walls create a metallic ringing or rapid clap-like echo.
Thin foam may reduce brightness, but it cannot replace dense corner traps for bass or correct poor monitor placement.
Follow the signal path
Work from the strongest acoustic influences to the finer adjustments. This keeps the room balanced and prevents unnecessary spending.
Avoid placing the listening position at the exact center of the room, where cancellations can be severe.
Keep the two monitors and your head equally spaced, with tweeters aimed toward your ears.
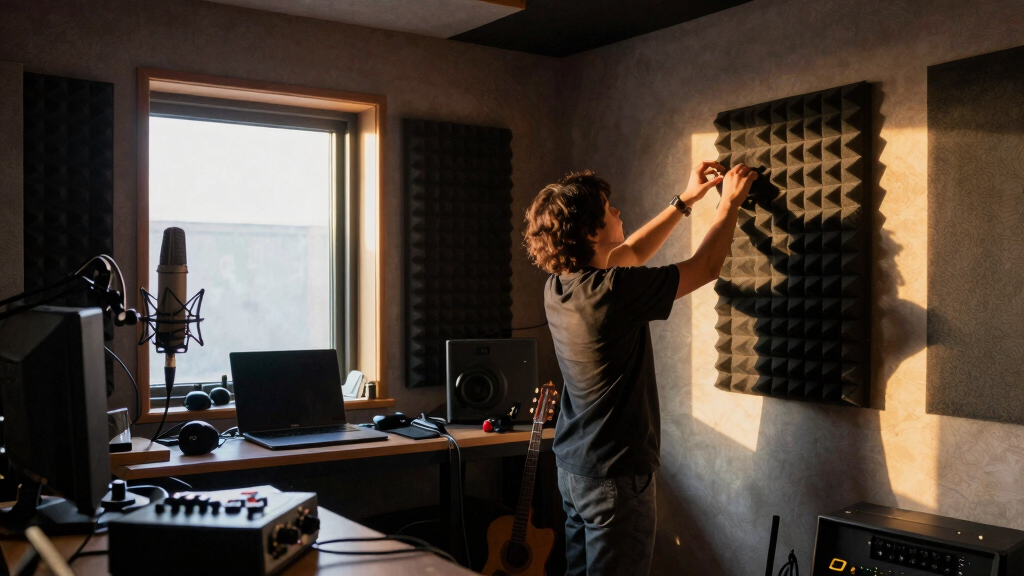
While seated, move a mirror along each side wall. Seeing a speaker marks a first reflection point.
If ceiling reflections remain strong, place an absorber above the listening or recording position.
spot Accent bars = first-reflection absorbers
Spend density where it matters
Dense porous materials absorb a broader frequency range than thin decorative foam. In tight spaces, effective depth and placement matter more than covering the largest possible area.
| Material | Effectiveness | DIY ease | Best role |
|---|---|---|---|
| Mineral wool | High | Broadband panels + traps | |
| Rigid fiberglass | High | Compact absorbers | |
| Foam panels | Moderate | High-frequency control | |
| Heavy curtains | Targeted | Windows + bright surfaces | |
| Wood diffuser | Conditional | Rear-wall scattering |
Use safe handling practices and fabric coverings appropriate to the chosen insulation material.
Install dense traps from floor to ceiling when space and budget permit.
Place broadband absorbers at the mirror-test reflection points.
Control the strong vertical bounce above the listening position.
Use absorption or diffusion according to distance and measurement results.
Measure before adding more
Room EQ Wizard and similar measurement tools reveal frequency peaks, cancellations and decay times that your ears may normalize over time.
Budget treatment kit
Start with movable, reversible improvements and spend only after you know where the room is failing.
Know the tradeoff
Too little treatment leaves blurred imaging and uneven bass. Too much thin absorption removes brightness while low-frequency problems remain.
Small-room FAQ
The goal is not a perfectly silent or completely dead room. It is a controlled, repeatable environment where recordings and mixing decisions translate reliably.
How do I identify first reflection points?
Sit in the listening position while someone slides a mirror along the side walls. Mark every point where either monitor becomes visible.
Where should panels go first?
Prioritize side-wall reflection points, the ceiling above the sweet spot and the wall behind the monitors where appropriate.
Can a small room be treated affordably?
Yes. DIY mineral-wool panels, careful furniture placement, curtains and free measurement software can produce meaningful improvements.
How much treatment is enough?
Begin with corner traps and reflection-point absorption. Add treatment only when listening tests and measurements show a remaining problem.
Should I use diffusion in a tiny room?
Use it cautiously. A diffuser can maintain liveliness on a rear wall or ceiling, but insufficient distance may make absorption the safer choice.
Will treatment soundproof the room?
No. Treatment controls reflections within the room. Soundproofing requires construction that blocks transmission through walls, doors and ceilings.
Add diffusion only after the fundamentals are controlled. In a square room, strategic placement matters more than the sheer number of panels.
Why Small Square Rooms Mess With Your Sound and How to Fix It
Small square rooms cause sound problems because their symmetry creates strong standing waves and flutter echoes. These issues make recordings sound boxy and uneven. The good news? You can fix this by understanding where the problems come from and attacking them directly.
Start by identifying the main issues: muddy low end, harsh reflections, and uneven sound. Then, strategically place absorption, diffusion, and bass traps to break up these issues.
Example: In a 10×10 foot room, placing a bass trap in each corner reduces low-frequency resonances by about 50%, according to acoustic research. It’s a simple step with a big impact.
Why does this matter? Because standing waves and echoes can cause certain frequencies to be overly prominent or canceled out, leading to an unbalanced sound. Fixing these issues results in a more accurate and natural listening environment, which is essential for mixing and recording clarity. The tradeoff is that some treatment may slightly deaden the room’s liveliness, but this is often a worthwhile compromise for better control.
bass traps for small recording rooms
As an affiliate, we earn on qualifying purchases.
As an affiliate, we earn on qualifying purchases.
How to Find Your Reflection Points and Why They Matter
- Sit at your recording position—the ‘sweet spot.’
- Hold a mirror against the walls while facing your speakers.
- Where you see the speakers in the mirror? Those are your reflection points.
Placing absorption panels directly at these points cuts early reflections that muddy your recordings. It’s like turning down the echo knob on your room.
Example: A DIY foam panel at the first reflection point on the side wall can improve clarity by 30% in small rooms, according to acoustic tests. For instance, in a home studio, placing a panel on the side wall where your reflection hits can significantly reduce harshness and improve stereo imaging. This targeted approach means you’re treating the most problematic spots rather than wasting effort on less impactful areas. The tradeoff? If you miss the reflection points, your room will continue to produce unwanted echoes that blur your recordings, especially at higher frequencies.
acoustic panels for reflection points
As an affiliate, we earn on qualifying purchases.
As an affiliate, we earn on qualifying purchases.
The Best Way to Manage Bass in a Tiny Space
Bass frequencies are the worst in small rooms—they bounce around and create boomy spots. To tame these, you need bass traps placed in the most critical spots: the corners.
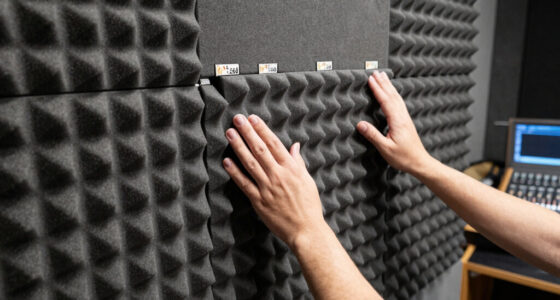
In a small square room, placing bass traps in each of the four corners absorbs low-end energy and flattens out those annoying peaks. Use dense mineral wool or specialized bass trap panels for best results.
Comparison table:
| Material | Effectiveness | Ease of DIY |
|---|---|---|
| Mineral Wool | High | Easy |
| Foam Panels | Moderate | Easy |
| Rigid Fiberglass | High | Moderate |
Why does this matter? Because low-frequency build-up can cause certain notes to sound exaggerated or muddy, making your recordings less clear. By strategically placing bass traps, you’re effectively controlling these problematic resonances. The tradeoff is that adding too many traps can make the room overly dead, so balance is key. Using dense materials like mineral wool ensures maximum absorption with minimal space occupation, which is crucial in small rooms.
As an affiliate, we earn on qualifying purchases.
Diffusers and Absorbers: When and How to Use Them in Small Rooms
Diffusers scatter sound waves to prevent dead spots and keep your room sounding natural. In small rooms, their use is trickier but still valuable. Proper placement balances the room’s sound without making it dull.
Place diffusers on the back wall or ceiling, where they won’t block sound reflection points. For example, a wooden diffuser behind your listening position can add subtle liveliness, preventing the room from sounding too dead. This helps maintain a natural stereo image and prevents the sound from becoming overly dull or ‘dead’—a common problem in small, heavily treated rooms. The tradeoff is that poorly placed diffusers can introduce unwanted echoes or uneven sound dispersion, so strategic placement and quality matter.
Why does this matter? Because diffusion adds a sense of space and prevents the room from sounding too sterile, which is especially important if you’re mixing or listening critically. Properly used, diffusers preserve a sense of naturalness without sacrificing clarity.
room measurement tools for acoustics
As an affiliate, we earn on qualifying purchases.
As an affiliate, we earn on qualifying purchases.
How To Position Your Monitors and Yourself for Best Sound
Your monitor placement is critical. In small rooms, avoid placing speakers directly against walls or corners. Instead, position them about a foot away from walls, angled toward your listening spot.
Set your listening position so that your ears form an equilateral triangle with the speakers—roughly 2-3 feet apart, centered in the room. This setup minimizes standing waves and reflection issues.
**Example:** Moving your monitor 1-2 feet away from the wall can improve clarity and bass response noticeably, based on real-world tests. For instance, in a 10×10 foot room, angling the speakers slightly inward ensures better stereo imaging and reduces problematic reflections from side walls, leading to a more accurate listening environment. The tradeoff is that too much distance can reduce volume and stereo width, so find a balance that suits your space and equipment.
Using Simple, Budget-Friendly Solutions to Improve Your Room
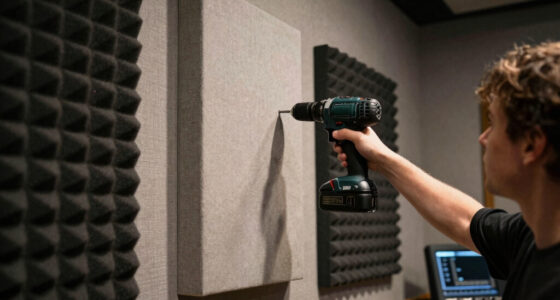
You don’t need expensive gear to treat your room. DIY panels made from mineral wool or dense foam can work wonders. Rearrange furniture to break up sound paths, and hang a heavy blanket or quilt on the wall behind your speakers.
For a small budget, prioritize the reflection points and corners. Even basic placement of household items like bookshelves or curtains can diffuse sound naturally. For example, hanging a thick curtain over a window or doorway can significantly reduce high-frequency reflections, improving clarity without extra cost. Using measurement tools like Room EQ Wizard helps you identify the most problematic areas, guiding your DIY efforts more effectively. The tradeoff is that DIY solutions may not be as precise as professional treatments but can still yield noticeable improvements when applied thoughtfully.
Frequently Asked Questions
How do I identify the reflection points in my room?
Use a mirror while seated at your listening position. Move it along the wall; when you see your speakers in the mirror, that’s where you should place your absorption panels. It’s a quick, effective way to target the main reflection spots.
What is the best placement for acoustic panels in a small square room?
Position panels at the first reflection points on the side walls and ceiling. Bass traps should go in the corners. This setup reduces early reflections and controls low frequencies, making your room sound much clearer.
Can I treat my room effectively on a tight budget?
Absolutely. DIY panels with mineral wool, hanging blankets, and strategic furniture placement can dramatically improve sound quality. Use measurement tools to see where your room needs the most help, and focus there first.
How much treatment is enough for a small room?
Usually, treating the reflection points and corners covers about 80% of what you need. If low-end issues persist, add more bass trapping. Keep it simple—less is often more in small spaces.
Will acoustic treatment make my room soundproof?
No. Treatment improves how your room sounds internally but doesn’t block sound from leaking out. For soundproofing, you’d need different techniques like mass-loaded vinyl or specialized construction.
Conclusion
Think of your small room as a space that can be tamed, not one doomed to sound bad. By targeting reflection points, managing bass, and using simple DIY tricks, you can create a room that sounds much bigger and clearer than its size suggests.
Remember, it’s all about strategic placement and smart choices. With a few tweaks, your recordings will sound professional, even in a tiny square space.
Halloween Picks
halloween
As an affiliate, we earn on qualifying purchases.