
TL;DR

Get audio and creator gear delivered free — and shop member deals
- Fast, free delivery on millions of items
- Access to Prime Big Deal Days deals on October 6–7
- Prime Video, Amazon Music and more included
Room modes cause bass buildup in small bedrooms, leading to muddy sound. Using measurement tools and strategic treatments, you can significantly improve bass clarity without big expenses.
Ever turn on your favorite track and feel like the bass is bouncing around your head—loud, boomy, and uncontrolled? That’s often the result of room modes, especially in a small bedroom where sound waves bounce off every wall and corner. Understanding and tackling these resonances can turn your space into a true listening haven.
If you’ve ever struggled with muddy bass or uneven sound, this guide will show you how to identify those pesky problem frequencies and fix them with simple, practical steps. No fancy gear needed—just a bit of know-how and some elbow grease.
Use a measurement microphone and software to identify your room’s specific bass problem frequencies.
Corners are the main battleground—treat them with DIY or commercial bass traps for maximum effect.
Small adjustments like furniture placement or slight room dimension tweaks can drastically reduce standing waves.
Combine physical treatments with EQ to achieve a balanced, clear bass response.
Patience and incremental changes are key—don’t expect a perfect sound overnight.
What Are Room Modes and Why Do They Matter?
Room modes are natural resonances that happen when sound waves bounce around a confined space. In small bedrooms, they’re especially intense because the dimensions are short and often related—like 8×10 feet or 9×11 feet. These dimensions cause certain low frequencies to amplify, resulting in a boomy, muddy sound that distorts what you hear.
Imagine shouting in a narrow hallway—certain pitches echo back louder. That’s exactly what’s happening with bass in your room. If you don’t tame these resonances, your music will sound uneven, and critical bass notes can get lost or exaggerated. This can lead to listening fatigue or a frustrating mixing environment, especially if you’re trying to produce or enjoy music at home. The tradeoff often involves balancing physical treatments with digital corrections—over-treating can deaden your space, while under-treating leaves you with muddiness. Recognizing why these resonances occur helps you make informed decisions on how much treatment is necessary and where to place it for optimal results.
As an affiliate, we earn on qualifying purchases.
How to Find the Problem Frequencies in Your Room
- Set up a measurement microphone at your listening position and connect it to free or paid room analysis software like Room EQ Wizard.
- Play a sweep tone or pink noise through your speakers—this covers all bass frequencies evenly.
- Review the frequency response graph. Look for peaks at low frequencies—these indicate problematic modes.
- Note the frequency—say it’s around 80Hz or 120Hz—so you know where to focus your treatment efforts.
Understanding these peaks is crucial because they pinpoint where your room’s physical characteristics are causing excessive reinforcement of certain bass notes. Ignoring this step means guessing at treatments, which often leads to ineffective results. By identifying the specific frequencies, you can tailor your treatments—like bass traps—to target those resonances precisely. This approach minimizes unnecessary treatments, saving money and space, while maximizing sound improvement. The implication is that a targeted solution is more efficient than generic or overly broad treatments, which might dampen your room’s liveliness or fail to address the core problem.
acoustic treatment for small bedrooms
As an affiliate, we earn on qualifying purchases.
As an affiliate, we earn on qualifying purchases.
Where Does Bass Buildup Usually Happen in Small Rooms?
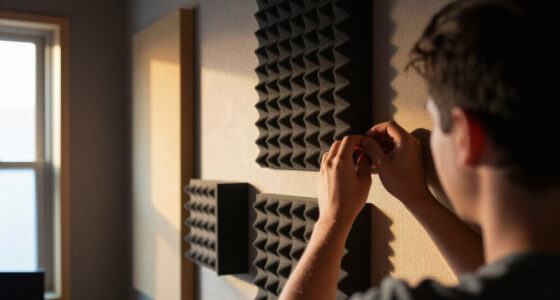
Bass tends to gather in the corners. Think of it like water pooling in the lowest spots of a room. The three main corner zones—front, back, and where walls meet—are prime spots for bass trapping. You’ll often feel or hear the worst boomy sound in these areas.
In a typical 8×10-foot bedroom, bass buildup can be especially noticeable in the front left corner or behind your listening position. Identifying these spots is key to effective treatment. The reason is that corners naturally amplify low frequencies due to boundary reinforcement—where two or more surfaces meet, sound waves reflect and reinforce each other, creating a standing wave. This phenomenon can cause certain bass notes to become disproportionately loud or boomy, while others may null out, leading to uneven bass response. Recognizing these zones allows you to strategically place bass traps or diffusers, which absorb or scatter these problematic waves, resulting in a more balanced and controlled bass environment. Ignoring these typical buildup points often results in persistent muddiness, regardless of other treatments, because the physical reinforcement is so localized and powerful.
As an affiliate, we earn on qualifying purchases.
Practical Ways to Tame Bass Buildup Without Breaking the Bank
Here’s a straightforward plan for small rooms:
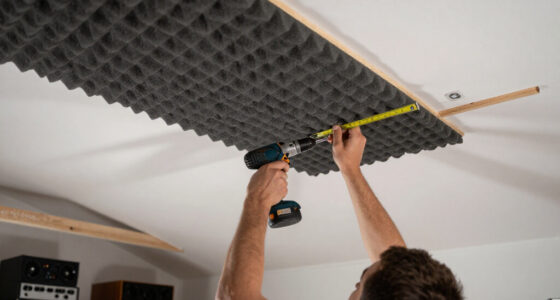
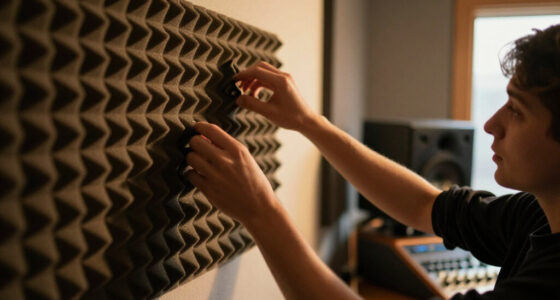
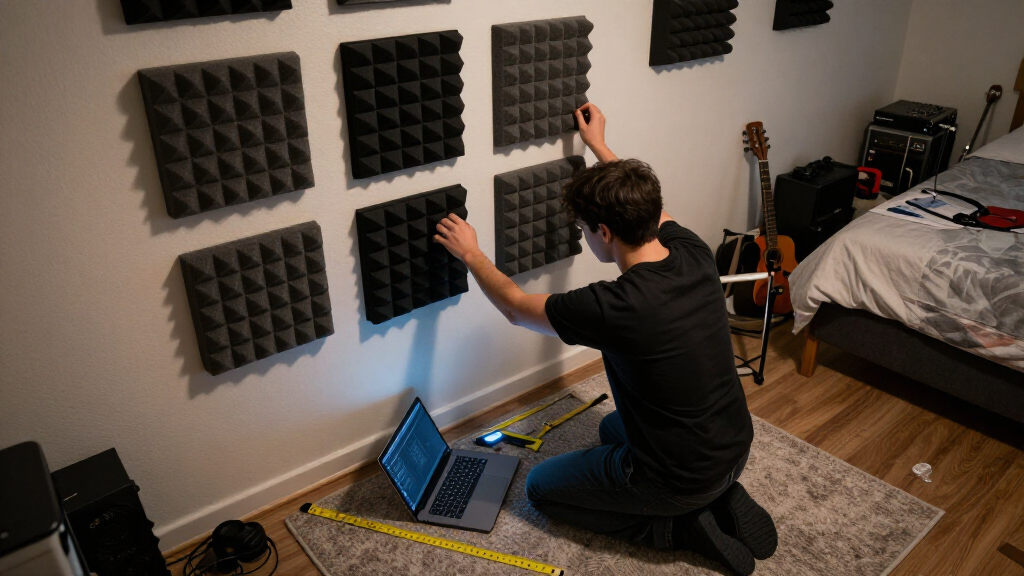
- Install bass traps in corners: Thick, dense panels (like rockwool or fiberglass) absorb low frequencies effectively. Place them in all three corners—front, back, and ceiling/wall junctions. Proper placement ensures that standing waves are dampened at their primary reinforcement points, leading to a noticeable reduction in boominess and a more even bass response. The tradeoff here is that overdoing bass trapping can deaden your room, making it sound dull, so start with key corners and adjust as needed.
- Use DIY traps: Stack mineral wool or old mattresses wrapped in fabric for cheap, effective traps. They’re easy to build and fit tight corners. DIY solutions are flexible and allow you to customize thickness and placement, which can be tuned over time to suit your room’s specific resonances.
- Strategic furniture placement: Move your bed or desk slightly away from corners to reduce bass reinforcement. While this might seem minor, small shifts can significantly alter standing wave patterns, reducing peaks and nulls at your listening position.
- Add diffusers or soft furnishings: Bookshelves, rugs, and curtains scatter sound waves, breaking up standing waves and diffusing energy across the room. This reduces the intensity of specific resonances, leading to a clearer, more natural bass response.
- Apply EQ gently: Use room correction software or EQ to smooth out remaining peaks. Think of it as fine-tuning after physical treatment. Digital correction can compensate for residual anomalies, but it’s best used as a complementary tool rather than a primary fix.
For example, placing a thick bass trap in the front left corner can cut peak levels by 5-10dB at problematic frequencies, making a huge difference in clarity. The tradeoff here is that EQ adjustments can sometimes introduce phase issues or make the sound overly processed if overused, so physical treatments should be prioritized.
As an affiliate, we earn on qualifying purchases.
Why Small Room Dimensions Make Bass Problems Worse
Rooms with dimensions that are multiples—like 8×16 or 9×18—are more prone to strong standing waves. When room lengths and widths align like that, bass frequencies bounce back and forth in a predictable pattern, amplifying the problem. This alignment causes certain frequencies to reinforce each other in a way that creates peaks and nulls, making it harder to achieve a balanced bass response. The implication is that these predictable patterns mean you might need more aggressive or strategic treatment—such as multiple bass traps or room redesign—to mitigate the effects.
Adding a slight variation—like shifting your bed or bookshelf—can break these patterns. Even small changes matter because they disrupt the standing wave cycle, reducing the severity of peaks and nulls. For instance, moving a piece of furniture a few inches can shift a null point away from your listening position, giving you a clearer bass response. This is a simple, cost-effective way to improve sound without extensive construction or treatment, but it requires patience and experimentation to find the optimal arrangement.
Quick Tips to Keep Your Bass Clear and Tight
- Measure first—know your room’s specific problem frequencies.
- Focus on corners—treat the main spots where bass accumulates.
- Use a combination of physical treatment and EQ for best results.
- Don’t overdo it—small, targeted treatments beat heavy-handed solutions.
- Be patient—improving bass response is an iterative process.
Remember, even modest treatments can drastically improve your listening experience. The key is understanding your room’s unique resonance profile and applying targeted solutions that balance effectiveness with practicality. Over-treating can dull the space or reduce acoustic liveliness, so always aim for subtle, well-placed interventions that work together for a cleaner, tighter bass.
What Are Your Next Steps for Better Bass in Your Bedroom?
Start with a measurement—get a simple microphone and download Room EQ Wizard. Identify your problem frequencies, then focus on treating those spots with DIY bass traps or furniture rearrangement. Combine physical treatments with software correction for best results.
Small changes, patience, and a bit of effort will turn your muddy bass into crisp, controlled low end. Remember, a balanced room isn’t just for audiophiles; it’s for anyone who wants their music to sound right.
Frequently Asked Questions
How do I know if my room has problematic bass modes?
Use a measurement microphone and software like Room EQ Wizard to generate a frequency response graph. Peaks at low frequencies indicate problematic modes that need attention.Can I fix bass buildup without professional help?
Yes. DIY bass traps made from mineral wool or fiberglass, combined with furniture placement and EQ, can make a significant difference without professional installation.What’s the best way to treat a small bedroom for better bass?
Focus on corners with bass traps, add diffusers or soft furnishings, and use room correction software. Small, targeted treatments are most effective.Are there affordable solutions for small rooms?
Absolutely. Stacking mineral wool in corners, hanging thick curtains, and rearranging furniture cost little and can greatly reduce bass issues.How much does room treatment improve sound?
Proper treatments can cut problematic bass peaks by up to 10-15dB, resulting in tighter, more balanced bass and clearer overall sound.Conclusion
Small rooms are tricky, but not hopeless. With a few measurement tools and targeted treatments, you can tame even the most stubborn bass buildup. Think of your room as a musical instrument—adjust it, and it’ll sing clearer.
Next time you notice muddy bass, remember: a little effort goes a long way. Your ears—and your mixes—will thank you.
Fall Picks
fall essentials
As an affiliate, we earn on qualifying purchases.