
TL;DR

Get audio and creator gear delivered free — and shop member deals
- Fast, free delivery on millions of items
- Access to Prime Big Deal Days deals on October 6–7
- Prime Video, Amazon Music and more included
Treating a rectangular room on a renter’s budget is all about smart placement, household materials, and DIY panels. Start with free fixes like repositioning furniture, then add affordable DIY bass traps and use free measurement tools to refine your setup.
Few things ruin a good recording or listening session more than poor room acoustics. But if you’re living in a rental with a rectangular space—no permission to drill, no extra cash to spend—you’re not out of options. The good news? Nearly everything that matters can be done with simple, reversible fixes that respect your deposit.
Whether you’re a content creator, musician, or hi-fi enthusiast, understanding how to make your room sound better on a shoestring is a game-changer. You don’t need fancy gear or permanent walls—just a little know-how and some household materials. Ready to turn your room from a problem into a solution?
Start with placement—moving your speakers and listening position can fix many issues for free.
Household items like rugs, curtains, and bookshelves make a big difference at a tiny cost.
DIY acoustic panels wrapped in fabric deliver the most bang for your buck—place them wisely at reflection points.
Corners are the prime real estate for bass traps—stack insulation or push furniture into corners.
Use free measurement tools and onboard EQ to fine-tune your room after physical treatments.
Room Acoustics · Deposit-Safe · Under $200
Treating a Rectangular Room on a Renter’s Budget
No drilling, no glue, no landlord letters. A rectangular room is actually the most predictable shape to treat — parallel walls create standing waves you can calculate, and nearly every fix that matters is free-standing and reversible. Start with placement, add household absorption, build a few DIY panels, trap the corners, then measure.
$20–40
Cost per DIY 2′×4′ panel
15–25%
Surface coverage that transforms a room
$0
Price of the most effective first fix
38%
Room length to listening spot
<300Hz
Where room modes cluster
1130/2d
Free mode-frequency formula
~$100
USB measurement mic (UMIK-1)
Five steps, cheapest first — stop when it sounds right
Each rung costs a little more and fixes what the rung below cannot. Most renters never need to climb past step three.
Placement First
Sit ~38% of the room length from the front wall. Pull speakers off the wall, avoid dead-center, close the door.
Household Absorption
Thick rug with a pad, pleated curtains on tension rods, filled bookshelves as rough diffuser-absorbers.
DIY Panels
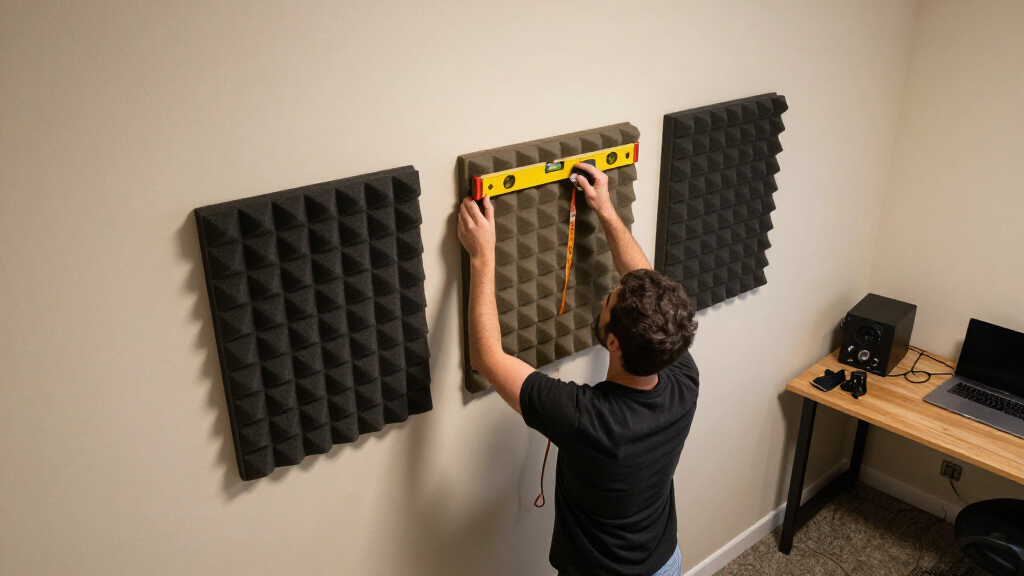
Rigid fiberglass or Rockwool wrapped in breathable fabric, leaned or hung at first reflection points.
Corner Bass Traps
Stack insulation rolls or blankets in tri-corners; push a wardrobe into the problem corner; do the subwoofer crawl.
Measure & EQ
REW (free) plus a USB mic turns guesswork into before/after data; parametric EQ trims the leftover peaks.
A full-room treatment for less than one commercial panel
Relative spend per treatment type, scaled against a typical commercial panel (~$150 each). DIY rigid panels are the value king.
Six moves, zero holes in the wall
Every technique here is reversible, free-standing, and safe for your deposit.
The 38% Rule
In a 12-ft room, sit roughly 4.5 ft from the front wall. Keep the desk off the rear wall, never sit dead-center between side walls — that’s where phase cancellations live.
Find Reflection Points
A helper slides a mirror along side walls, ceiling, and rear wall. Wherever you see the speakers from your seat is where a panel goes. Keep left/right symmetry for imaging.
Build the Value King
Cut Owens Corning 703 or Rockwool Safe’n’Sound to 2′×4′, wrap in breathable cotton or burlap, and lean it against the wall. Sold as insulation at big-box stores.
Superchunk the Corners
Stack insulation rolls floor-to-ceiling in tri-corners — still in the plastic is a classic hack. A wardrobe or sofa shoved into a boomy corner works as a giant low-frequency sponge.
Do the Subwoofer Crawl
Put the sub at your listening seat, play bass-heavy material, crawl the room, and mark where bass sounds tightest. Put the sub there. Costs nothing; often beats any trap.
Hang Without Holes
Lean panels, stack them in corners, use Command strips or hook-and-loop for lighter frames, tension-rod curtain dividers, or mic-stand gobos behind the listening position.
What actually absorbs what — and whether your lease survives
| Material / Method | Cost | Mids & Highs | Bass (<300 Hz) | Renter-Safe | Verdict |
|---|---|---|---|---|---|
| Foam wedge panels | $$ | ~ Thin; treble only | ✗ None | ~ Glue damages walls | Skip it |
| DIY rigid-fiber panel | $ | ✓ Broadband | ~ Thick versions help | ✓ Lean or strip-mount | Best value |
| Rugs, curtains, bedding | $ | ✓ Good w/ pads & pleats | ✗ None | ✓ Fully reversible | First line |
| Filled bookshelf | $0 | ✓ Absorbs + diffuses | ✗ None | ✓ Free-standing | Free hybrid |
| Corner insulation stacks | $ | ✓ Yes | ✓ Best spot for it | ✓ Stacked, not mounted | Bass fix |
| Commercial panels | $$$$ | ✓ Excellent | ~ Depth-dependent | ✗ Usually screwed in | Over budget |
Match the tool to the frequency
Room modes cluster below 200–300 Hz and need corner mass; mids and highs surrender to thin, soft material anywhere.
Step 01 — Calculate Your Modes
Parallel walls ring at predictable axial modes. Find your problem frequencies before spending a dollar with any free room-mode calculator:
f = 1130 / (2 × dimension in feet)Step 02 — Measure, Treat, Re-Measure
Room EQ Wizard (free) + a miniDSP UMIK-1 (~$100) shows peaks and nulls. Physical treatment first; then let a parametric EQ — or your AVR’s Audyssey / Dirac / YPAO — flatten what’s left. Treatment fixes the foundation; EQ balances the scale.
The Causal Chain — From Problem to Polish
Start with free placement fixes that improve sound instantly
The first step in acoustic treatment costs nothing. Move your speakers and listening position based on the 38% rule—about 38% of your room length from the front wall. This simple move can cut down on bass nulls and improve clarity. For example, if your room is 12 feet long, positioning your listening spot around 4.5 feet from the front wall can reduce bass dips that often occur when speakers are placed too close to walls. Also, keep your desk a few inches away from the back wall to avoid sound bouncing directly back into your speakers, which causes muddy sound. Avoid sitting dead-center between side walls, as this position can cause phase cancellations and echo. Think of your room like a musical instrument—small adjustments in placement can dramatically change how sound waves interact.
Clear clutter, especially hard parallel surfaces like glass or bare drywall, reflect sound wildly, causing flutter echoes and comb filtering that muddle your audio. Closing the door minimizes sound leakage, keeping your listening environment controlled. Moving furniture away from walls prevents dead spots and excessive reflections. These small, free adjustments are like tuning a guitar—simple to do but crucial for a clean sound. For instance, shifting your speakers a few inches away from the wall can often make the biggest difference in clarity, as it reduces boundary interference and standing waves.
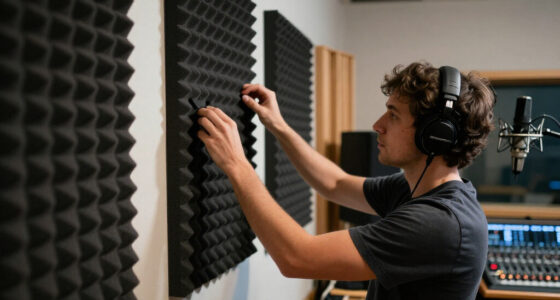
DIY acoustic panels for room treatment
As an affiliate, we earn on qualifying purchases.
As an affiliate, we earn on qualifying purchases.
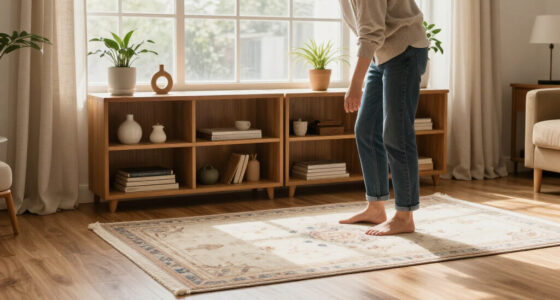
Use household items as your first line of acoustic absorption
Thick rugs and curtains are your best friends because they absorb and diffuse sound reflections that cause harshness and echo. For example, a large, plush rug with a dense pad under it placed in the center of a hardwood floor can significantly cut down the high-frequency reflections that bounce up and cause harshness in recordings or mixes. Heavy, pleated curtains hung over windows or along walls can soak up mid and high frequencies—imagine covering a mirror with fabric to prevent it from bouncing sound waves back into the room. Bookshelves filled with books act as rough diffusers and absorbers. When placed along a wall where sound tends to bounce, they break up reflections and scatter sound energy, reducing flutter echoes. Upholstered furniture, bedding, and wardrobes in your studio corner help tame echo and flutter—think of them as soft barriers that absorb sound rather than reflect it. These household items don’t fix bass issues but can drastically improve clarity and reduce harshness in mids and highs. For instance, hanging a thick curtain behind your listening position or placing a bookshelf filled with books at reflection points can turn a live-sounding room into a more controlled environment—without spending a dime.
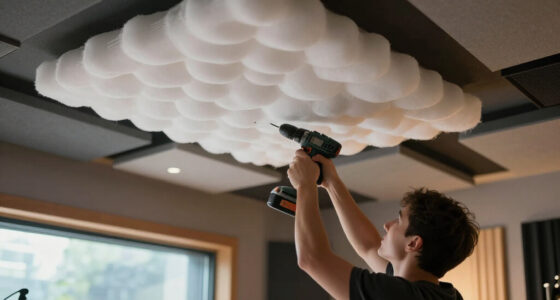
reversible bass traps for rental rooms
As an affiliate, we earn on qualifying purchases.
As an affiliate, we earn on qualifying purchases.
DIY panels: your budget’s secret weapon
When you’re ready to go beyond household items, DIY acoustic panels are an incredibly cost-effective way to improve sound quality. For example, building a 2’×4’ panel using rigid fiberglass or mineral wool insulation wrapped in breathable fabric costs between $20 and $40—far less than commercial panels. These materials outperform foam panels because they absorb a broader range of frequencies, especially mid and high frequencies. To build one, cut the insulation to size, wrap it in a breathable fabric like cotton or burlap, and mount or lean the panels against walls. For example, placing these panels at first reflection points—found by sitting in your listening position and using a mirror to locate where walls reflect sound toward your ears—targets the most problematic areas. Cover roughly 15–25% of your room’s surfaces, focusing on reflection points, corners, and the rear wall. This focused approach ensures you get maximum benefit for minimal cost. Think of DIY panels as custom-fit earplugs for your room—targeted, effective, and affordable.
As an affiliate, we earn on qualifying purchases.
Corner bass traps on a tight budget
Bass tends to build up in corners—especially tri-corners where the wall meets the ceiling and floor—creating boomy, muddy lows that can overwhelm your mix. To address this, stack rolls of insulation or dense blankets in these spots, which act as effective bass traps. For example, placing a thick blanket or a stack of insulation in the corner behind your listening position can significantly reduce bass buildup. Pushing a wardrobe or sofa into a corner can also serve as a makeshift bass trap—imagine turning a piece of furniture into a giant sponge that absorbs low frequencies. The ‘subwoofer crawl’ is a practical method: place your subwoofer at your listening position, then move around the room while listening for the tightest, most controlled bass—this helps identify the best location for your sub and bass traps. For even more control, lean a filled bookshelf or a stack of panels into a corner. These simple tricks can tame boomy lows without costing hundreds and can make your room sound much more balanced and accurate.
free-standing sound reflection panels
As an affiliate, we earn on qualifying purchases.
As an affiliate, we earn on qualifying purchases.
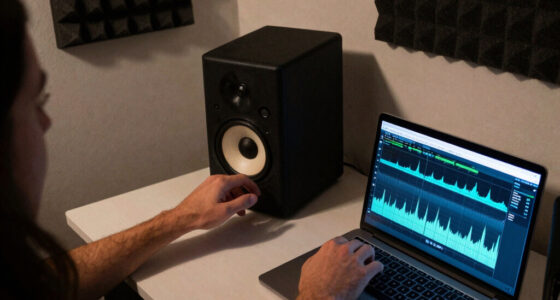
Refining sound with measurement and EQ — the final step
Measurement tools like Room EQ Wizard (REW) paired with a USB microphone (such as the ~$100 miniDSP UMIK-1) turn guesswork into precise data. For example, measuring your room’s frequency response before treatment reveals peaks and nulls—areas where certain frequencies are overly loud or absent. After applying physical treatments, re-measure to see how your room responds. Use free or built-in EQ options to flatten these peaks; for instance, if a bass frequency is 8 dB louder than others, a parametric EQ can reduce that boost, making your bass more even and controlled. This process helps you understand how your physical treatments are working and fine-tune the sound. Many modern AVRs and monitors include room correction features—use them! These tools automatically analyze your room and apply EQ corrections, saving you time and effort. Remember, physical treatment reduces reflections and bass buildup, while EQ fine-tunes the remaining issues—think of it as balancing a scale after fixing the foundation.
Frequently Asked Questions
What’s the cheapest thing I can do that actually makes a difference?
Rearranging your furniture and moving your speakers and listening position based on the 38% rule costs nothing and can drastically improve sound clarity right away.Do foam panels from Amazon really work?
Cheap foam panels mostly help with high-frequency flutter echoes but do little for bass or midrange issues. They’re better than nothing but shouldn’t be your only treatment.How do I treat my room without drilling holes or risking my deposit?
Lean panels against walls, stack insulation in corners, use Command strips for lightweight panels, and push furniture into corners. These methods are all reversible and renter-friendly.How many panels do I need, and where exactly do they go?
Aim for 15–25% coverage, placing panels at first reflection points, in corners for bass, and on the rear wall. Use the mirror trick to find reflection points precisely.Will rugs, curtains, and bookshelves really help, or do I need real panels?
Household items help tame echoes and mid/high frequencies. For bass and deeper issues, DIY panels and corner traps are more effective, but start with what you have.Conclusion
Transforming your rectangular rental room into a better-sounding space doesn’t require a hefty budget or permanent changes. With smart placement, household furnishings, and some DIY panels, you can see major improvements fast. Your ears—and your neighbors—will thank you.
Think of your room as a puzzle—you just need the right pieces in the right spots. Small tweaks today, big sound tomorrow.
Fall Picks
fall essentials
As an affiliate, we earn on qualifying purchases.