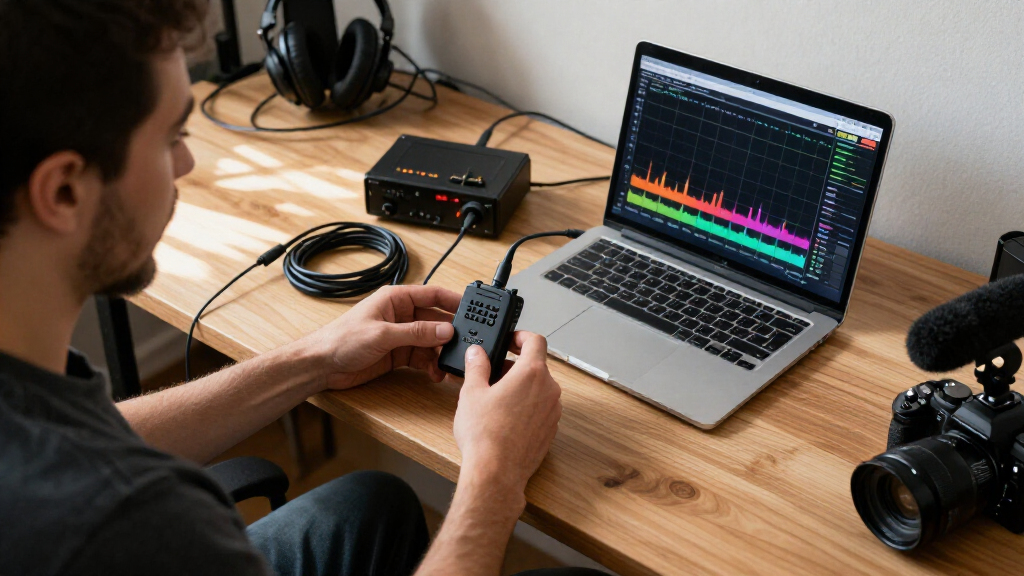

TL;DR

Get audio and creator gear delivered free with Prime
- Fast, free delivery on millions of items
- Prime Video, Amazon Music and more included
- Member-only deals all year
A wireless lavalier sends audio from a body-worn transmitter to a receiver over radio, and a crowded 2.4 GHz band can interrupt that link. Check batteries, mute, connectors, distance, and antenna placement before blaming Wi-Fi; then scan frequencies if your system supports it and test while walking the actual route. A scan is only a snapshot, so retest as the room fills and conditions change.
A wireless lavalier can sound perfect during setup, then go silent the moment you turn your back to the camera. That’s frustrating, but it doesn’t prove that Wi-Fi is to blame. A wireless lavalier dropouts problem can come from crowded 2.4 GHz airwaves, a tired battery, a loose plug, or your body blocking the radio path.
This guide gives you a field-ready way to tell those causes apart. You’ll learn what the system is doing when it sends audio from a body-worn transmitter to a receiver over radio, how placement and nearby devices affect that link, and what to test before changing channels or replacing gear. Think of the process like tracking a hiss in a small studio: change one thing at a time, and listen for what actually fixes it.
Check batteries, mute, pairing, connectors, and cables before changing radio frequencies.
A strong close-range test followed by failures at distance points toward placement, obstacles, or RF conditions.
Your body, metal objects, walls, and receiver position can weaken or reflect the radio path.
Scan and coordinate all microphones together, then walk the actual route; a scan only reflects conditions at that moment.
Coordinate Wi-Fi changes with the venue, and check local frequency rules before using another band.
Wireless Lavalier Dropouts Diagnose 2.4 GHz Interference
Dropouts can come from crowded airwaves, weak batteries, loose connections, or a blocked radio path. Check the simple faults first, then test the link where you plan to record.
Start with the audio chain
Check the receiver indicators as audio cuts out to narrow down which part of the system is struggling.
- Check the microphone, cable, and connector.
- Confirm mute, pairing, and audio settings.
- Check distance and obstacles.
- Look at antenna placement and nearby radio activity.
Rule out easy faults
Change one thing at a time and compare results.
Charge or replace batteries, check mute, and confirm the channel or pairing matches.
Reseat the lavalier plug and inspect cables and adapters for intermittent faults.
Test close to the receiver, then at your planned working distance. Close-range failures point toward a cable, unit, or configuration problem.
Clear the radio path
Placement can weaken the link even when the airwaves are quiet.
Expose the antenna
Keep it unfolded and clear of clothing and your body.
Keep it clear
Expose antennas and move the receiver away from metal, computers, and other electronics.
Watch for dead spots
Walls, metal, and body position can block or reflect radio signals. Turning or moving may change reception.
Scan, coordinate, and walk
Wi-Fi, Bluetooth, other wireless audio, and consumer devices share 2.4 GHz spectrum.
Use the system’s scan or coordination tools; coordinate all microphones together.
Coordinate any Wi-Fi changes with the network operator.
Walk while monitoring reception, and repeat as the room fills or conditions change.
Understand what your lavalier is sending through the air
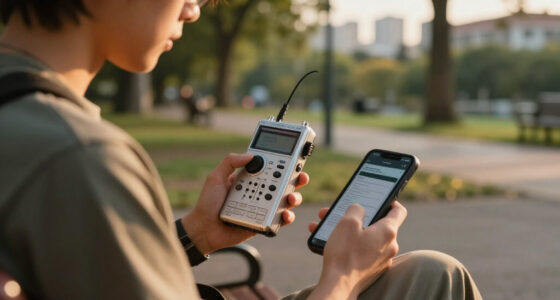
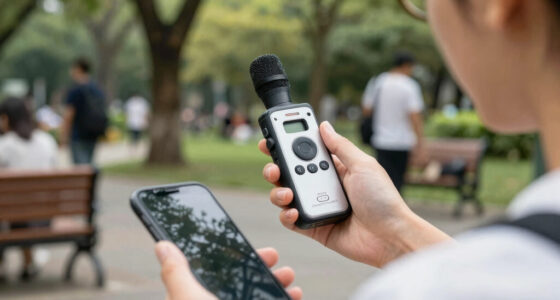
A wireless lavalier system carries sound from a small microphone into a body-worn transmitter, then sends that signal by radio to a receiver connected to your camera, recorder, or mixer. The radio link has to deliver a usable signal while the transmitter and receiver move, and the receiver has to distinguish it from other radio energy. If that link weakens, the receiver may lose audio even though the microphone capsule and recording device still work. The receiver’s RF and audio indicators can help you tell which part of that chain is struggling.
Many compact systems use the shared 2.4 GHz band. Wi-Fi, Bluetooth, other wireless audio links, and consumer electronics can all use portions of that same band. When nearby transmissions compete for airtime or energy, a system may have less room to maintain a reliable connection. But radio activity is only one factor: a weak signal caused by distance or a blocked path can also leave less margin for the receiver to work with. A phone doesn’t have to join the venue’s Wi-Fi network to contribute radio activity nearby, and seeing Bluetooth devices in the room doesn’t by itself prove they caused your dropout. The microphone’s behavior depends on its design, frequency use, distance, and the other signals around it.
When the link falls below its working threshold, a digital system may mute or produce a short glitch; an analog system may instead hiss or distort. Those symptoms are clues, not a diagnosis. The receiver’s display and the timing of the failure help distinguish an RF problem from an audio-chain fault: if the audio meter keeps moving while the RF indicator drops, the microphone is still sending sound into the transmitter, but the radio path is in trouble. If RF stays strong as the audio disappears, inspect the microphone, cable, or settings.
Manufacturers’ range figures generally describe favorable conditions, often with a clear line of sight. That is why a published range can be useful for comparing products but a poor promise for a real shoot: a crowded event, receiver hidden behind a laptop, or transmitter tucked under a thick jacket can reduce the signal margin. Test at your actual working distance and with the person wearing the transmitter, so the number that matters is whether the link stays reliable in your setup. [1]
As an affiliate, we earn on qualifying purchases.Popular right now
Bose QuietComfort Ultra Earbuds (2nd Gen) – Wireless Noise‑Cancelling Earbuds with Mic, Immersive Audio, USB‑C Charging, Up to 6 Hours Batte

Apple AirPods Pro 3 Wireless Earbuds with Active Noise Cancellation

Shark AV2501AE AI Robot Vacuum with XL HEPA Self-Empty Base
Separate 2.4 GHz interference from the easy-to-miss faults
Wireless lavalier dropouts can come from interference, but you should first check the things that fail without any radio congestion. A low battery can reduce operating time or cause unstable behavior; a mute setting, loose lavalier plug, damaged cable, or incorrect receiver setting can interrupt the audio even when the radio link is healthy. Checking these first matters because changing frequencies can make setup more complicated without touching the fault that is actually causing the silence.
Start by watching what the receiver reports when the sound cuts. If its RF indicator stays strong while the audio disappears, inspect the microphone, cable, mute control, and audio settings. If the RF reading falls at the same time, you have a stronger clue that distance, obstruction, antenna placement, or radio conditions may be involved. Indicators vary by model, so check the manual for what each display actually means. Their value is comparative: observe what changes at the moment of failure, rather than treating one bar or icon as a universal signal-quality measurement.
For a quick comparison, put the transmitter a few feet from the receiver in the same room and listen with fresh or fully charged batteries. If it still cuts out, crowded spectrum is less likely than a faulty cable, connector, configuration, or unit, because the short distance gives the radio link more margin. If it works close up but fails across the room, investigate the path, placement, and local RF environment. Imagine filming a quiet interview at home, then hearing the same kit crackle when you cross a busy event space: the location change raises congestion as a possibility, but also changes distance, obstacles, and reflections. Repeat the test while holding those other factors steady before drawing a conclusion.
Use this short check before changing frequencies:
- Power: replace or recharge both transmitter and receiver batteries. A fresh set removes a variable; it does not prove a battery was the cause.
- Controls: confirm neither end is muted and the channel or pairing matches.
- Connections: reseat the lavalier plug and inspect cables and adapters. A cable can fail intermittently when the wearer moves, so gently moving it while monitoring can reveal a problem.
- Close test: listen a few feet from the receiver, then compare with the planned working distance. This separates failures that persist even with a strong radio path from those that emerge as the link loses margin.
Fix the radio path before you touch a Wi-Fi channel
Good placement can restore a weak wireless link without changing any frequencies. Keep the receiver’s antennas exposed and away from metal racks, computer cases, and other electronics; place the transmitter so its antenna isn’t folded, buried under layers, or pressed against your body. These changes improve the signal reaching the receiver and are easy to reverse, so they are useful first experiments. A cleaner path often matters more than a bigger range number on a product box.
Your body can absorb and block radio energy because water-rich tissue affects signals at these frequencies. That explains a familiar field surprise: your mic works while you face the camera, then crackles when you turn to point at something. Try moving the transmitter to a position with a clearer path to the receiver, and see whether turning changes the RF reading. A receiver behind the operator may lose the direct path at just the moment the subject moves. If the symptom follows body position, that is evidence for a path issue; it does not rule out congestion, which may also reduce the signal margin.
Walls, reinforced surfaces, metal cases, and shelves can also block or reflect radio signals. Reflections sometimes create a dead spot where shifting a receiver a few centimeters changes reception, much like moving your head to catch a faint radio station. Move the receiver out from behind a monitor or metal obstruction, raise it if practical, and keep it away from the router instead of stacking the two devices together. Small moves are worth testing because radio paths can change sharply around obstacles; a large repositioning may help too, but it makes it harder to learn which location feature mattered.
Run the test on the actual route, with the person wearing the transmitter. Walk, turn, and briefly put your body between transmitter and receiver while someone monitors the sound. A stationary check from the center of an empty room can miss the weak point you’ll hit in a real interview. If a small placement change solves the cutout, note where it works so you can reproduce it on the next setup, and retest after people or equipment change the room.
Follow a repeatable test to find the real cause
To diagnose wireless lavalier dropouts, change one variable at a time and compare results in the place where you plan to record. This makes each test useful: if you swap batteries, move the receiver, and change frequencies all at once, you won’t know which change helped. Start with a short baseline recording and note the distance, transmitter position, receiver position, and symptom. A baseline gives you something to compare against when conditions improve or deteriorate.
- Describe the failure. Record whether the sound cuts out, crackles, distorts, or stops completely; watch the RF and audio indicators if your system has them. The symptom and indicators help locate whether the failure begins before or during radio transmission.
- Rule out simple faults. Charge or replace batteries, check mute and pairing, reseat the microphone connector, and inspect cables and adapters. These checks are quick and eliminate faults that a frequency change cannot repair.
- Test close to the receiver. If the issue persists at short range, suspect the units, connection, or settings before blaming distance or congestion. A close test improves the radio path, though it cannot rule out every interference or equipment problem.
- Improve placement. Expose the receiver antennas, move the receiver away from metal and nearby electronics, and keep the transmitter antenna clear of clothing and the body. Repeat the same movement after each change so you can tell whether the improvement came from the new position.
- Scan and coordinate. Use a frequency scan if the system offers one. With multiple microphones, coordinate all of them together rather than choosing frequencies independently. Systems can interact, so a frequency that looks clear alone may conflict with another microphone in the group.
- Walk the real route. Monitor the sound while the subject moves and turns in the actual space. Movement reveals blocked paths and dead spots that a stationary check will miss.
- Compare conditions. Where practical, compare nearby devices active and inactive, or try a different receiver position while keeping other variables fixed. This can show whether the setup is sensitive to a change, but it may not identify a specific device as the cause.
For example, if a scan and a new frequency help only after you move the receiver away from a laptop, you’ve learned something about the setup even if you can’t name the exact interfering device. Write down the working position and frequency so you can repeat them. A scan is a snapshot; it can’t predict a change in venue traffic after doors open or repair a blocked antenna. Retest before the take, not only during an empty-room setup. The tradeoff is time: a repeatable walk test takes longer than a quick sound check, but it can catch failures that would otherwise ruin a take.
Know when changing Wi-Fi may help—and when it won’t
Changing a Wi-Fi channel can help some 2.4 GHz microphone setups, but it isn’t a universal fix. Wi-Fi channel width and activity, other devices, and the microphone system’s own frequency design all affect overlap. “Move the router to channel X” is a guess until you know what the microphone uses and what else is active nearby. Even when Wi-Fi is contributing, a channel change may have little effect if the receiver is behind an obstruction or the transmitter is too far away.
If your system has a scan or coordination feature, use it according to the manual and scan where you’ll record. In a multi-mic setup, coordinate every system together; picking frequencies one by one can create clashes between microphones that seemed fine in isolation. In a small venue, you can also move the access point farther from the receiver and ask the network operator about a channel plan. Distance between the access point and receiver can reduce strong nearby radio energy, while changing the channel may help reduce overlap; which matters more depends on the room and equipment. Don’t switch off a shared venue network without permission—production may depend on it.
Newer Wi-Fi standards can use wider channels and more advanced scheduling, but that doesn’t mean every newer router automatically causes microphone dropouts or fixes them. A 5 GHz Wi-Fi connection may reduce some overlap with a 2.4 GHz audio link, yet devices may still use 2.4 GHz and other sources remain. Test the actual arrangement rather than treating a label on the router as proof. Moving traffic to 5 GHz can also reduce coverage for some devices, so network changes should account for the people and equipment relying on that connection.
Busy venues often have access points, phones, wearables, and connected gear all operating nearby. That raises the chance of congestion, but it still doesn’t make Wi-Fi the only suspect. If your camera crew shares a room with a presenter’s laptop and a stack of network equipment, even moving the receiver onto a clear stand can be a more reliable first move than asking everyone to change networks. Make network adjustments only after a controlled test suggests they help, and check the result again as the room fills. [1]
Choose a backup plan that fits your shoot
A reliable plan starts with a tested setup and a way to catch failures, not with buying the most expensive microphone. For a short talking-head clip in a quiet room, a budget 2.4 GHz kit may be enough if you test it at working distance and record a safety track or camera reference. For a live event with several wireless systems and a room full of network gear, frequency coordination and a monitored walk test deserve more time. The difference is the cost of failure: a brief retake may be easy in a quiet room, while a missed line at a live event may be impossible to repeat.
Keep a spare charged battery set, a known-good lavalier cable, and a wired microphone option if losing a take would be costly. A wired backup can bypass radio congestion, though it brings its own cable management and movement limits. For example, a presenter at a podium may be easy to wire, while a roaming demonstrator may need a carefully placed wireless receiver and a second recording path. Choose the backup around how the person will move and what you can monitor during the shoot.
Some newer wireless audio products operate in bands beyond 2.4 GHz, including region-dependent UHF and other licensed or unlicensed ranges. Those options may suit a particular production, but available frequencies and legal limits vary by country. Check the equipment’s regional specifications and local radio rules before buying or transmitting; a frequency that sounds clear on a scan is not automatically legal to use. A different band may reduce competition from 2.4 GHz devices, but it can introduce other coordination needs and does not guarantee a clear path or reliable reception. [1]
If your system still drops out close to the receiver with fresh batteries and known-good cables, test another compatible unit or contact the manufacturer before replacing the whole kit. Consistent failure across clean conditions points toward a device or configuration issue. Keep a short note of your tests—distance, placement, battery, and frequency—so support can work from evidence instead of guesswork.
Frequently Asked Questions
Is Wi-Fi always the cause of 2.4 GHz lavalier dropouts?
No. Wi-Fi can contribute to congestion, but weak batteries, a loose plug, mute settings, blocked antennas, distance, and equipment faults can create similar symptoms. Check the simple causes and receiver indicators before changing the network.
Will switching my router to another channel fix my microphone?
Sometimes, depending on the microphone’s frequency use and the Wi-Fi setup. First scan or consult the system’s guidance, and coordinate any network change with the venue operator. A router adjustment won’t fix a covered antenna or failing cable.
Can Bluetooth cause a lavalier dropout?
Bluetooth uses the 2.4 GHz band and can contribute to radio activity, but its presence alone doesn’t prove it caused a dropout. Test the system under different conditions while keeping placement and distance consistent, if you can.
Why does my mic work until I turn or walk away?
Your body may block or absorb part of the radio signal, or your movement may put the link in a reflected-signal dead spot. Try a different transmitter position, expose the receiver antennas, and repeat the walk test.
Does a frequency scan guarantee a clean wireless link?
No. A scan shows the conditions at the time you run it. Radio traffic can change as people and devices arrive, and a scan cannot compensate for weak batteries, a blocked path, or poor antenna placement.
When should I replace my wireless lavalier system?
First test close to the receiver with fresh batteries and known-good cables in a relatively clear environment. If it still fails across different setups, consult the manufacturer or test another compatible unit before buying a replacement.
Conclusion
When your lavalier drops out, start with the chain you can check: power, mute, plugs, distance, and antenna placement. Then scan and test the radio environment one change at a time, with the subject walking the real route. Keep the working setup written down.
A clean take rarely comes from guessing at the air. It comes from putting the receiver where it can hear, the transmitter where it can speak, and giving both a real test before the room fills.